
Laboratory automation projects.
Liquid-handling tools for the laboratory: a printer-based pipetting platform, the WALL-E build, and the ANDY robot assembly.
On this page01Overview
Small robots for everyday laboratory work.
Laboratory automation brings together motion, liquid handling, and control. A useful tool needs to reach the right vessel, deliver liquid in a controlled way, and fit around the rest of an experiment.
This collection follows those ideas through a 3D printer converted for pipetting, a WALL-E build based on the open-source PHIL platform, and the ANDY robot design in interactive CAD. Build photographs and component geometry show the different approaches side by side.
Repurposing a printer for liquid handling.
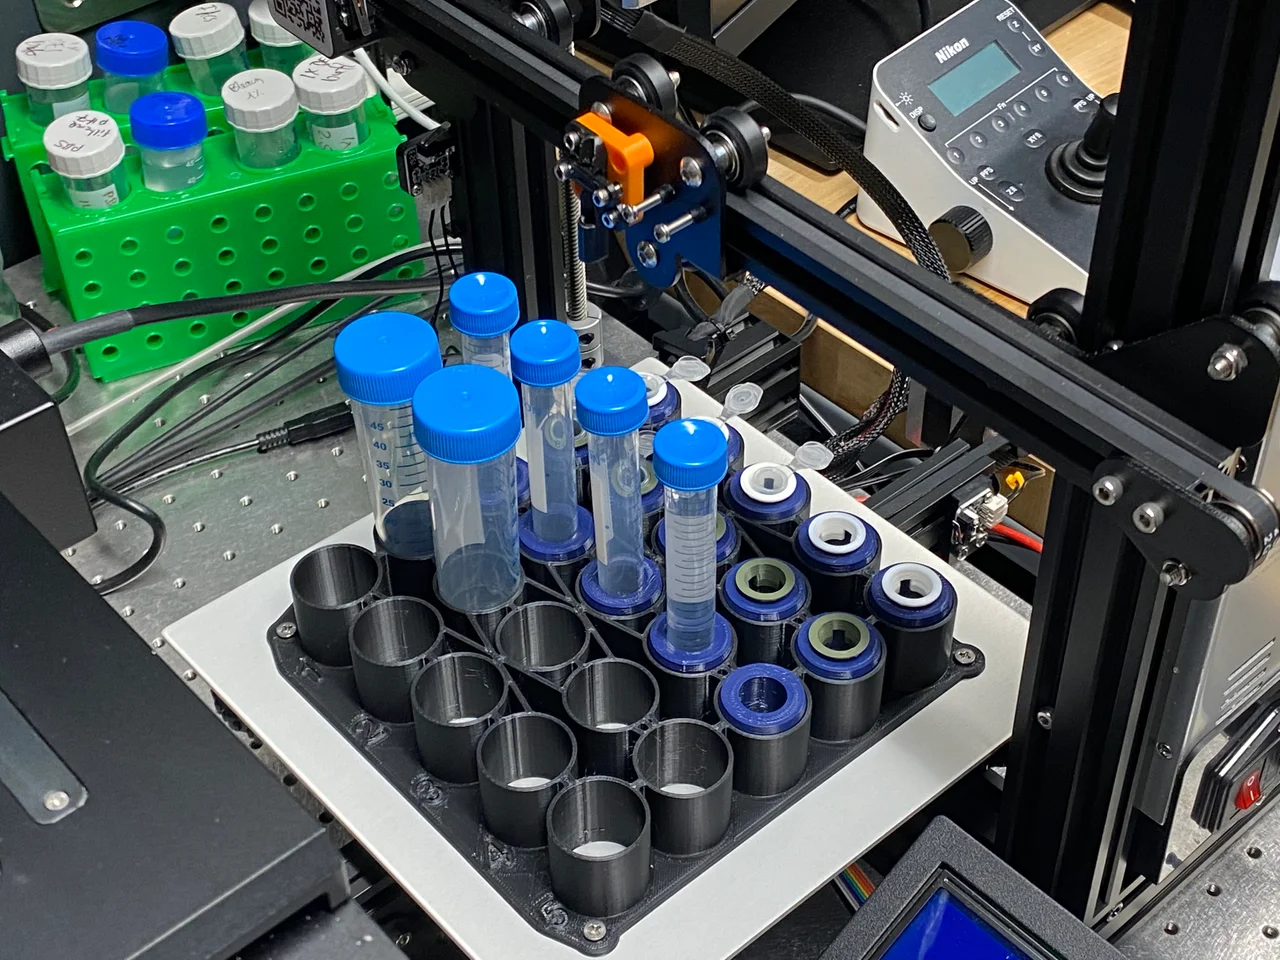
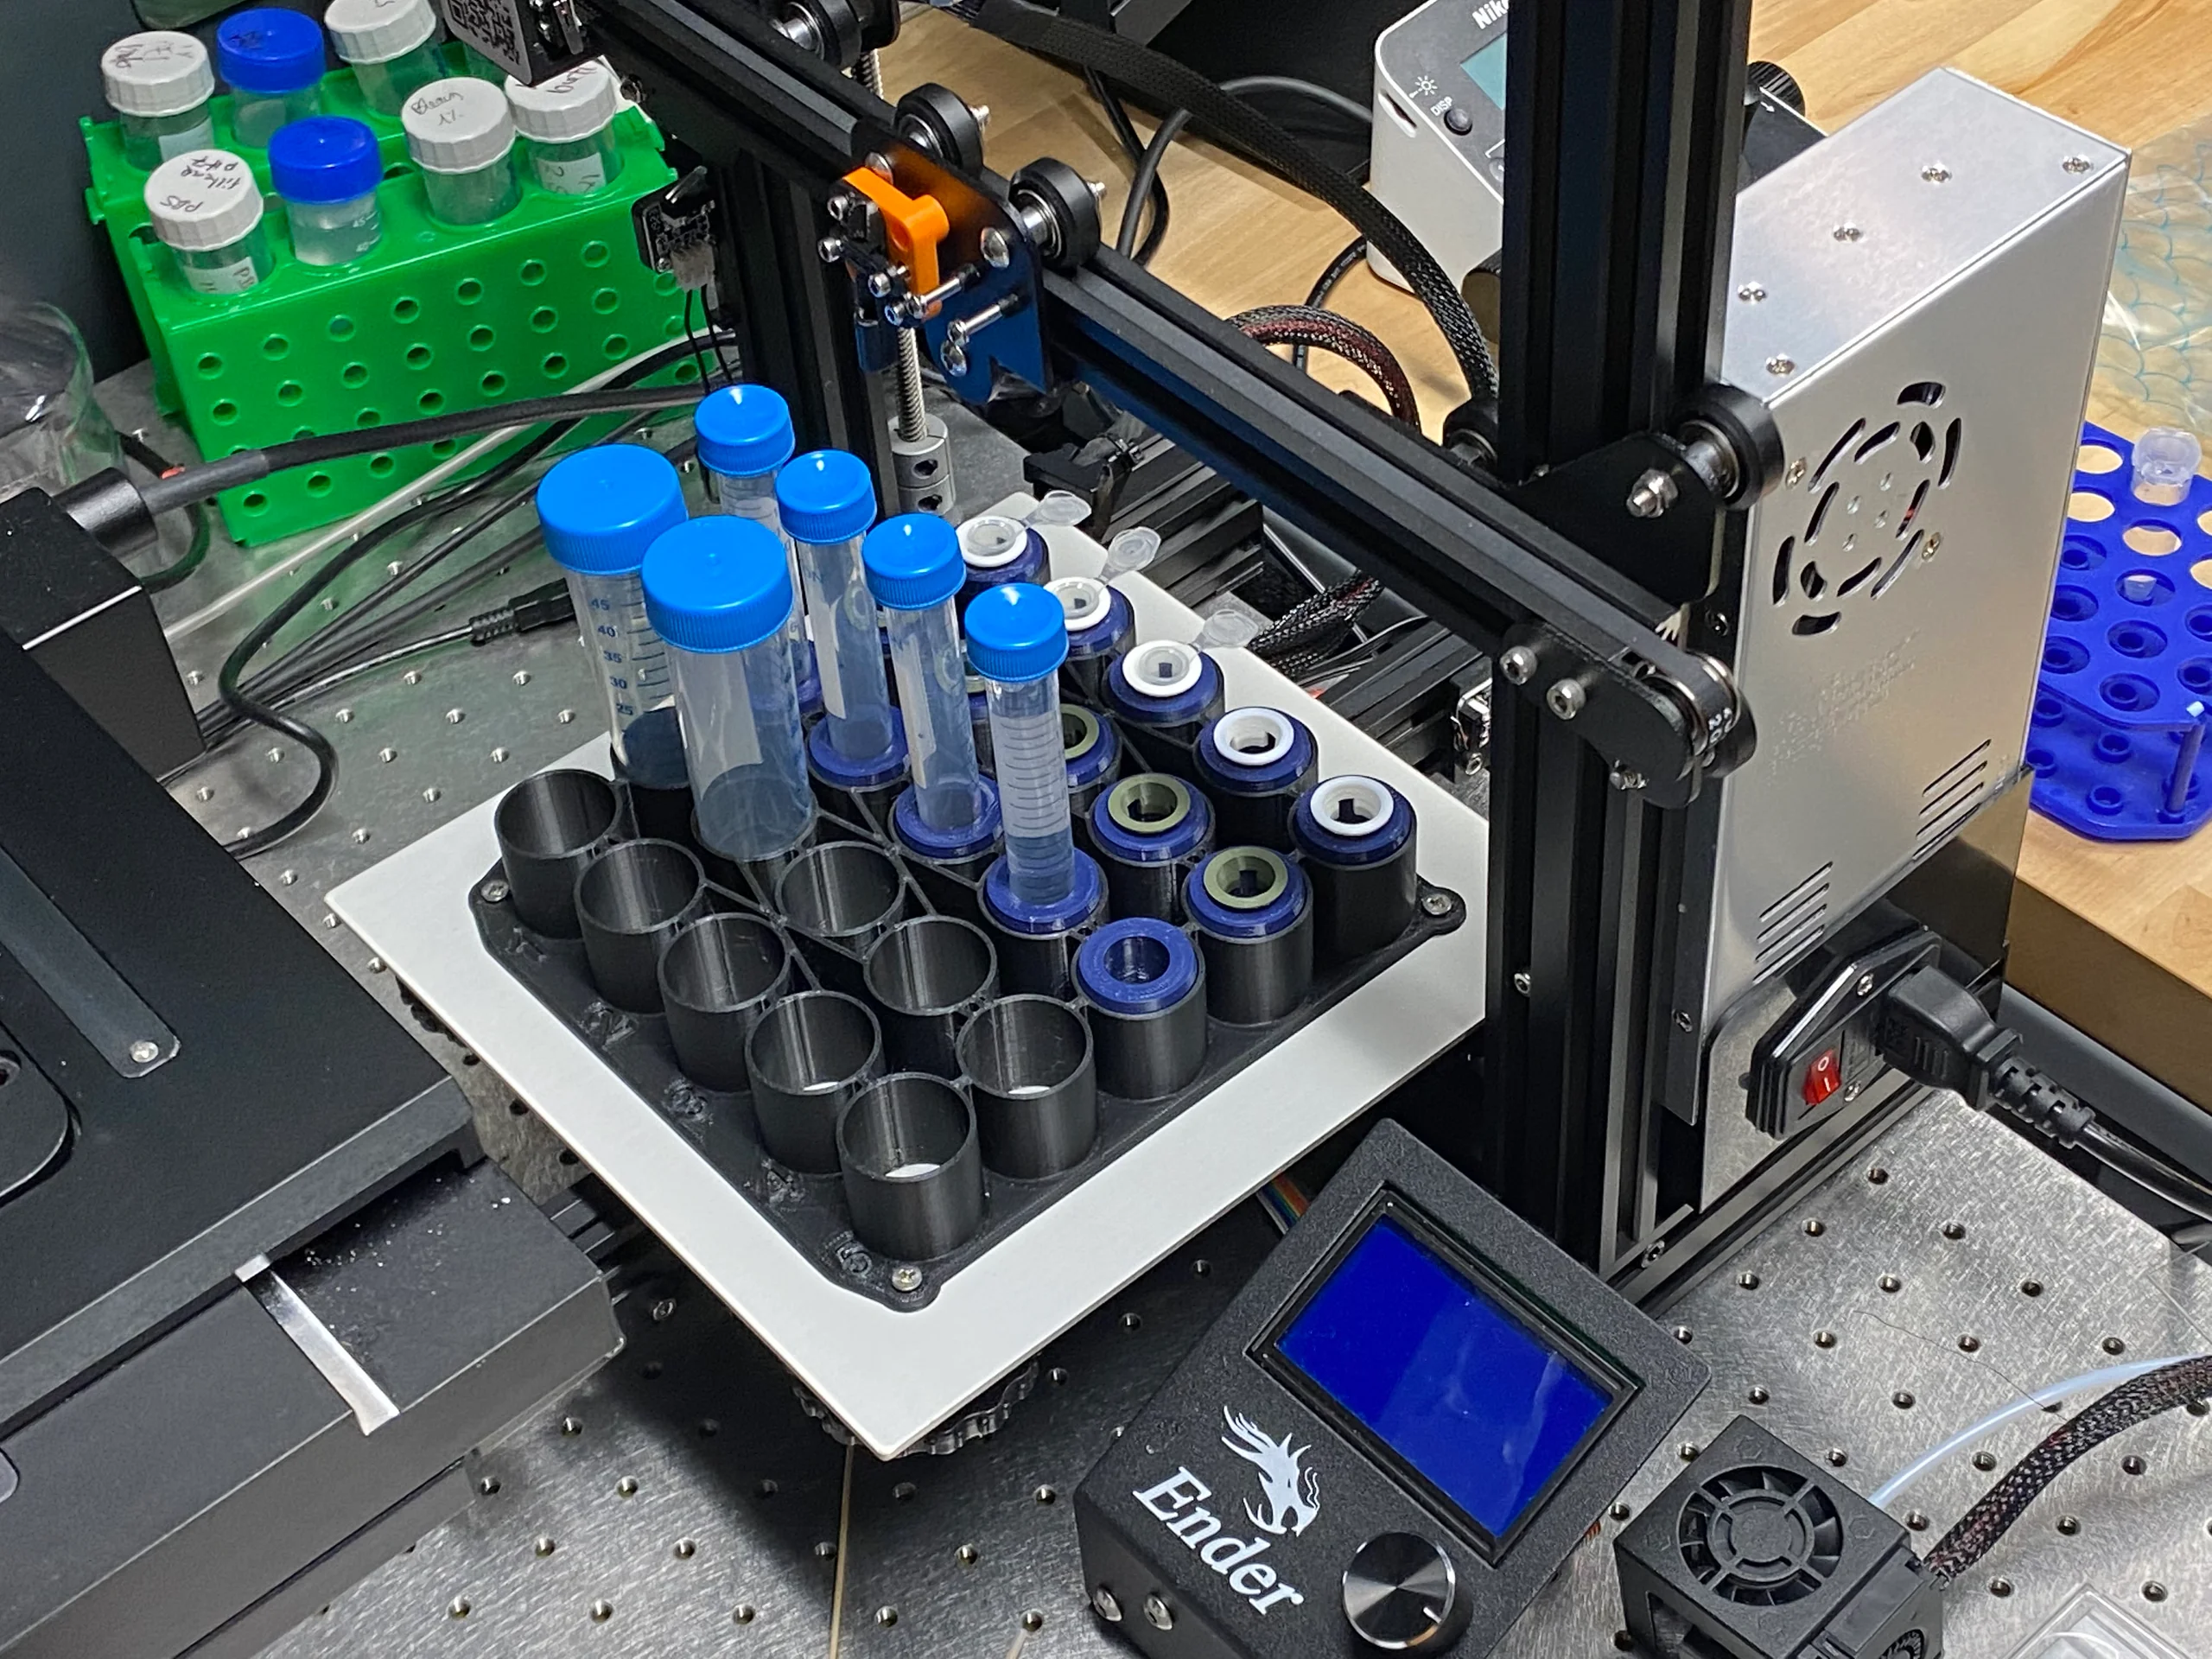
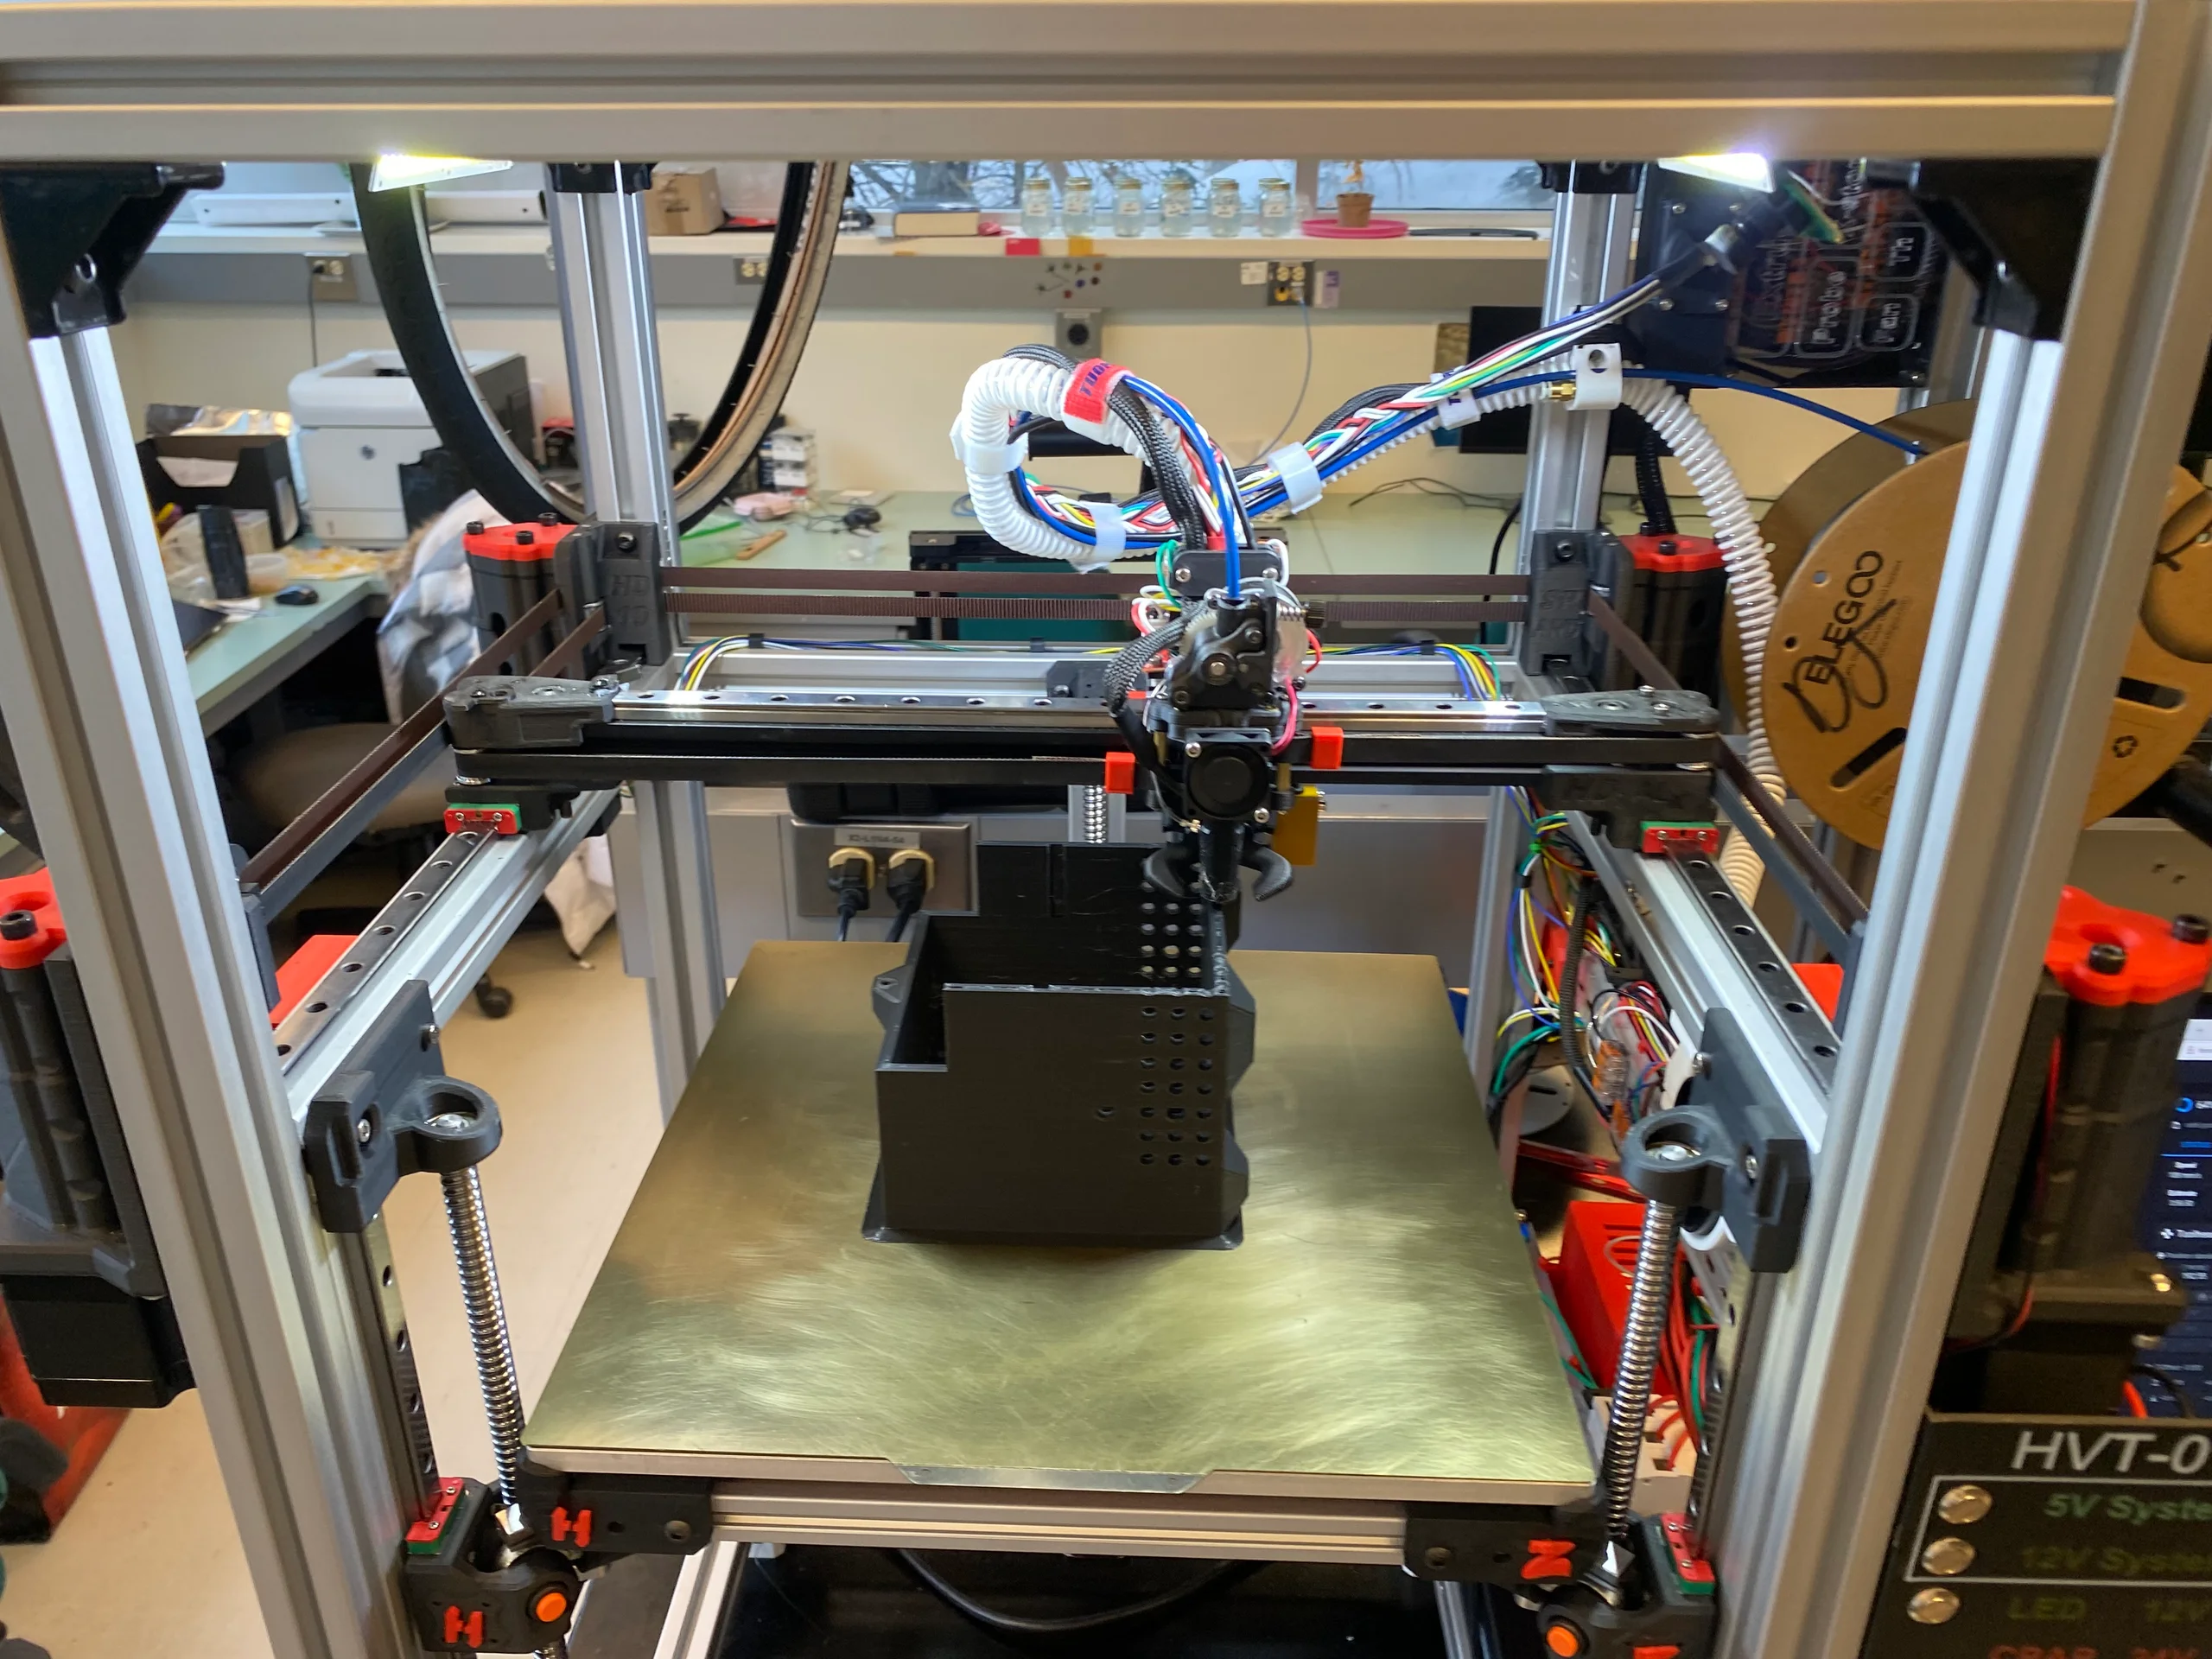
A 3D printer already provides a frame, guided motion, and a carriage that can move a tool across a working area. Converting it into a pipetting platform shifts that motion from building an object to positioning a dispensing mechanism over wells or containers.
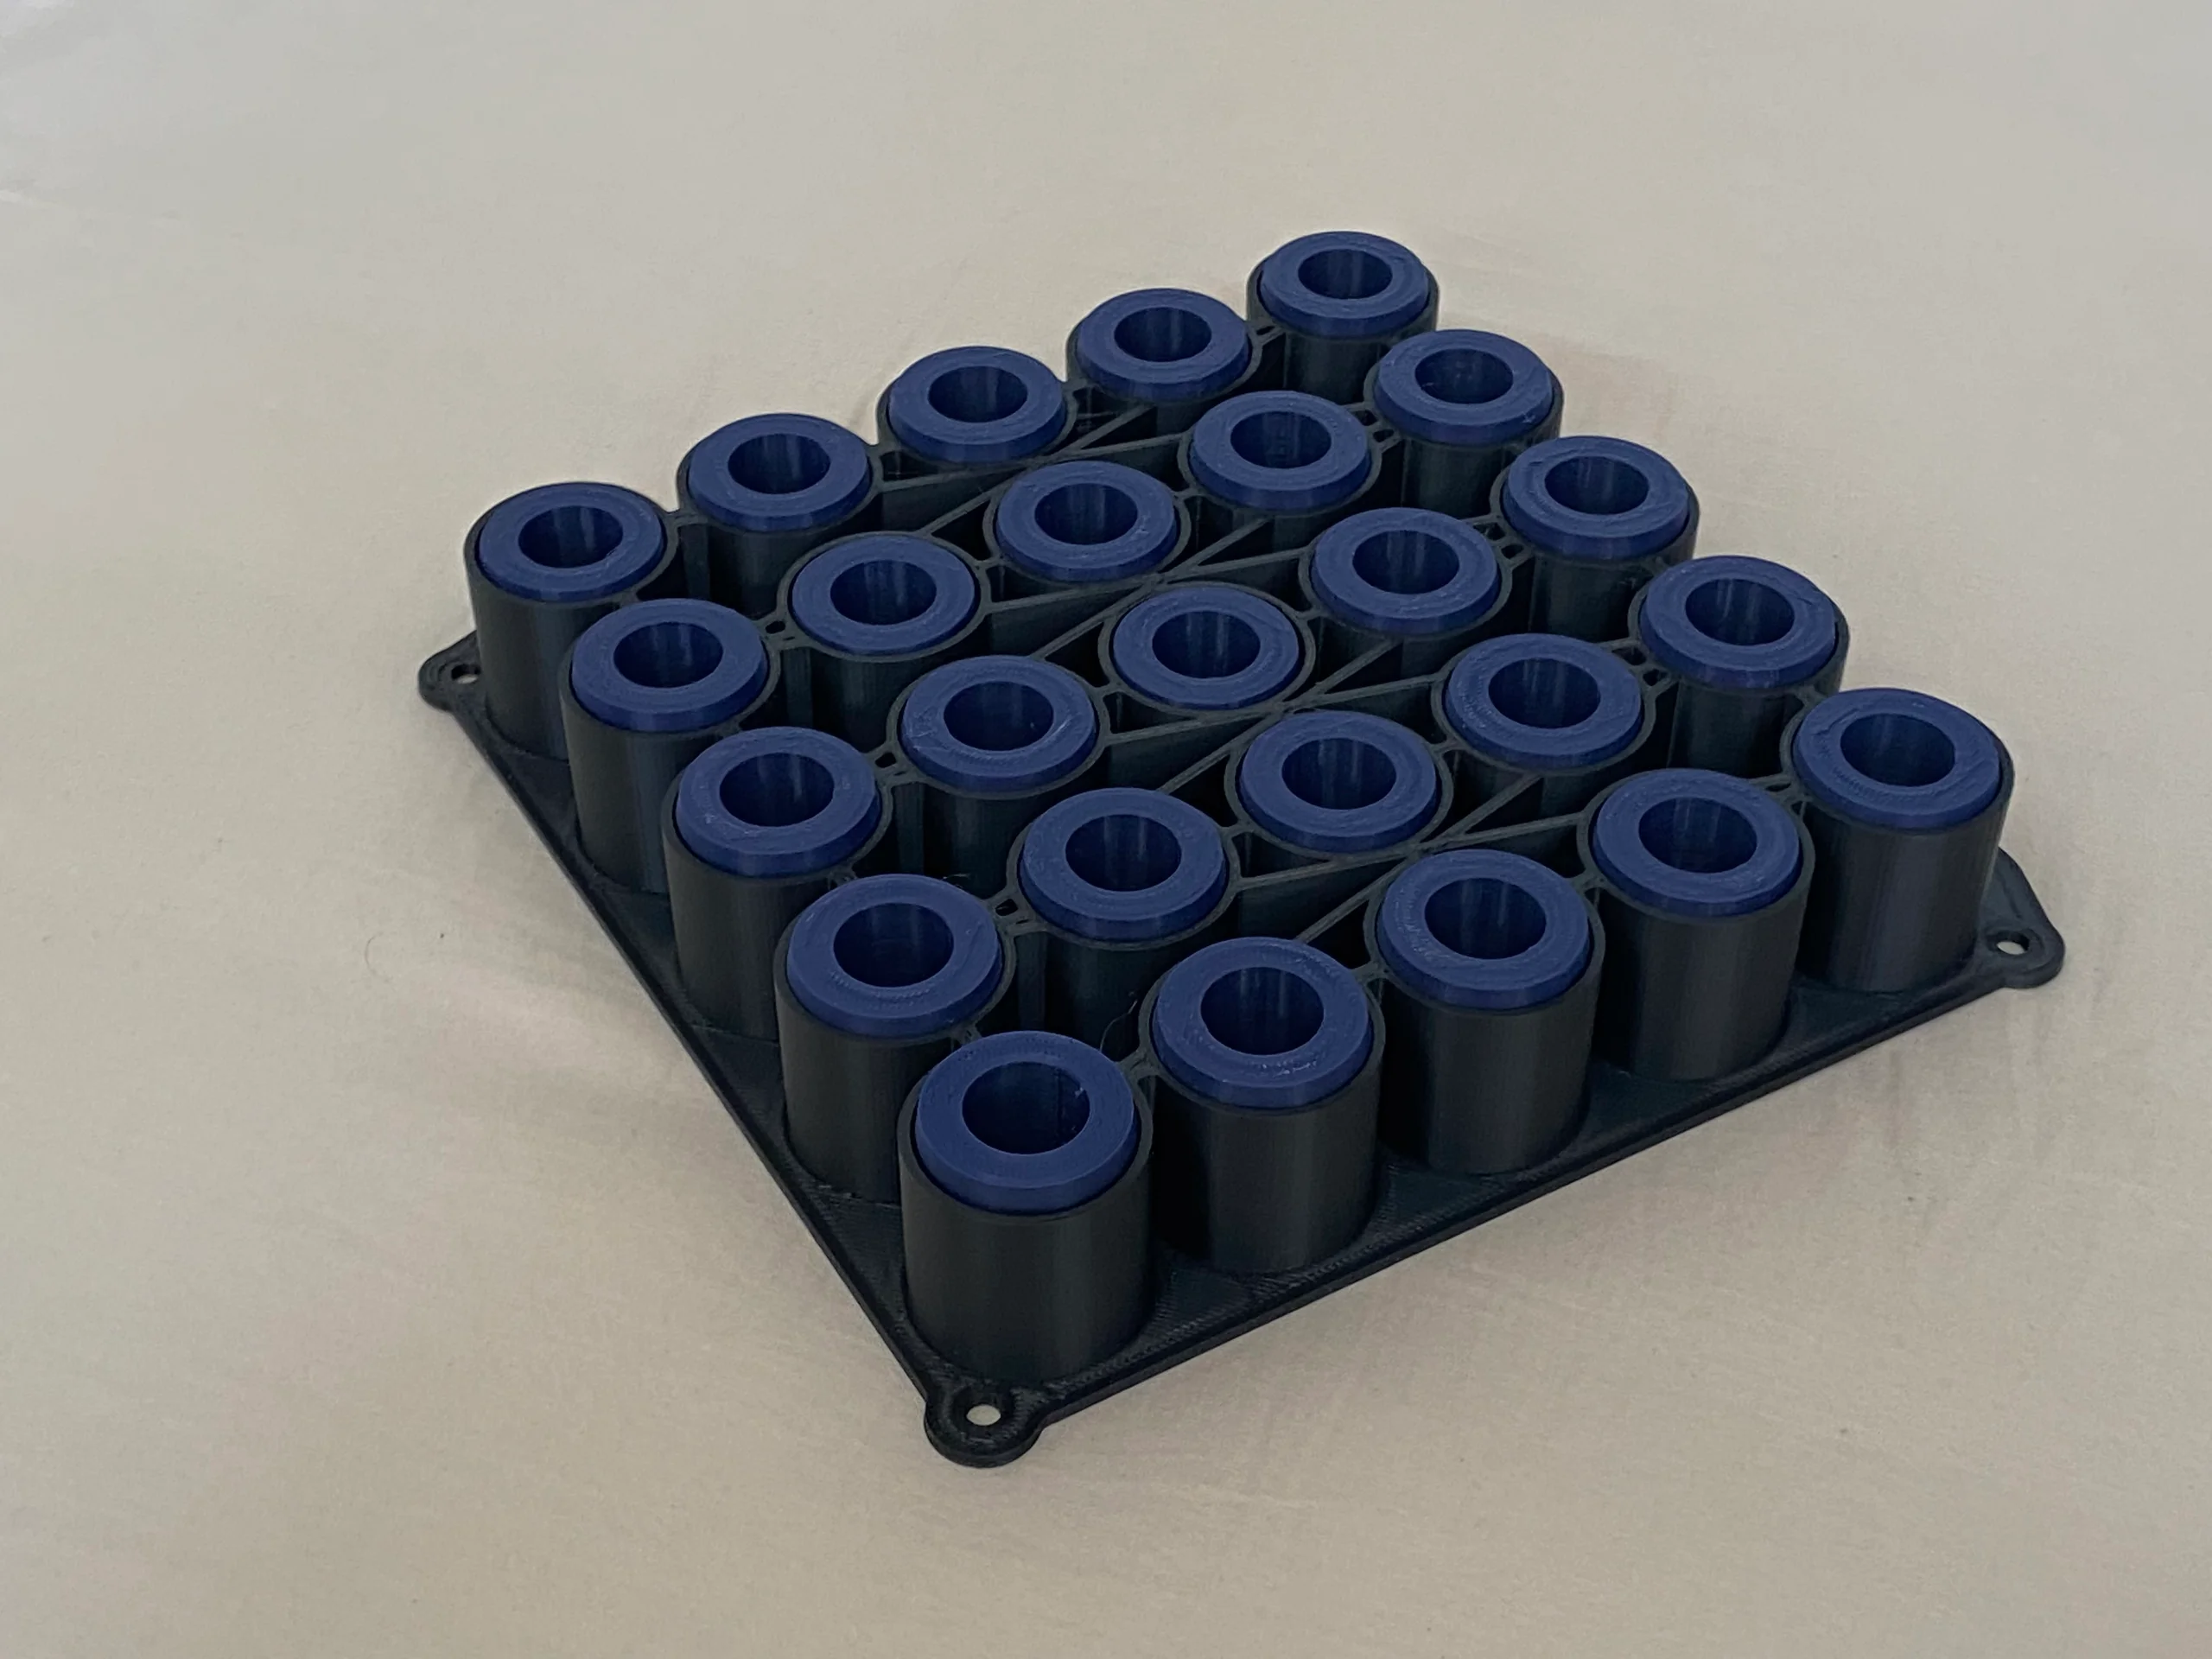
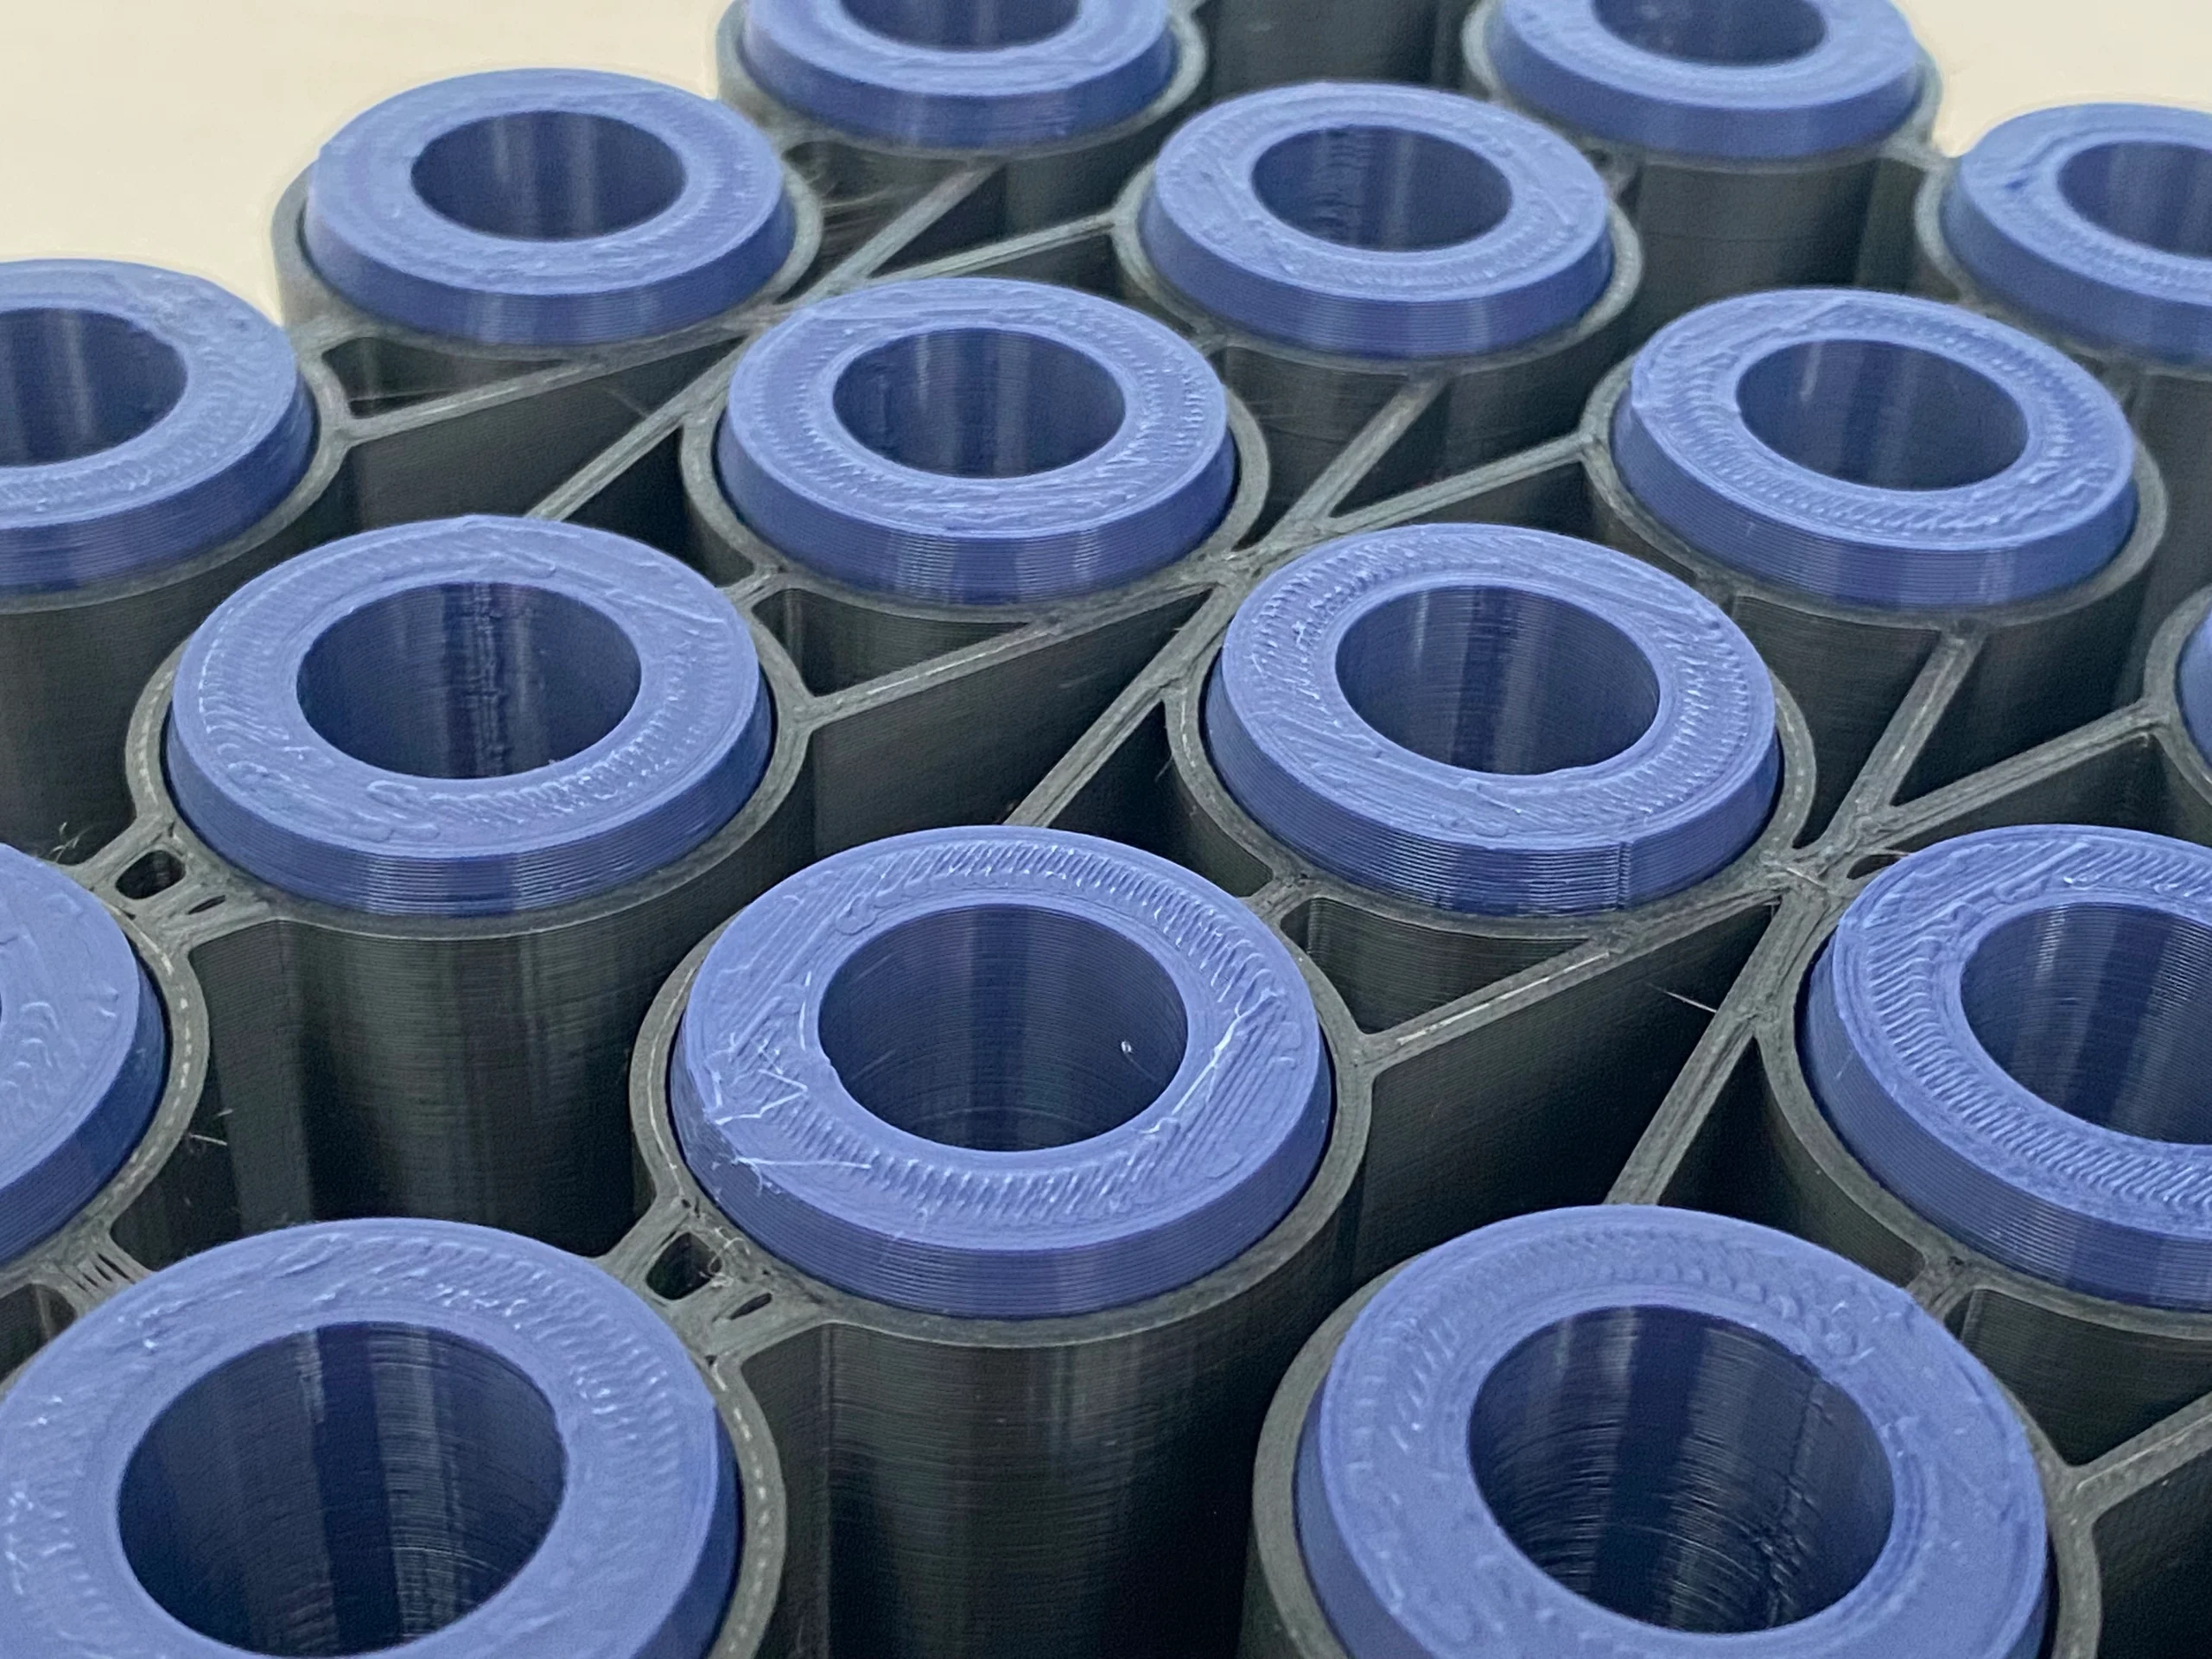
The build brings the mounted mechanism, electronics, and sample trays into one arrangement. Access to the vessels and the placement of the tool matter as much as the motion itself.
The printer conversion.
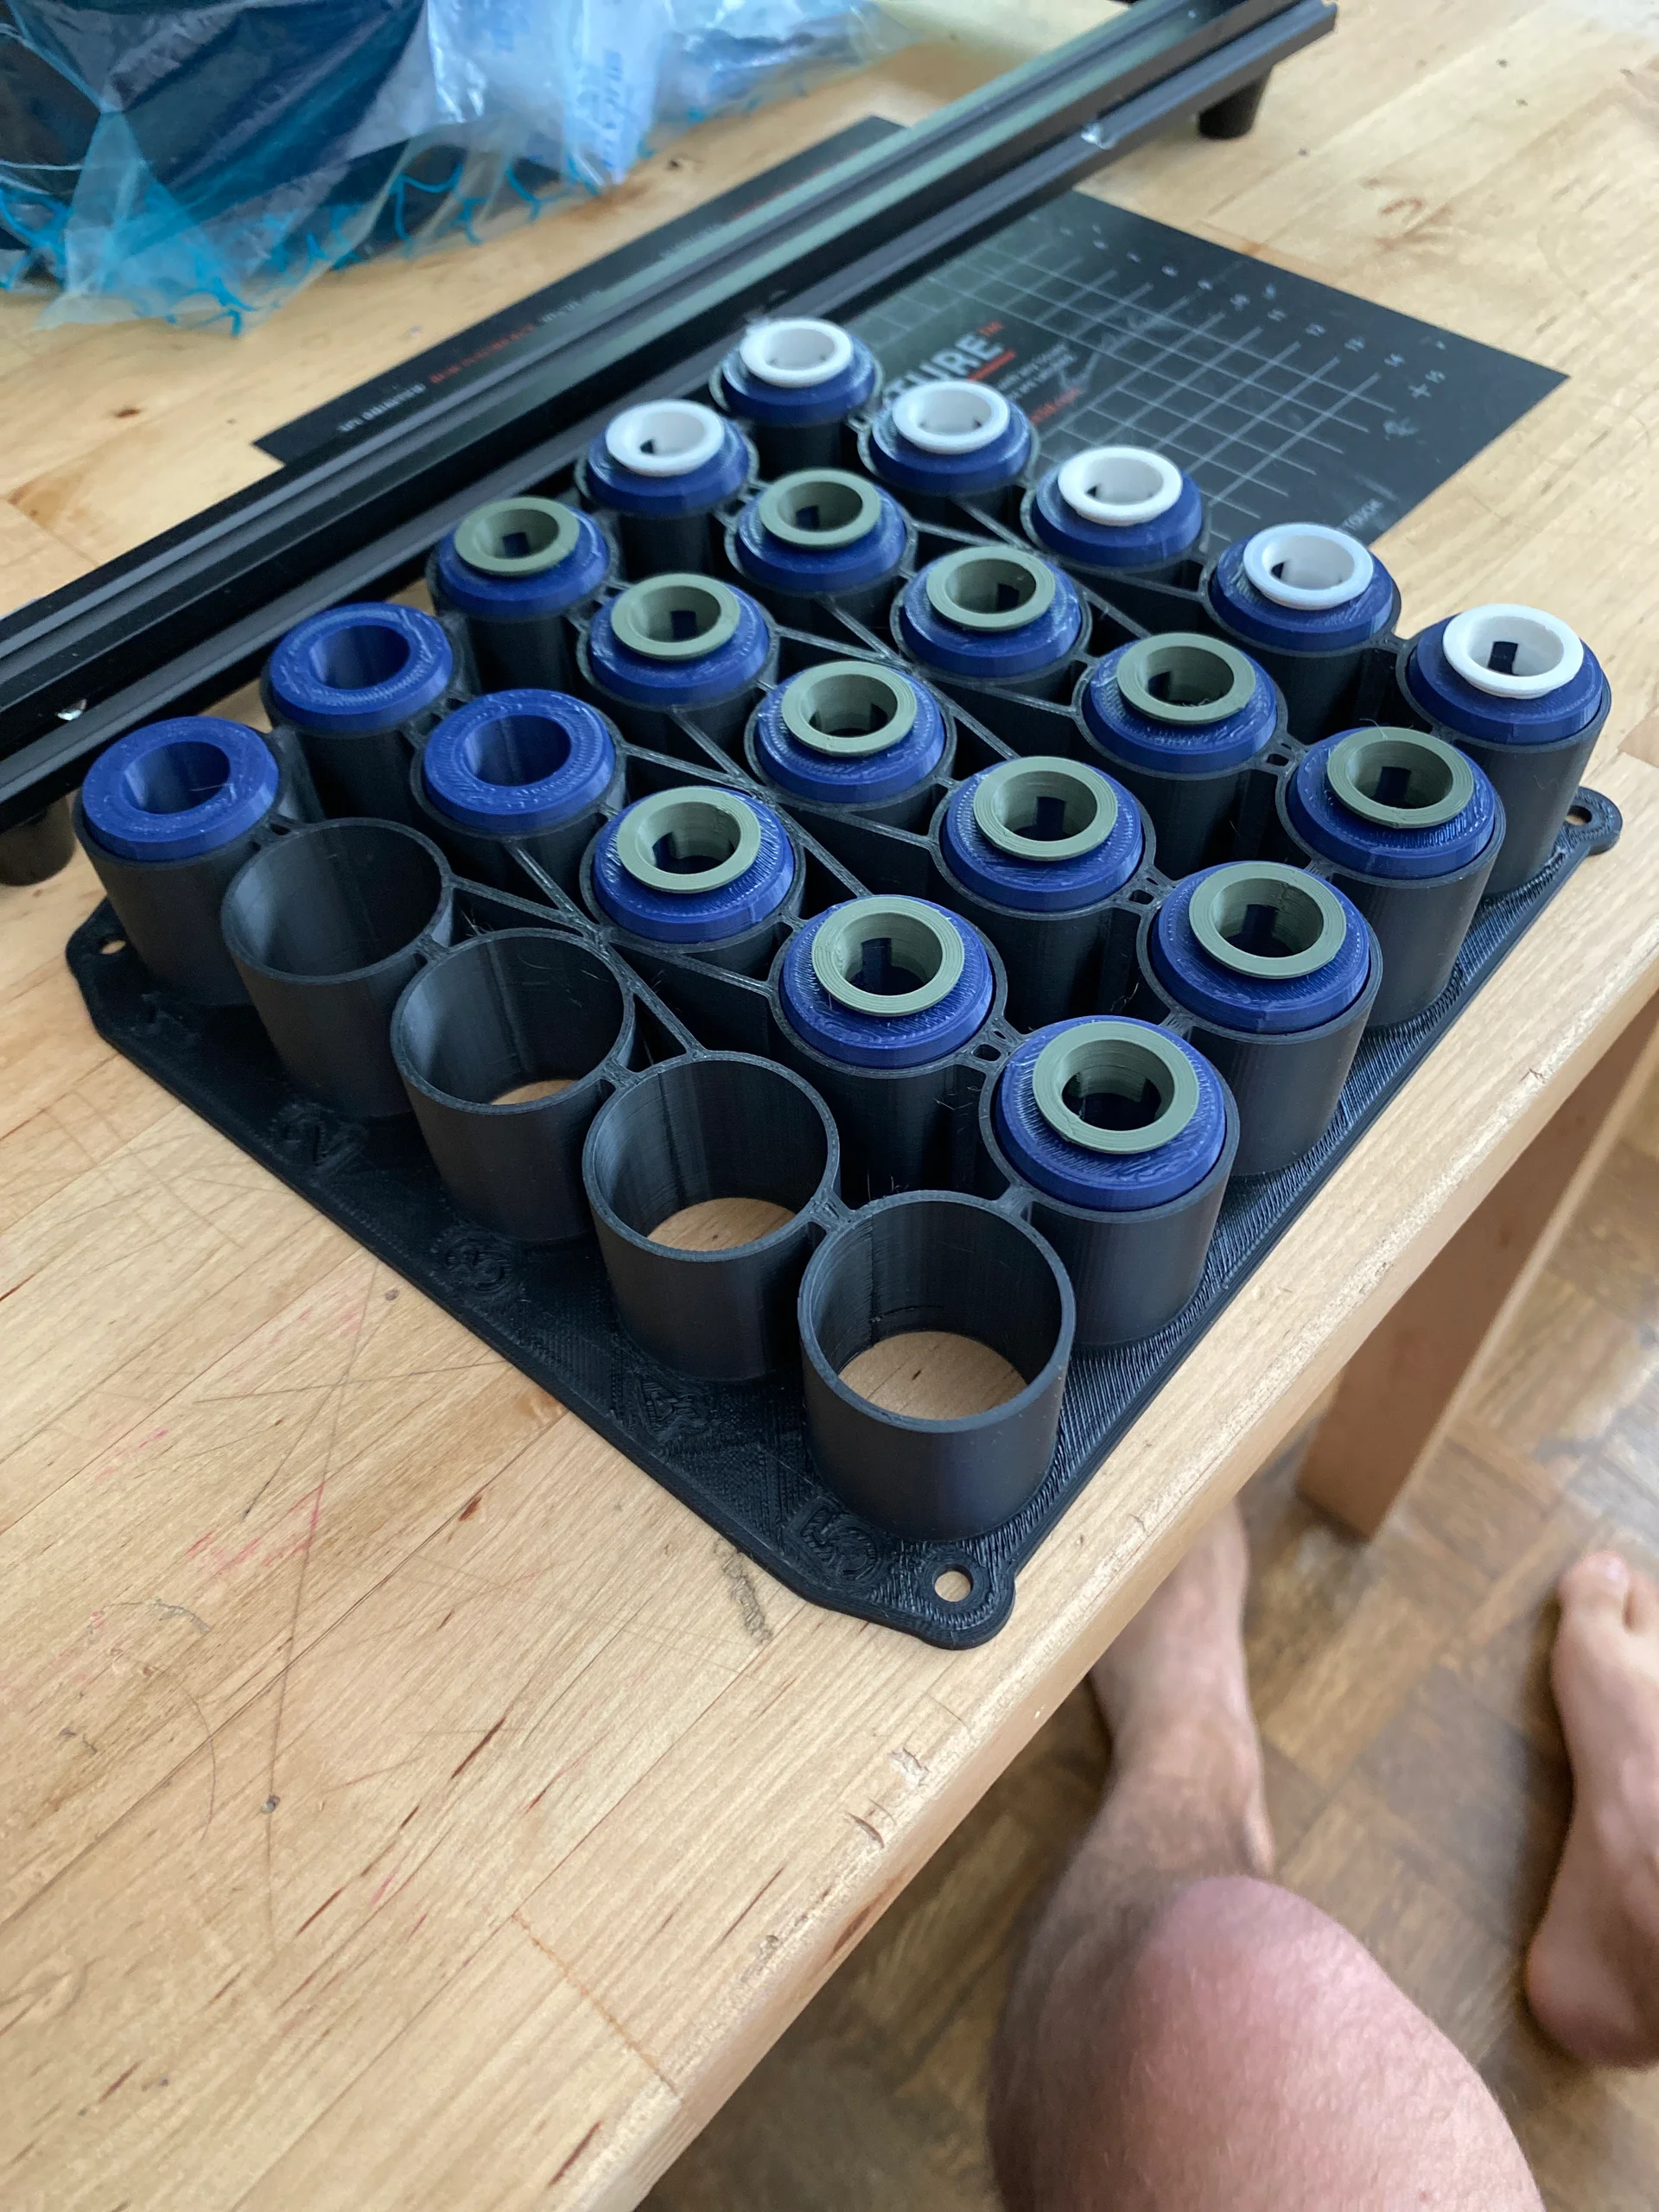
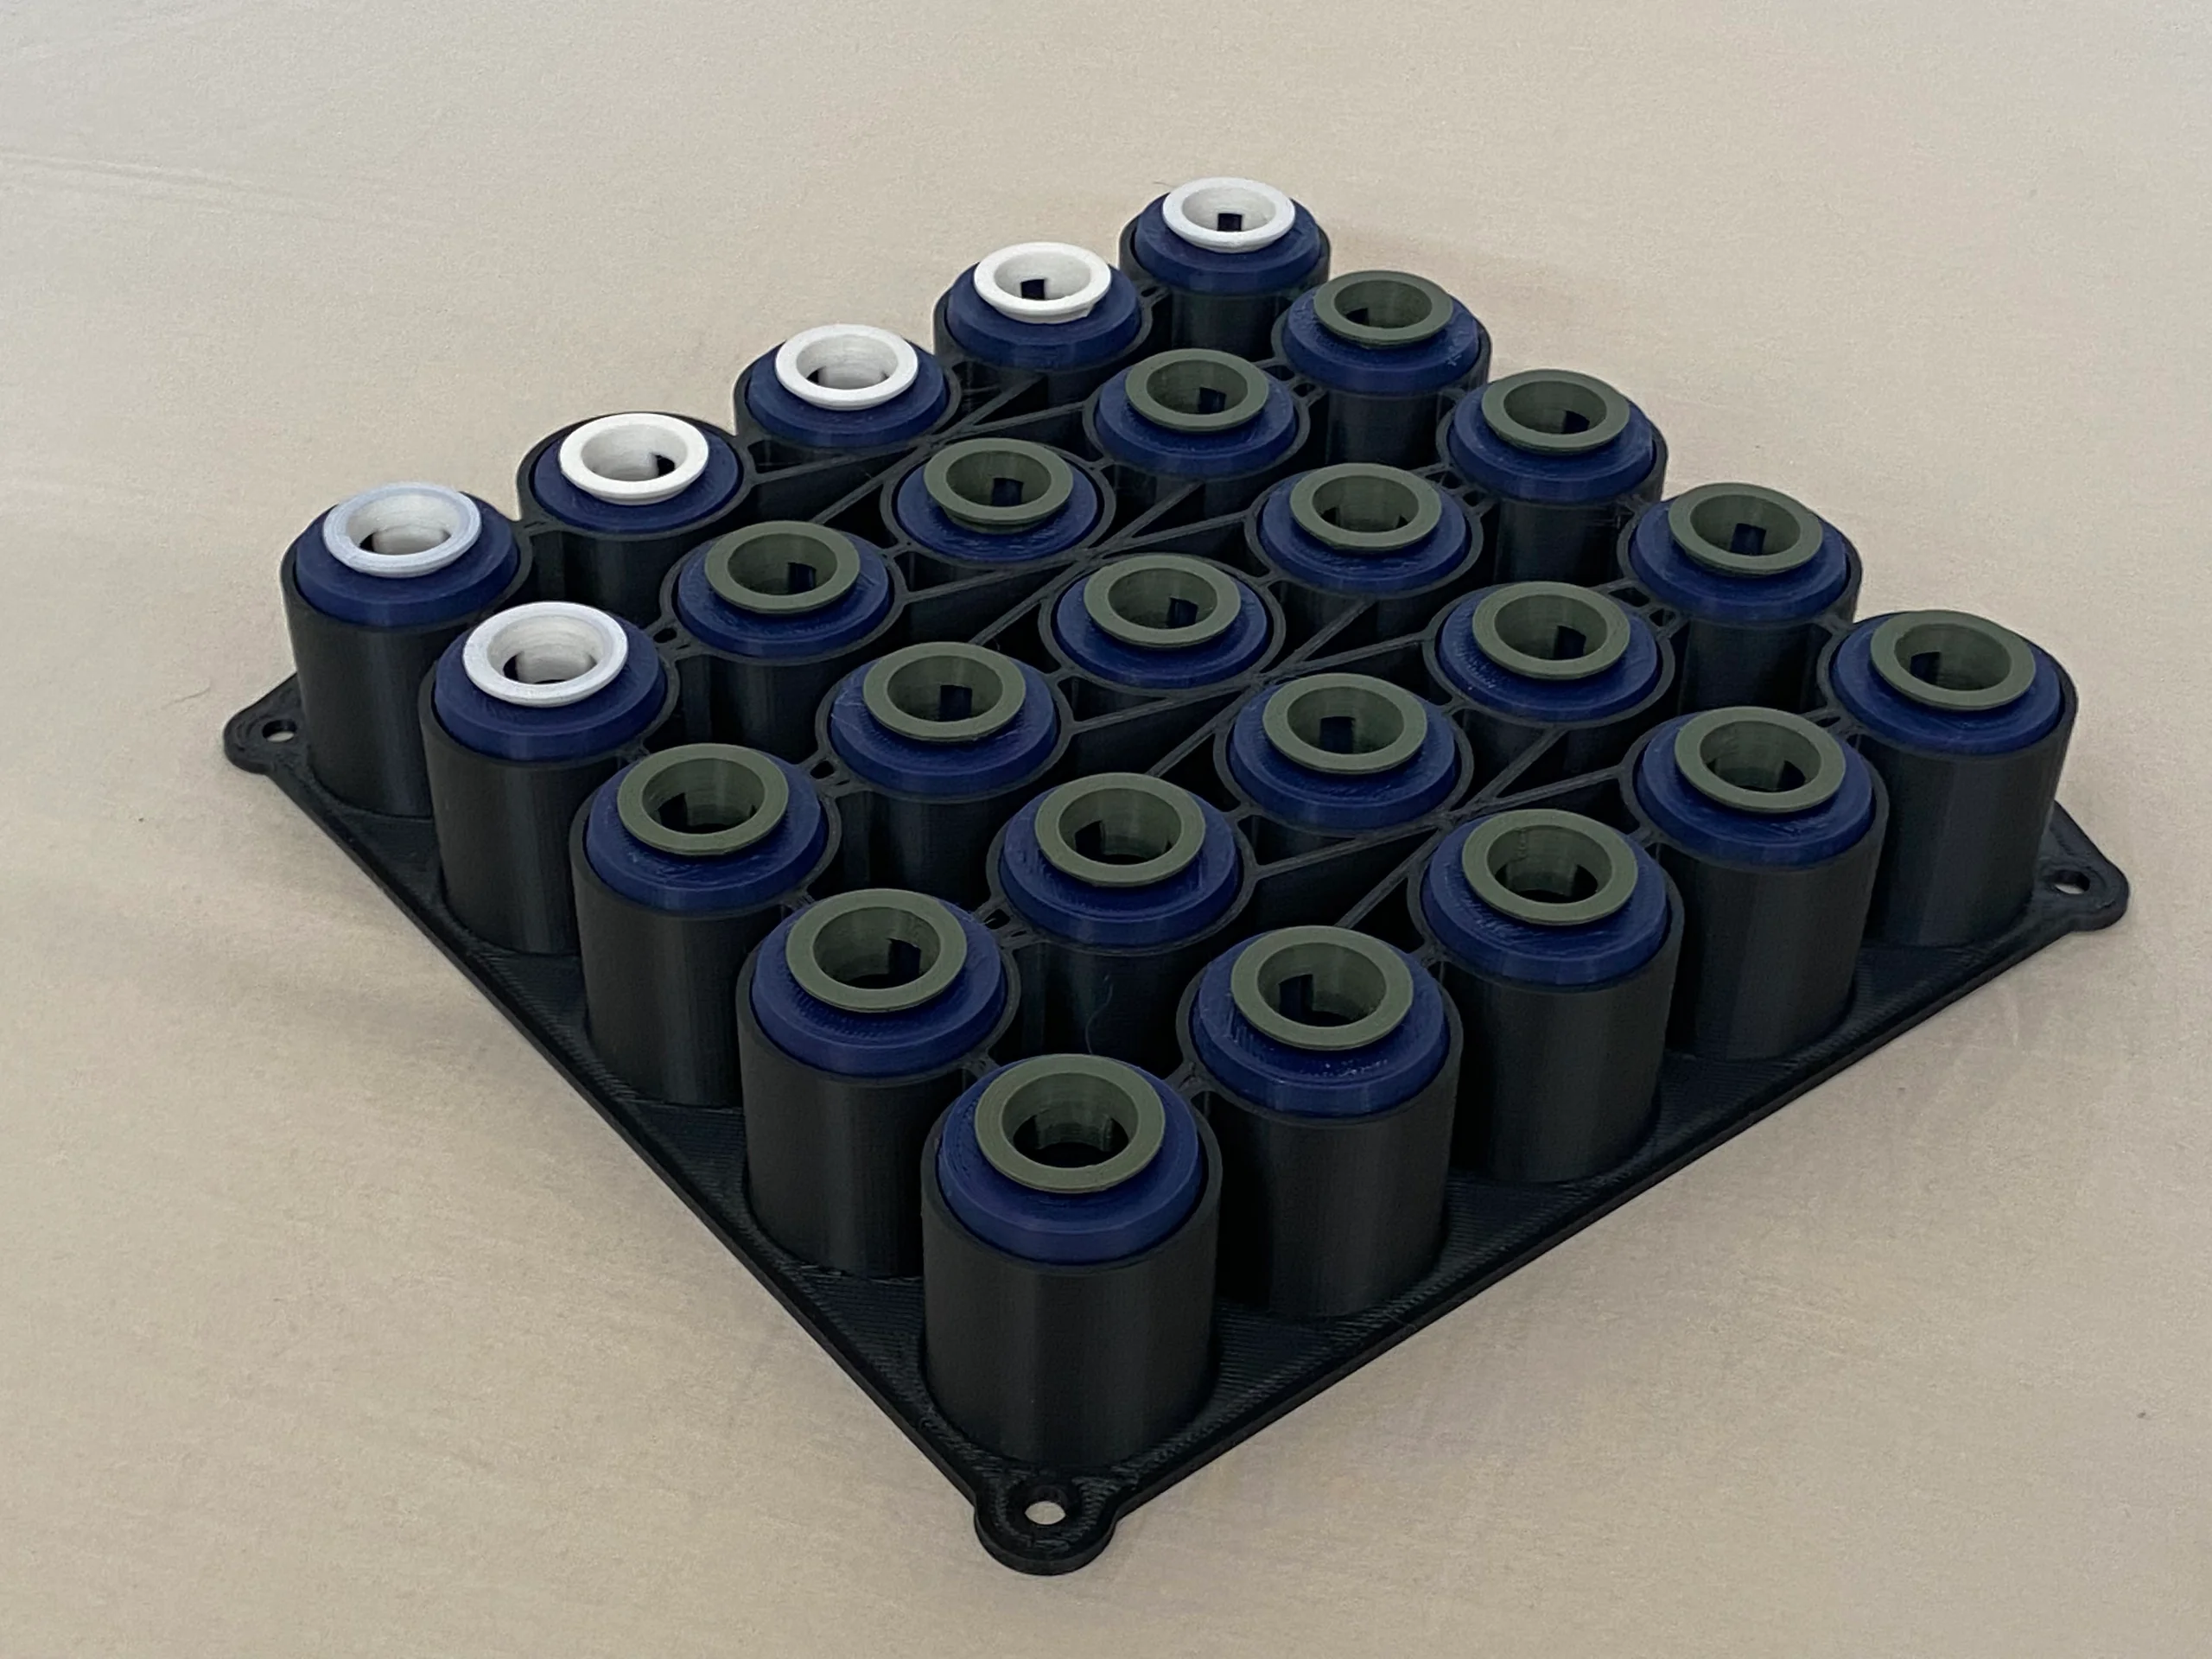
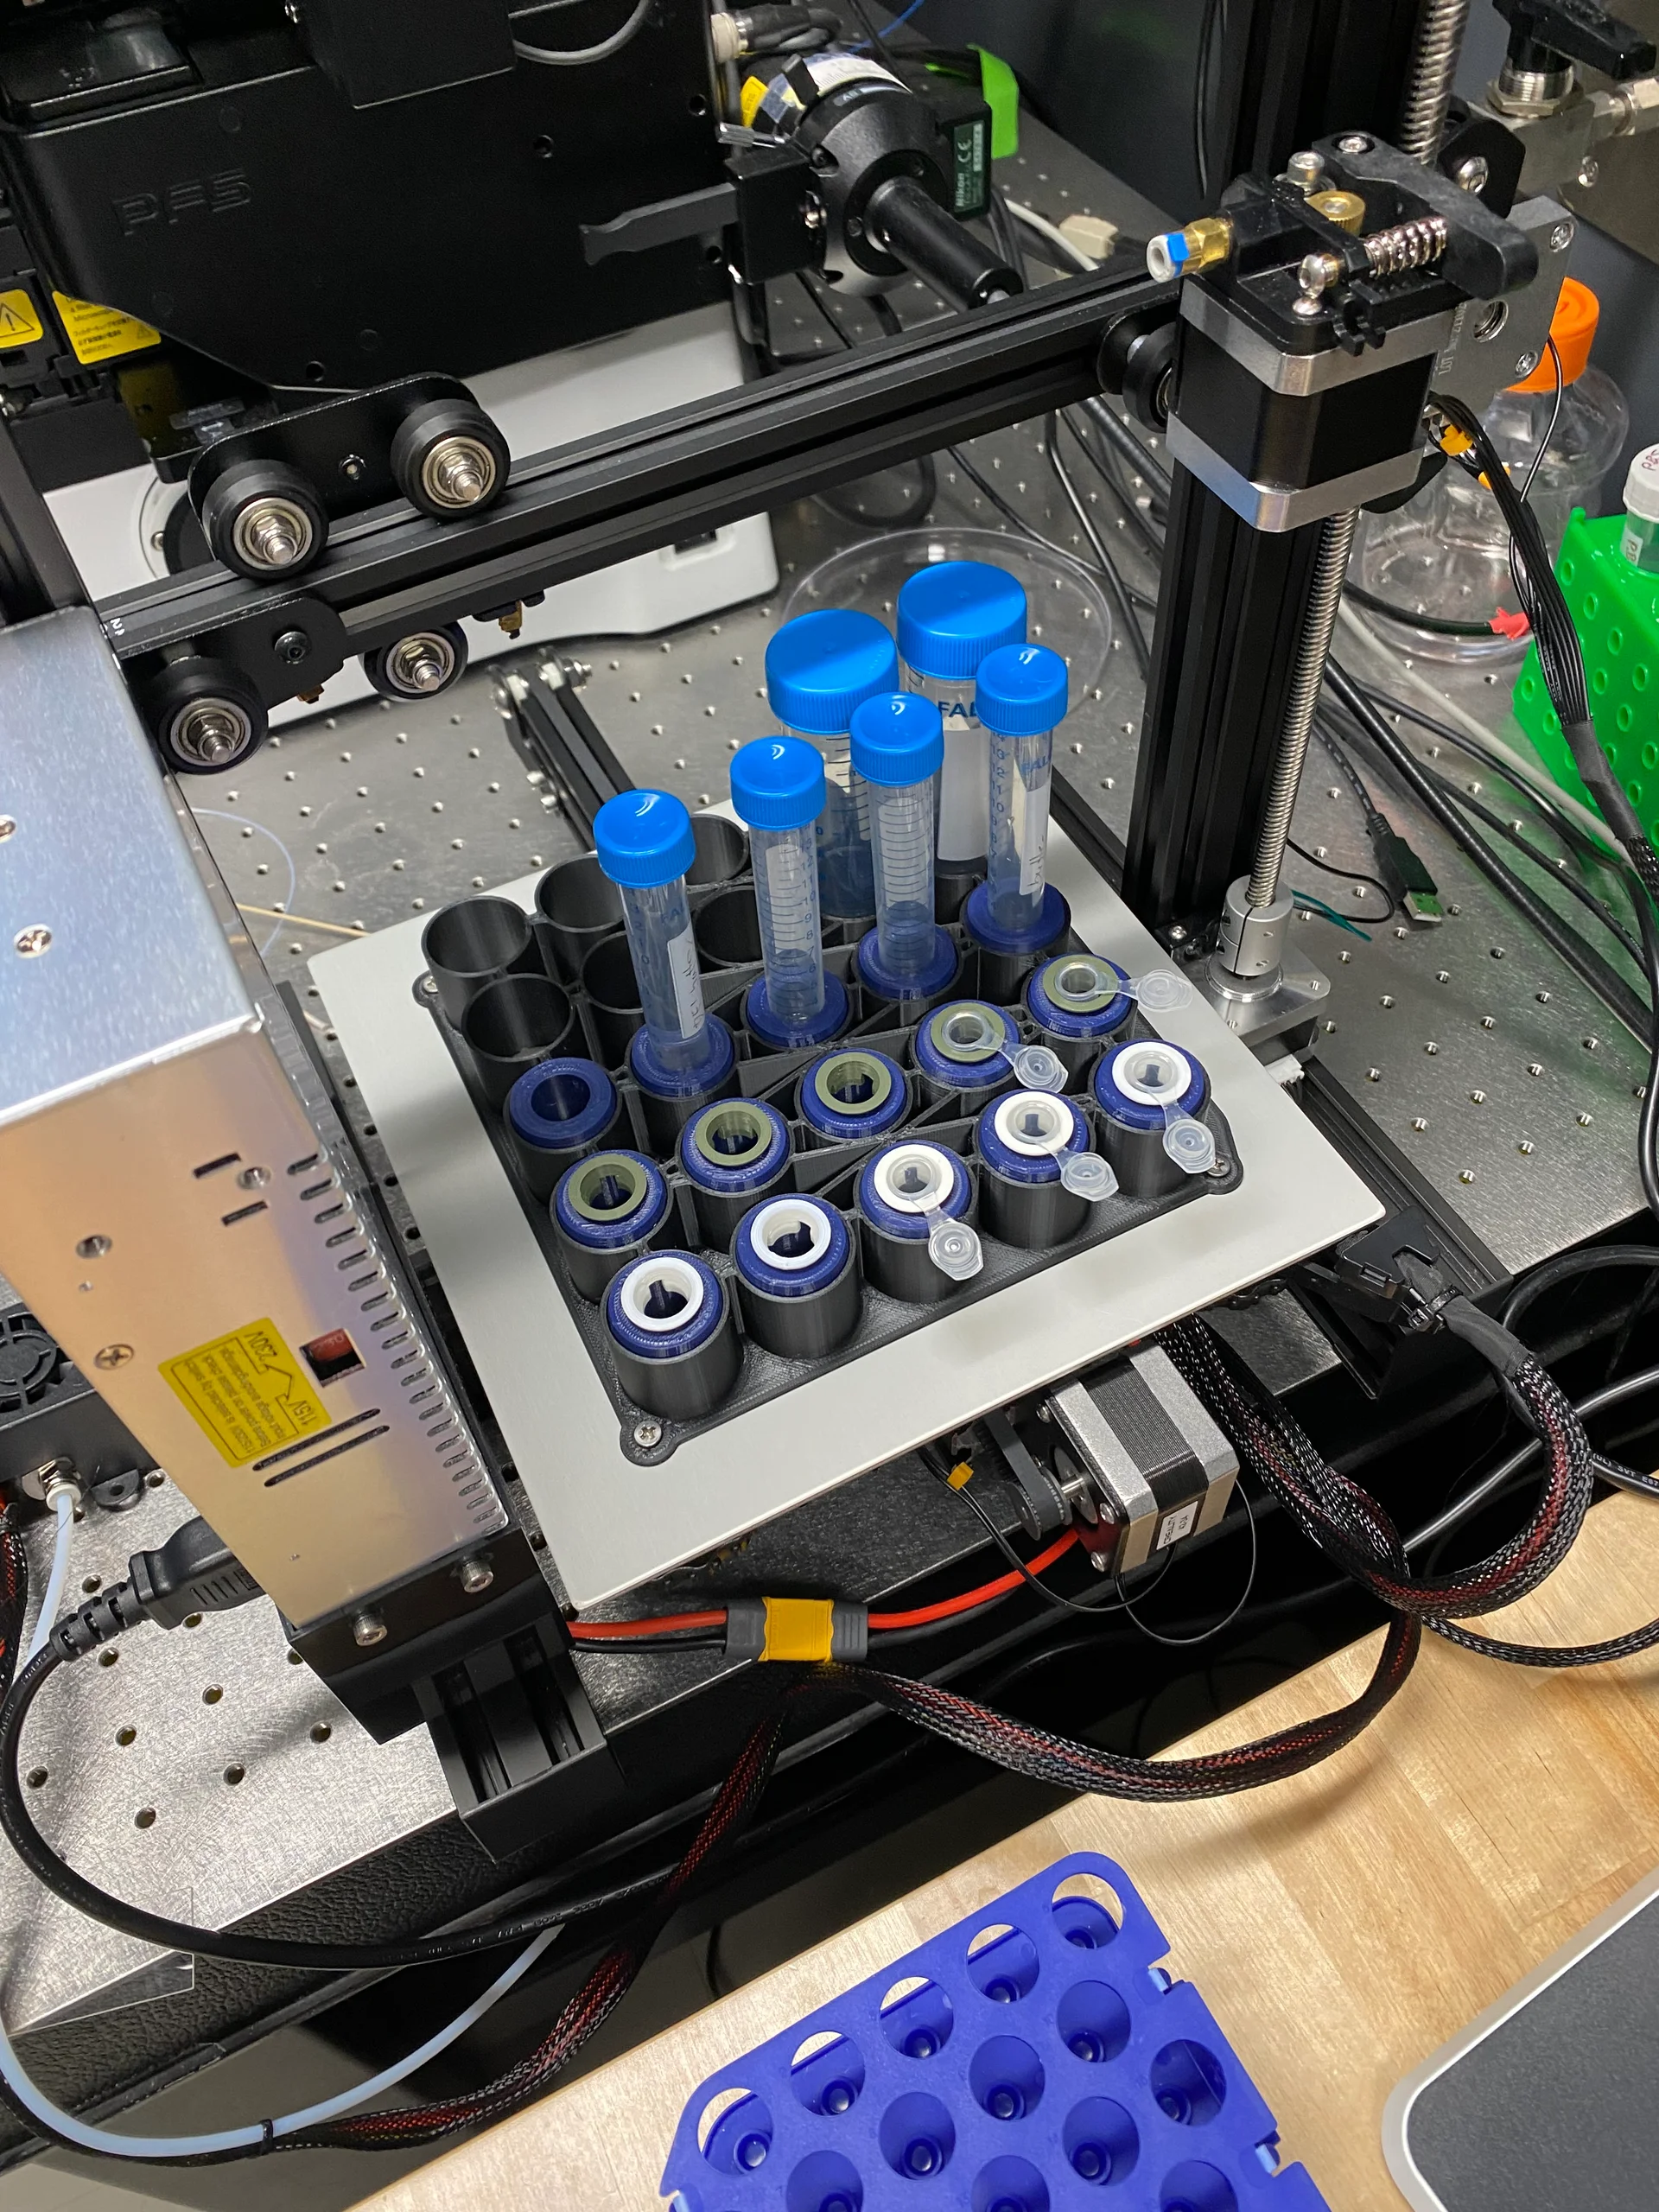
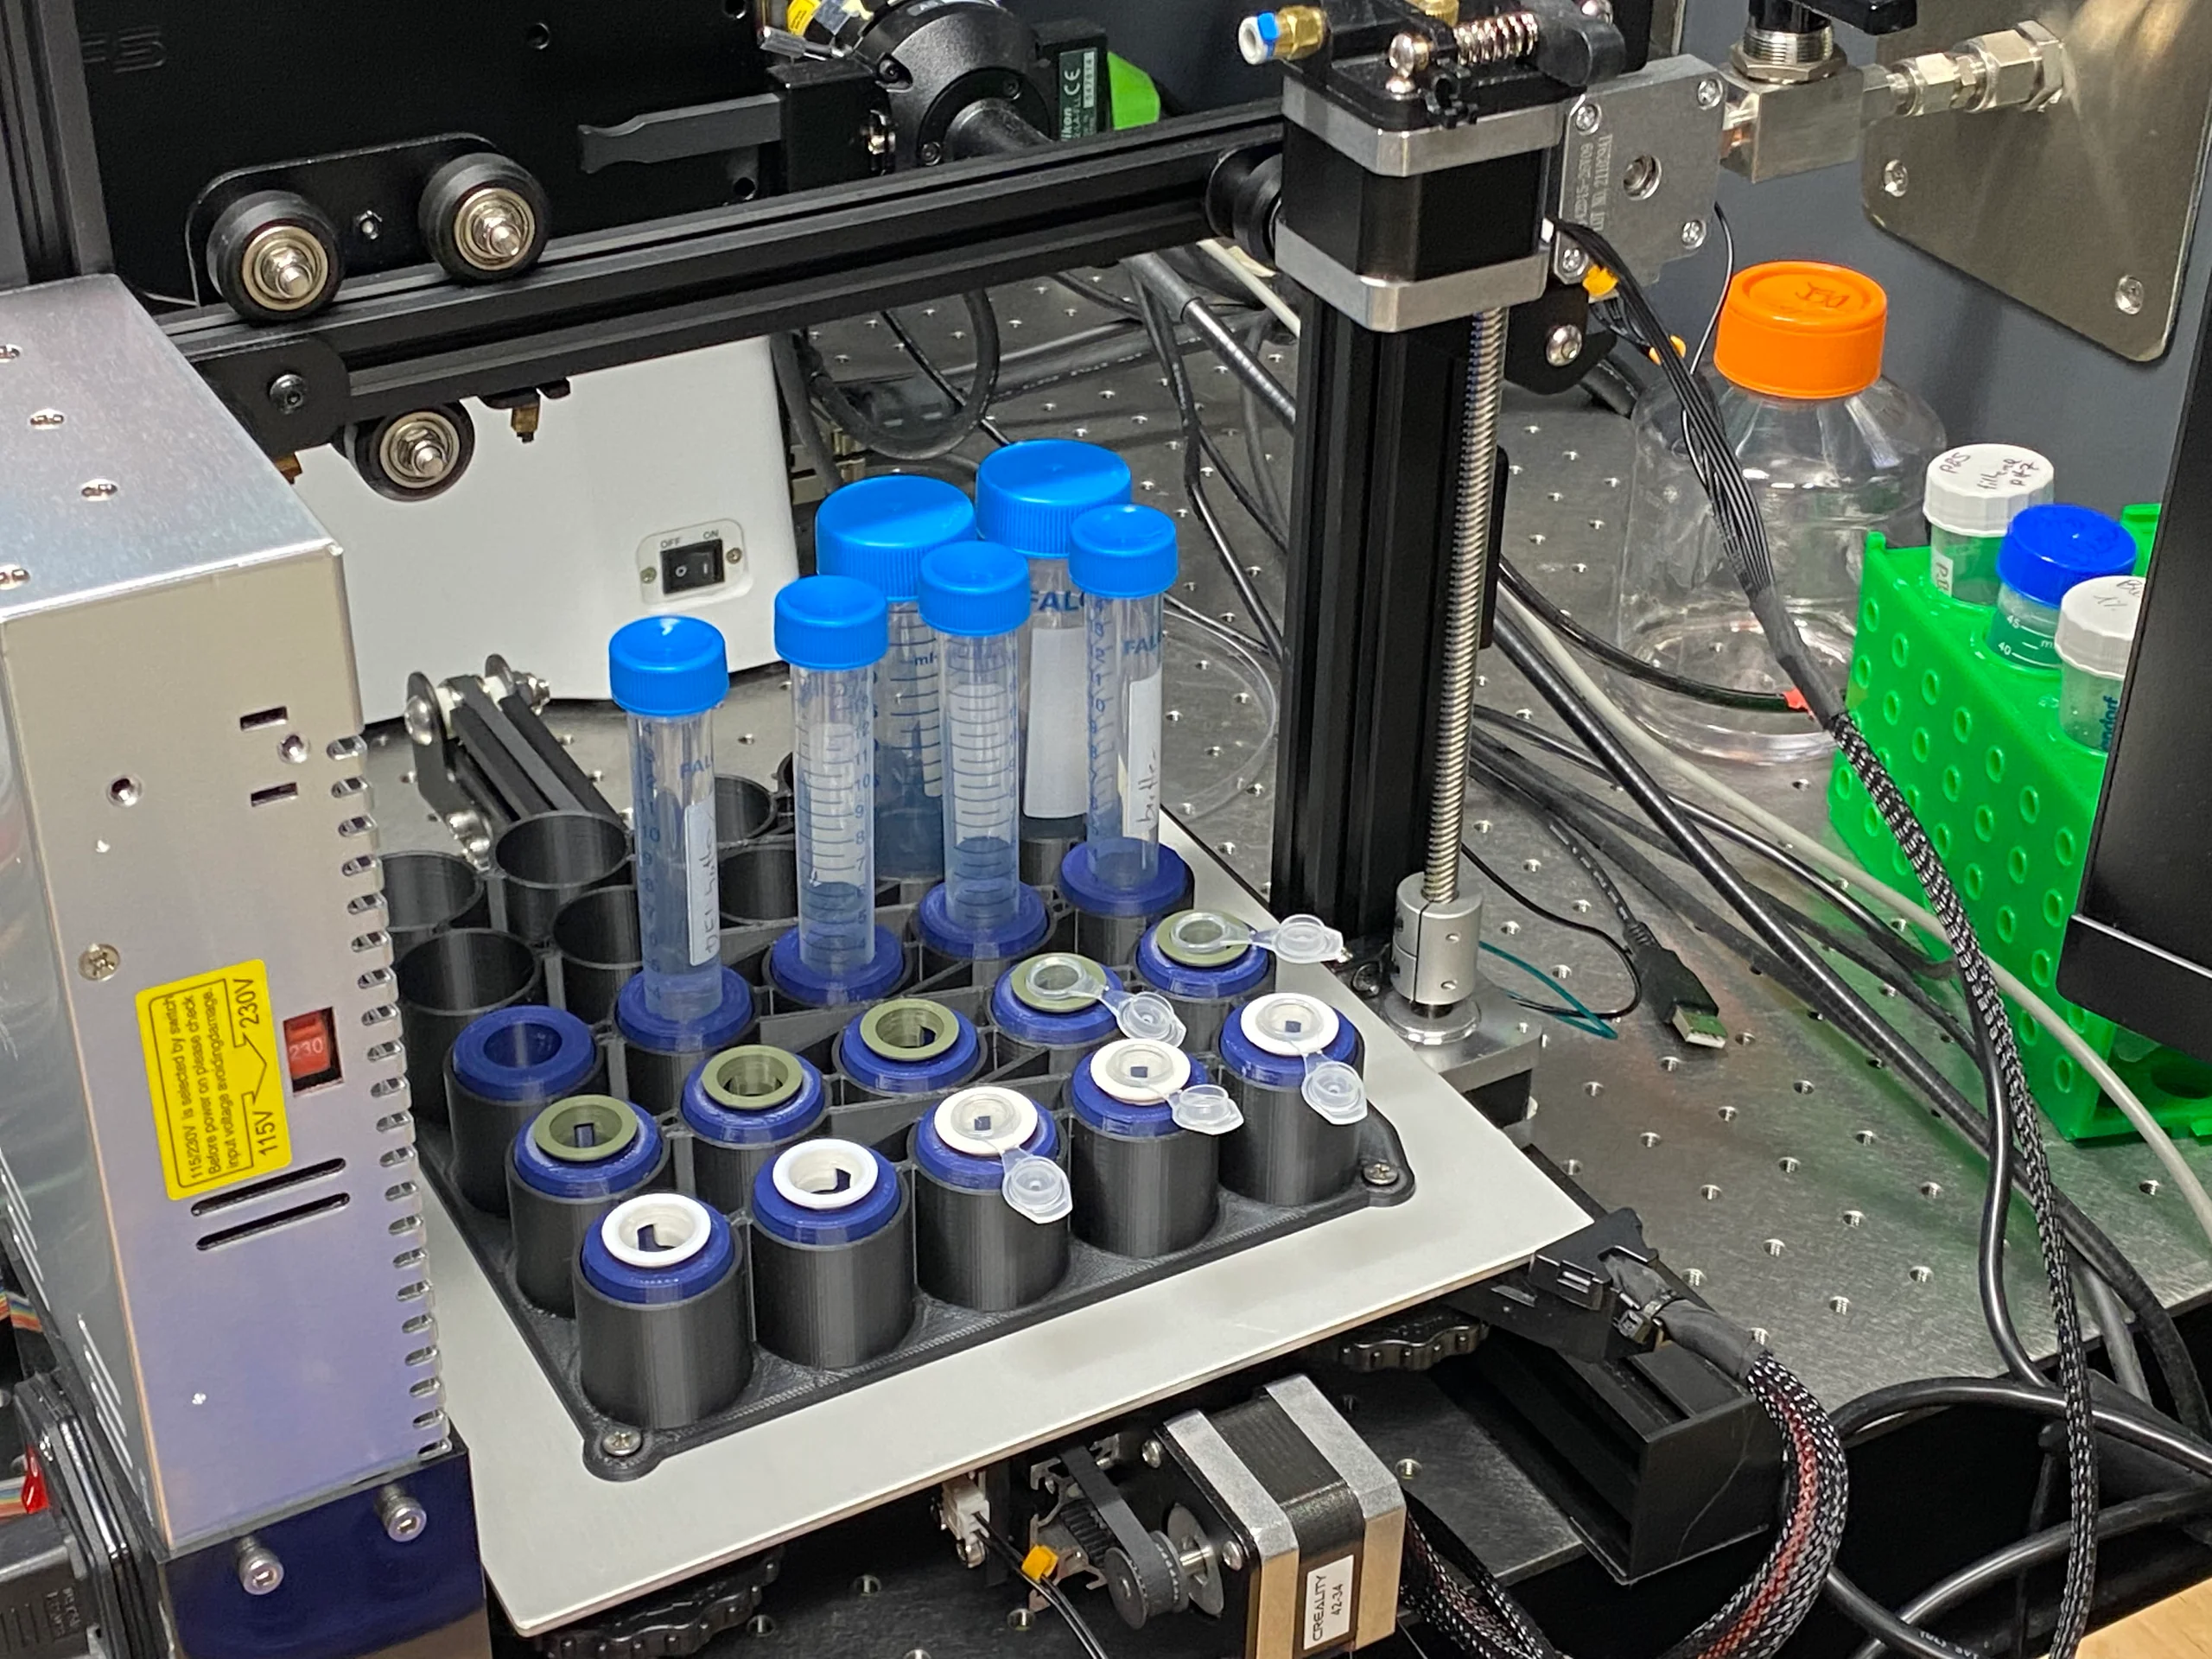
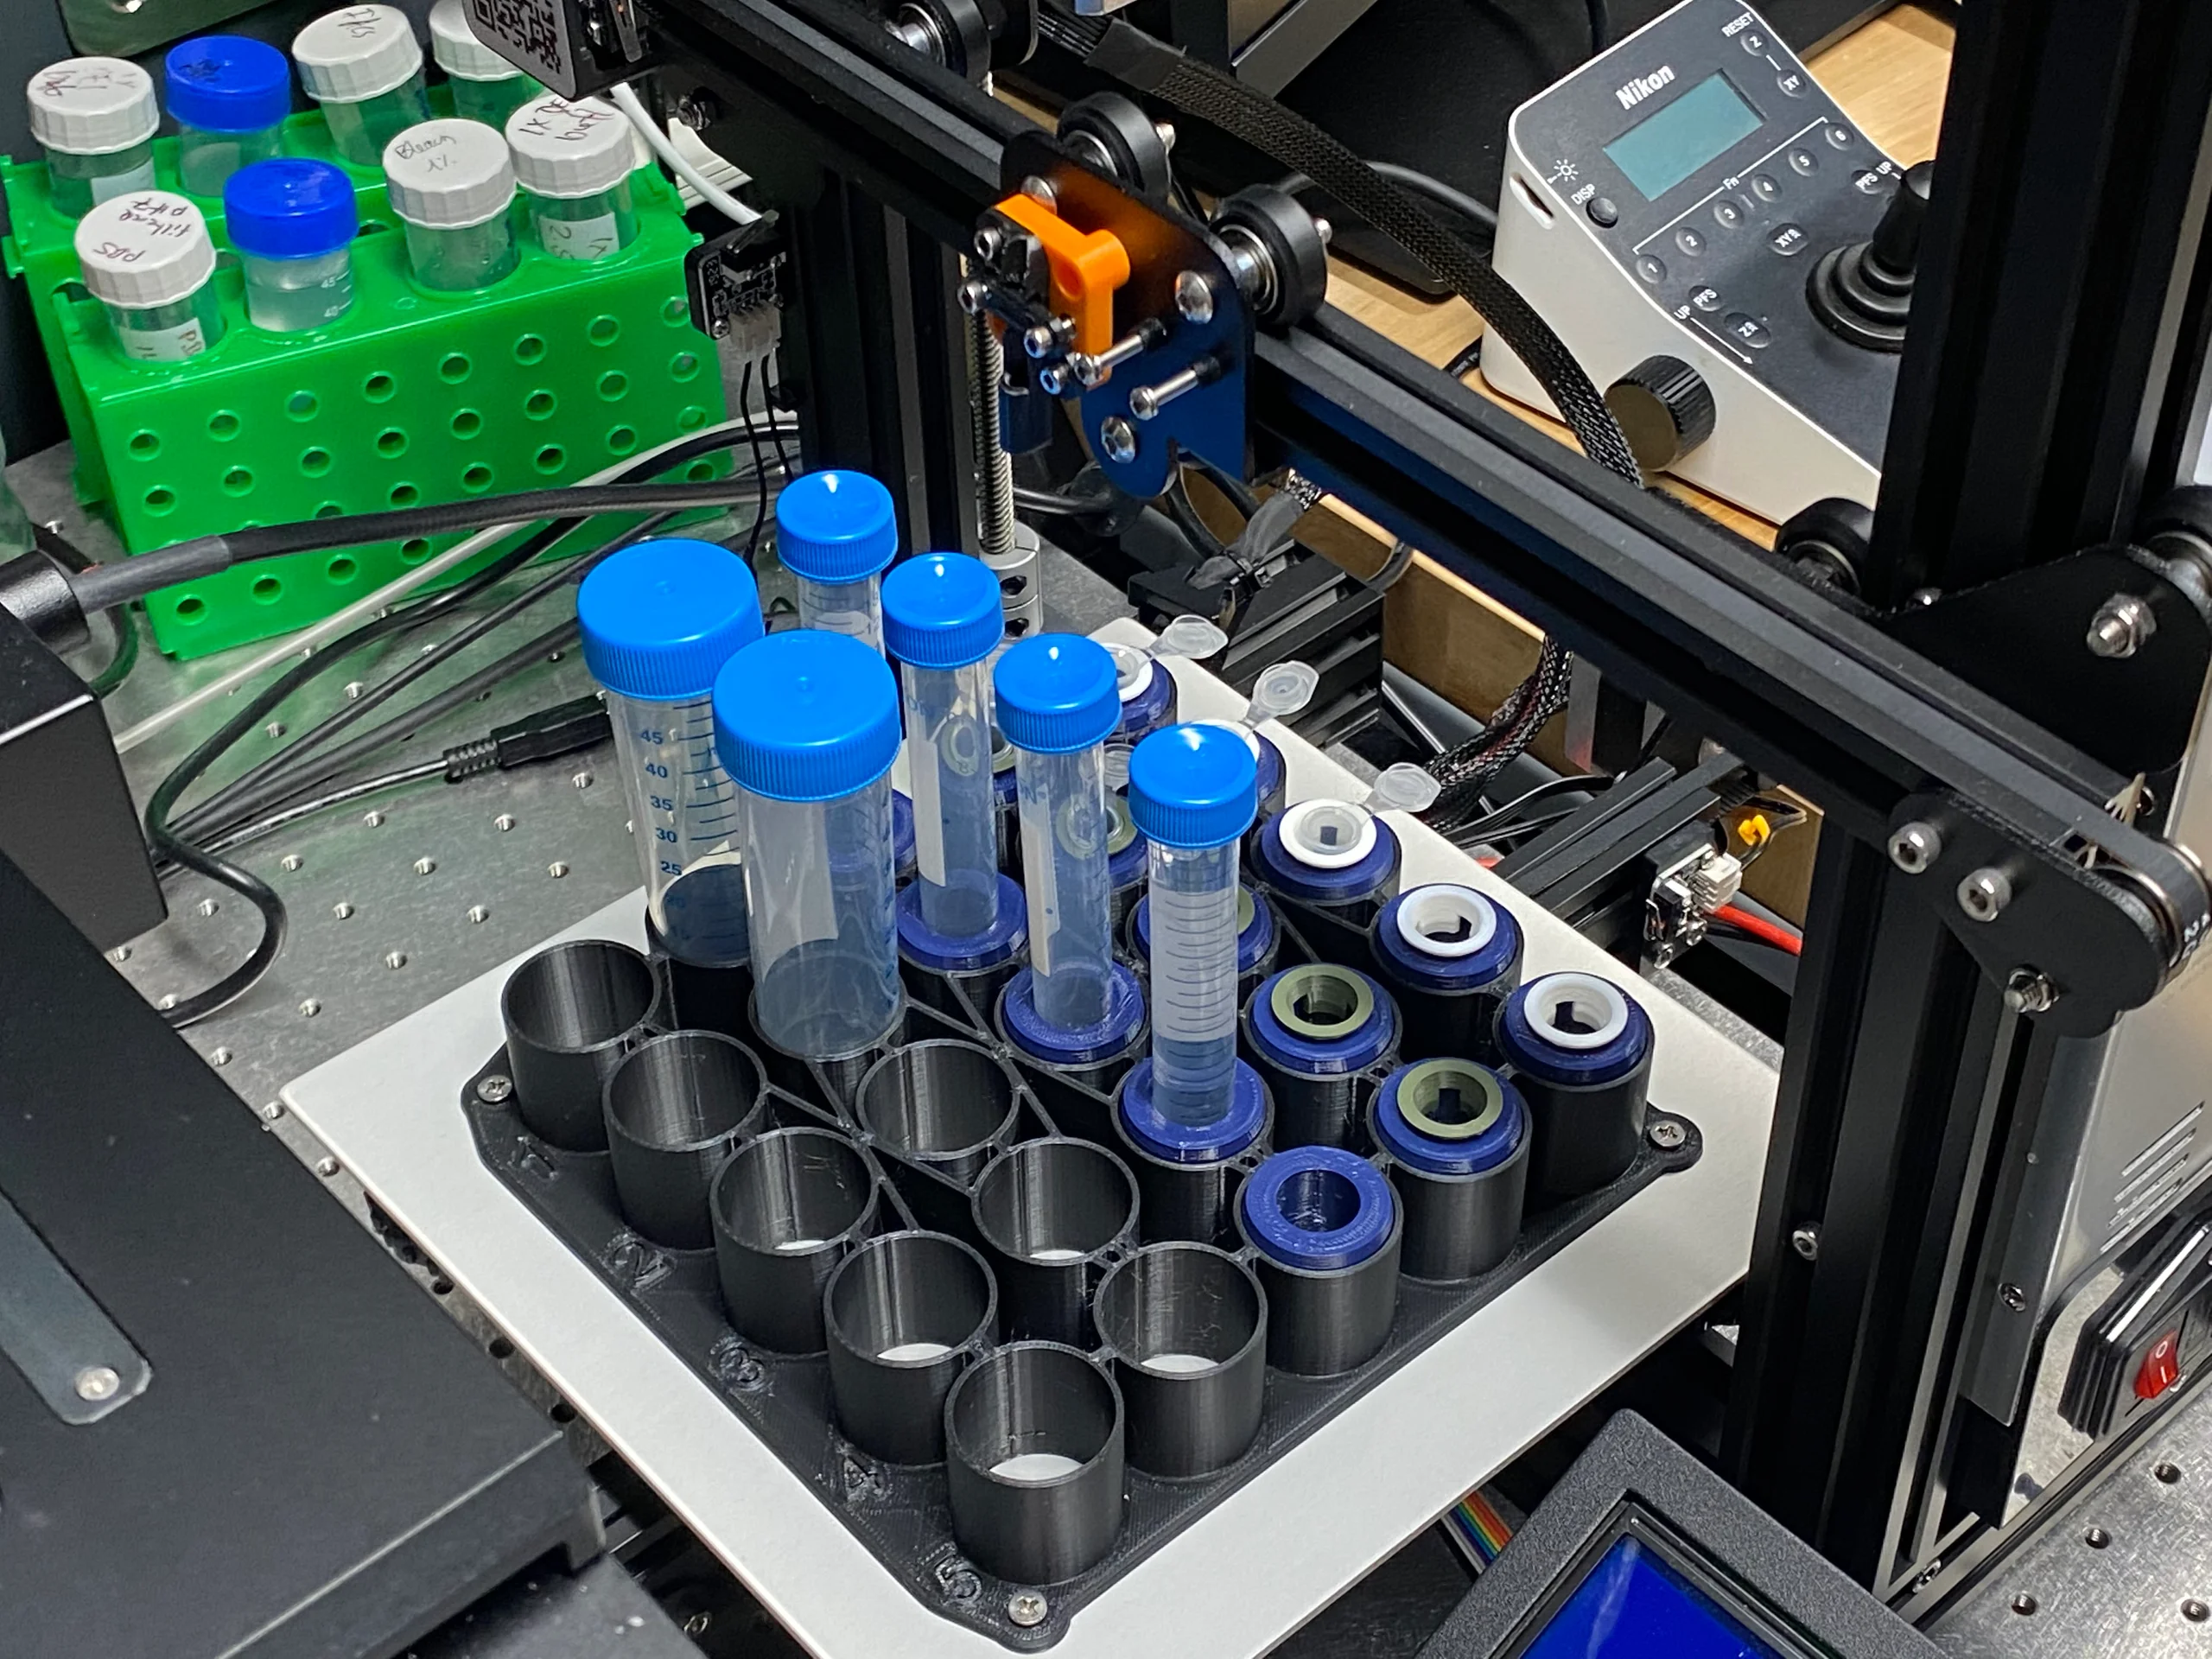
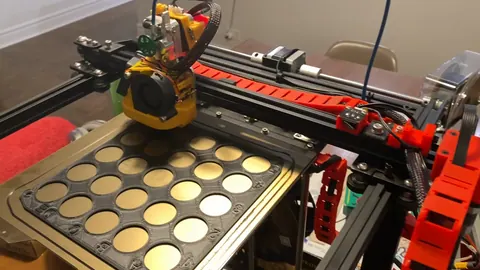
Scroll or swipe to explore. Select a photo to enlarge it, or a play-marked video to watch.
An open-source design, built for the laboratory.
This build is based on the Pipetting Helper Imaging Lid (PHIL), the personal liquid-handling robot described by Dettinger and colleagues. The published design combines commercial and 3D-printable components with custom control software.
PHIL uses printed peristaltic pumps and was designed for liquid handling alongside live-cell incubation and microscopy. The WALL-E archive follows the local build through printed components, control electronics, and wiring.
Explore the WALL-E build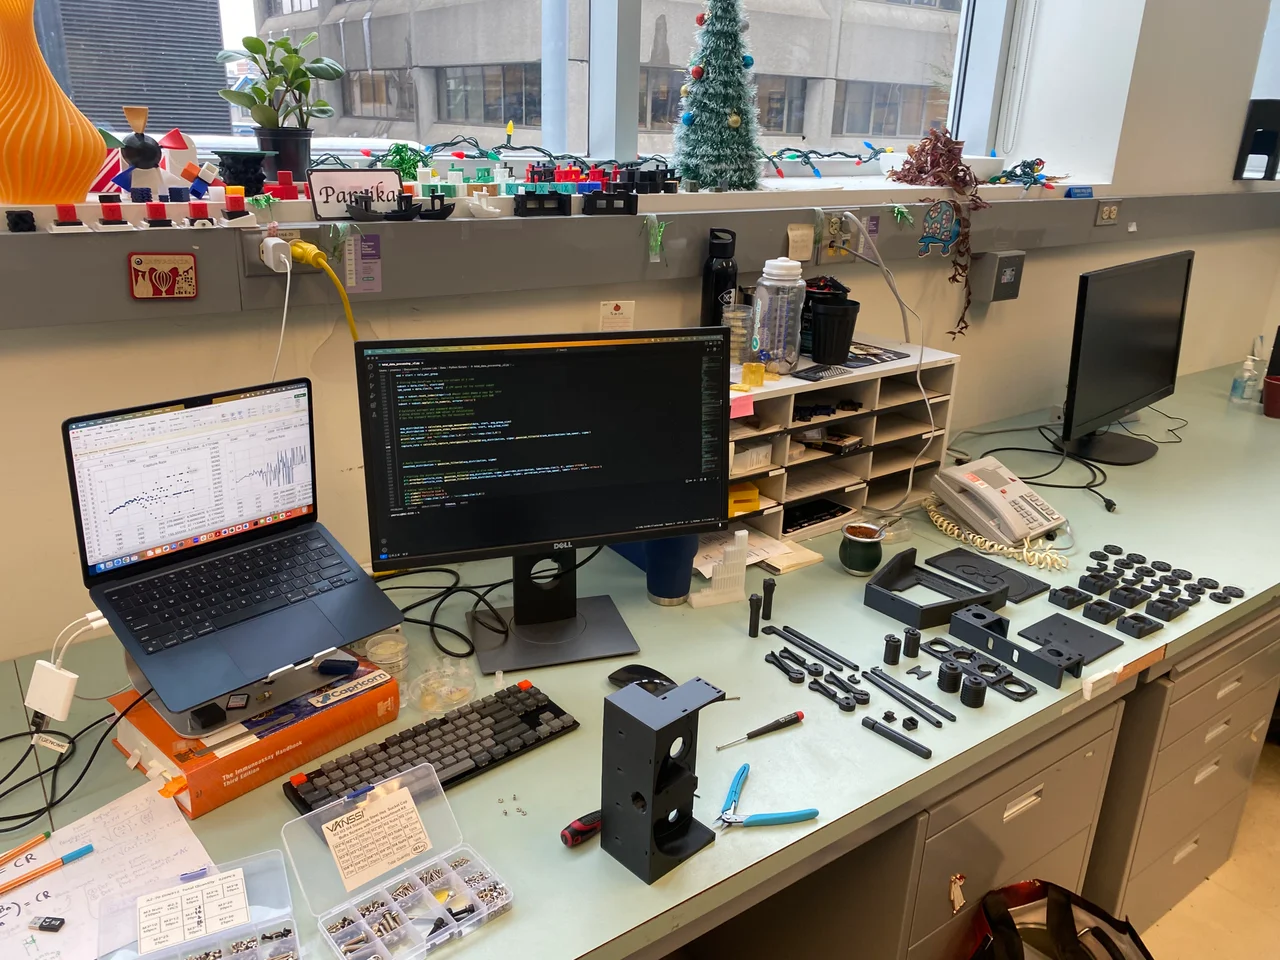
The WALL-E build.
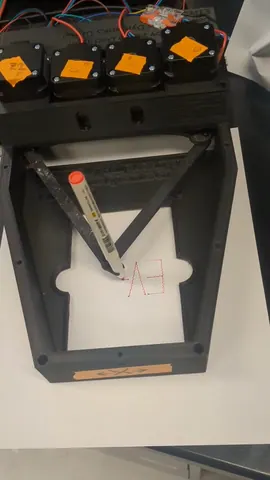
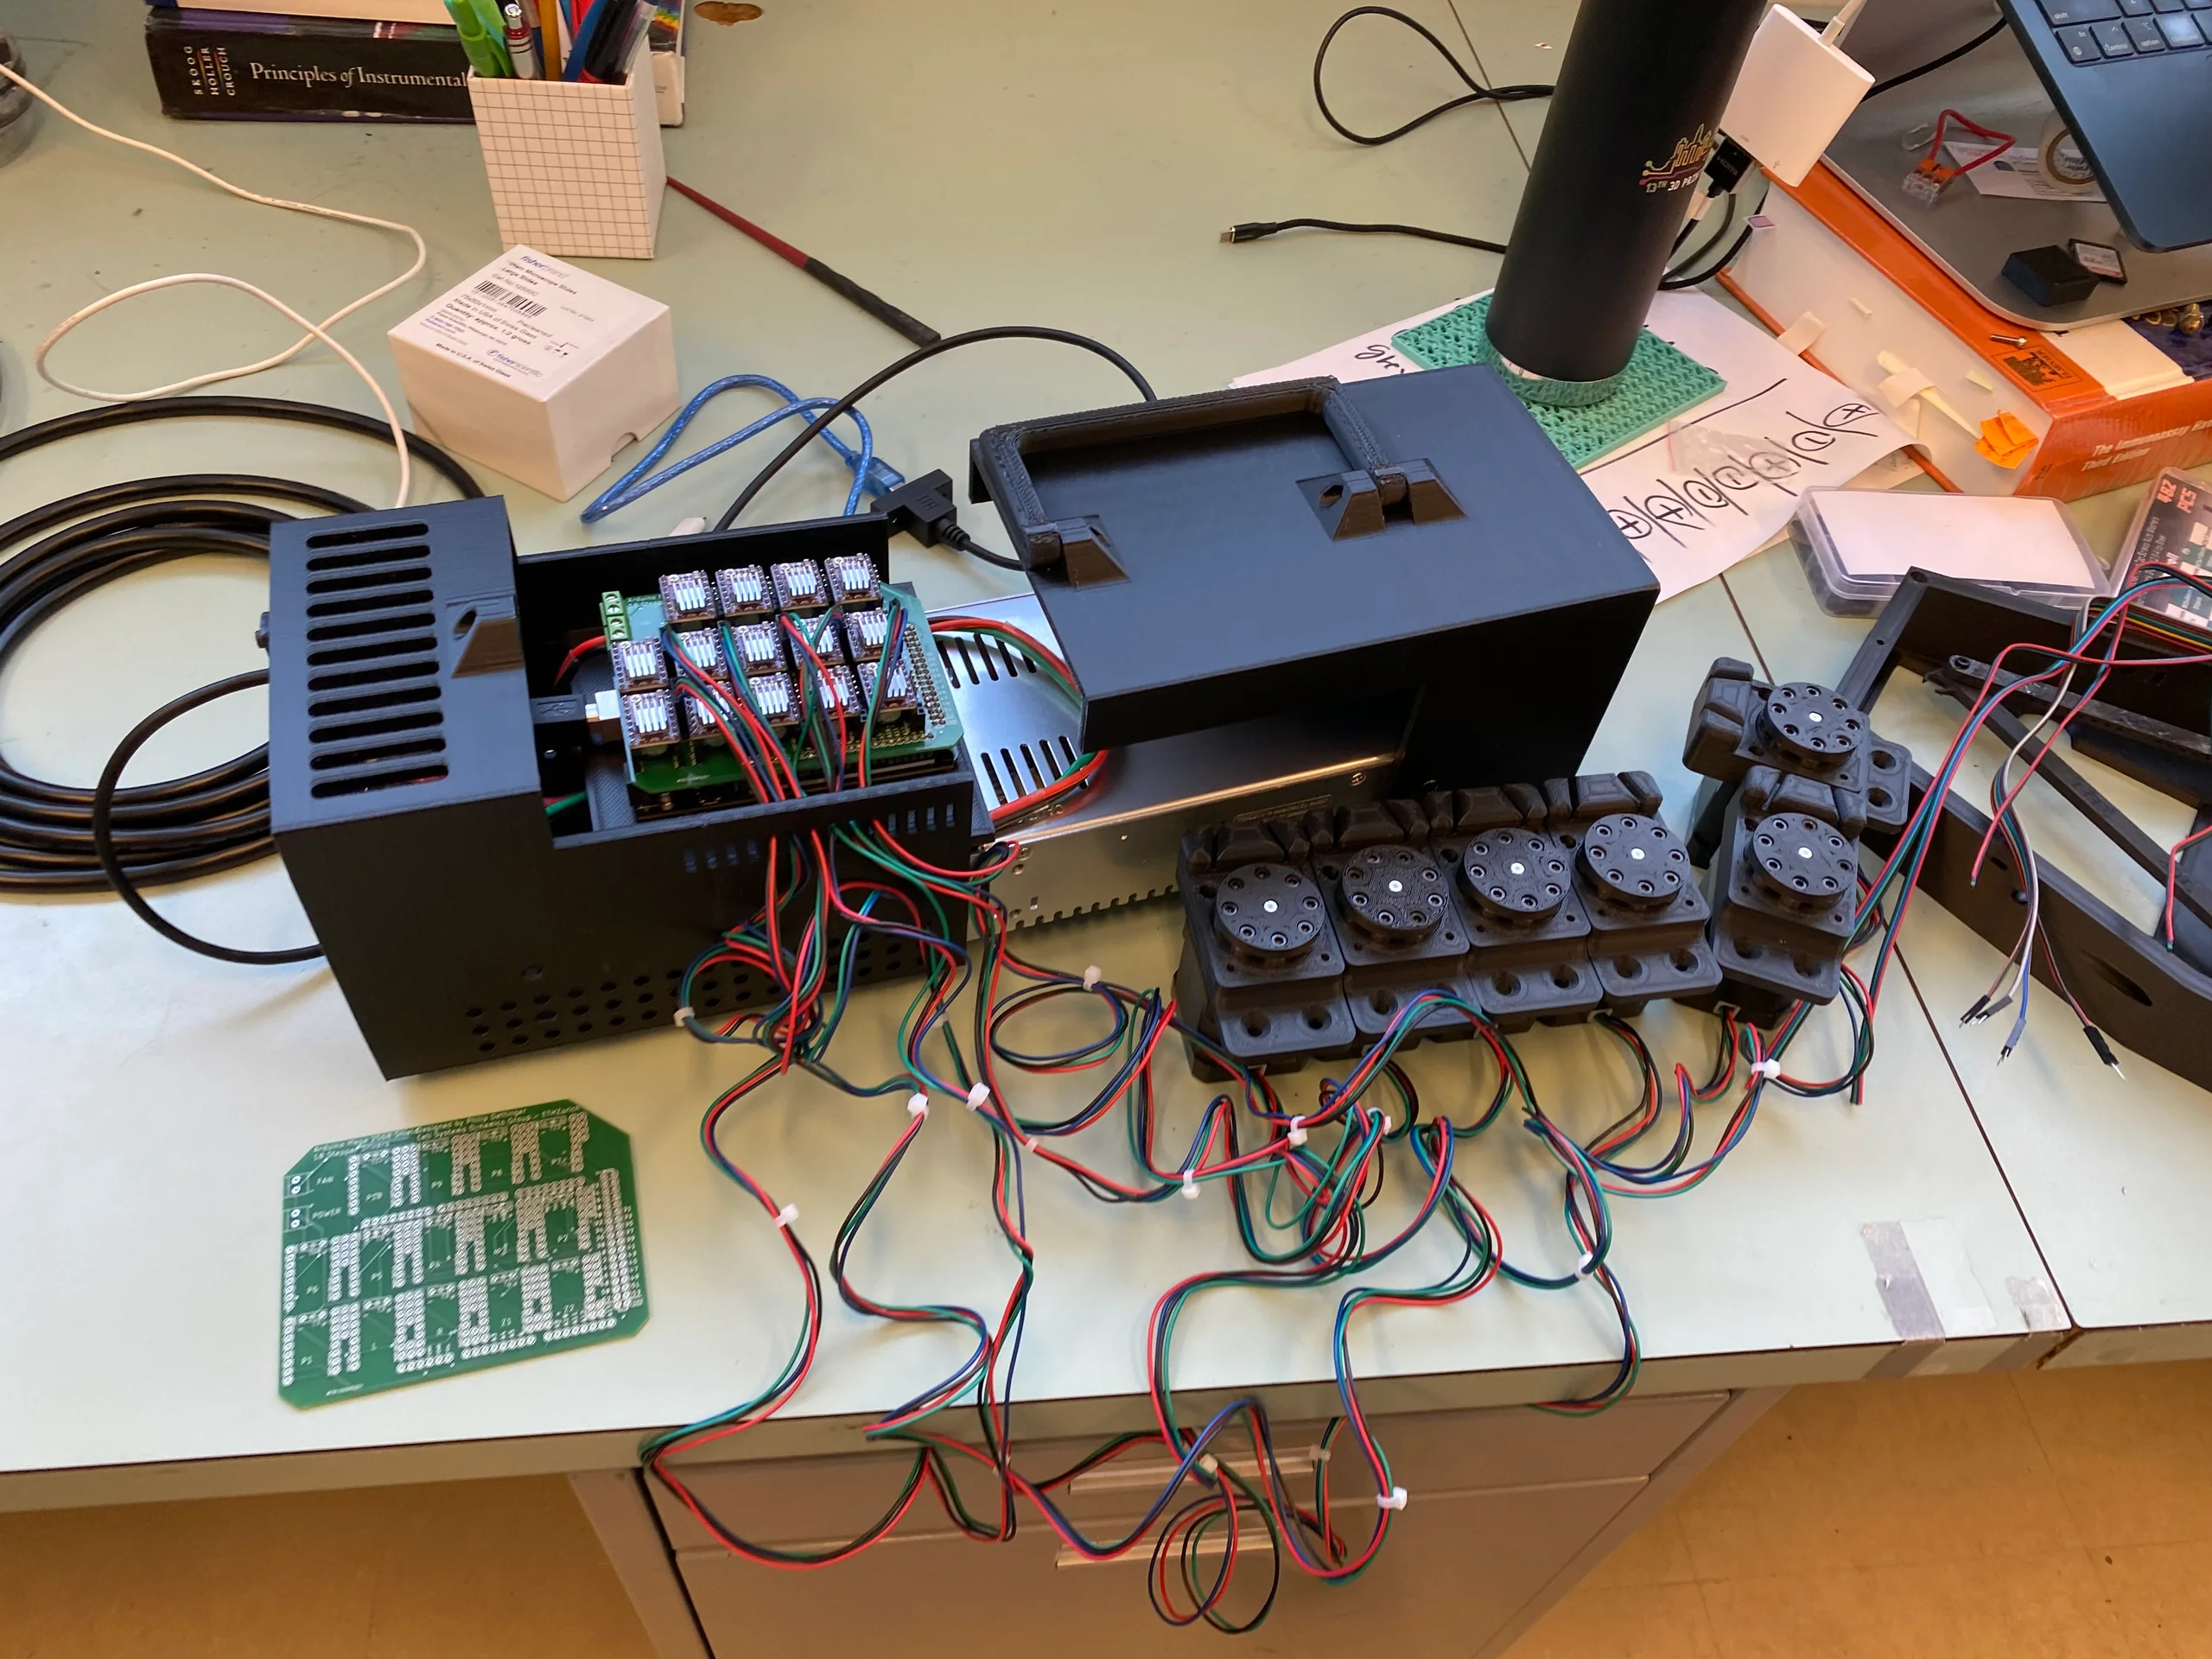
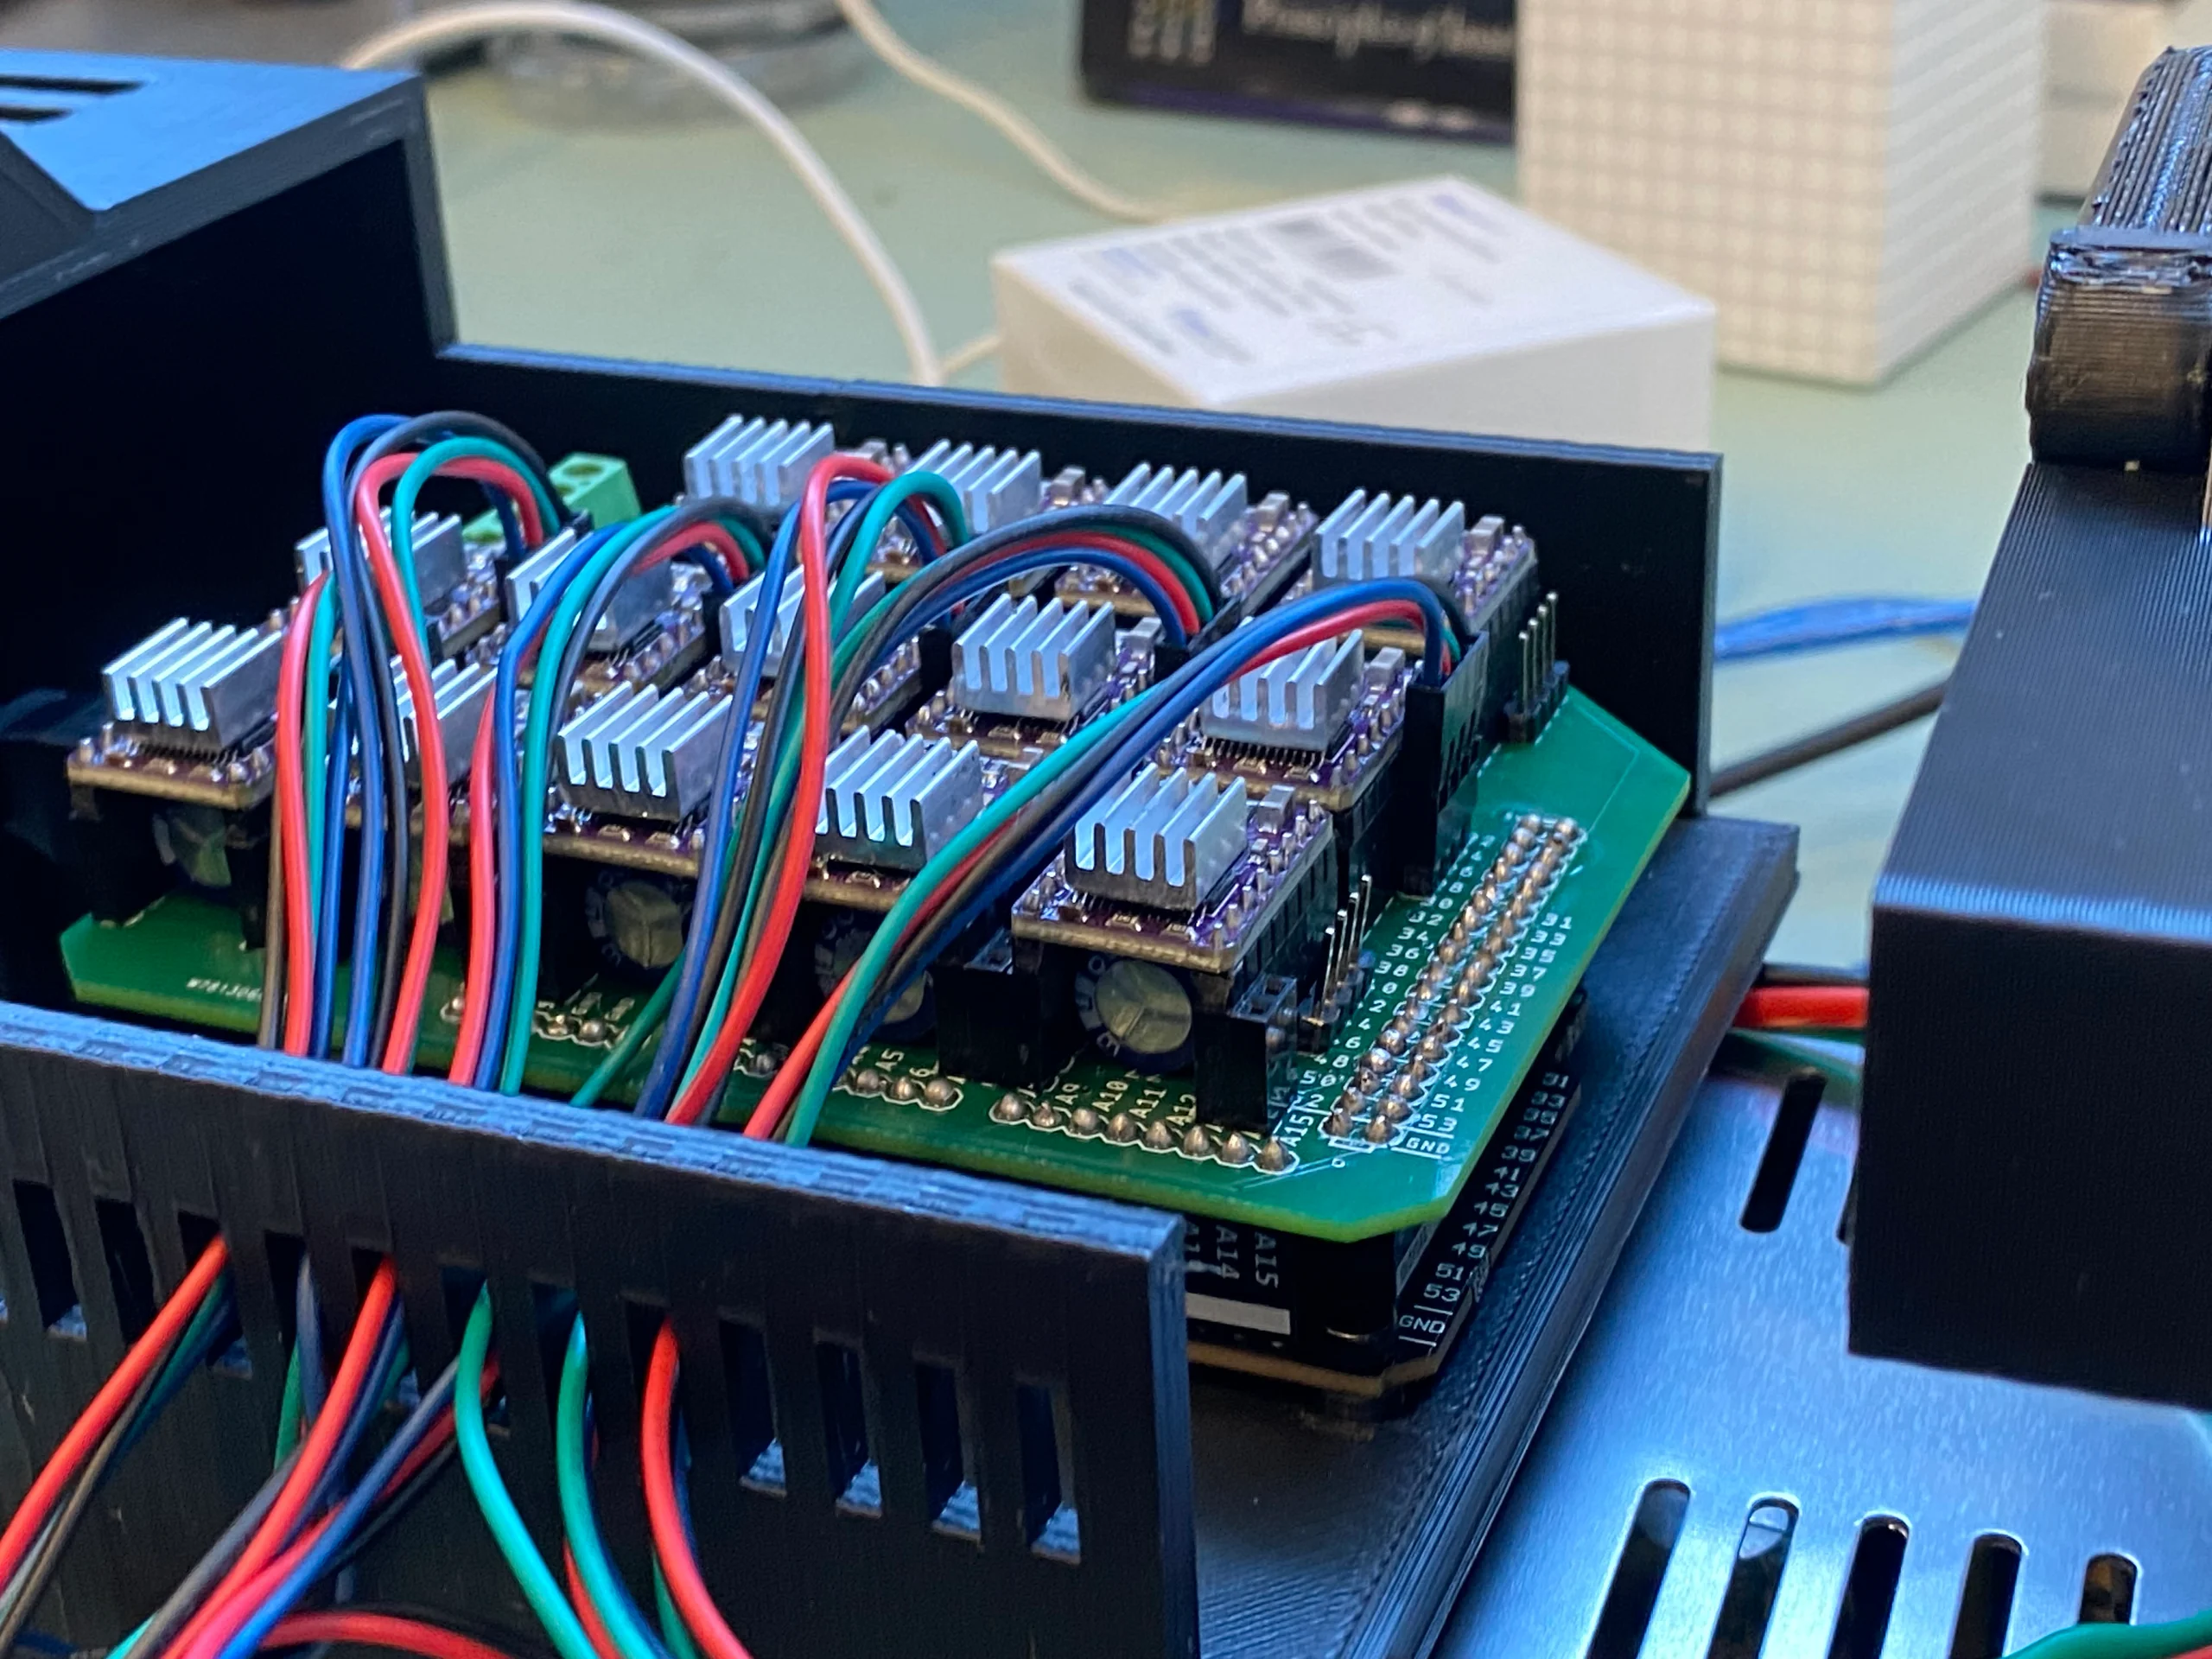
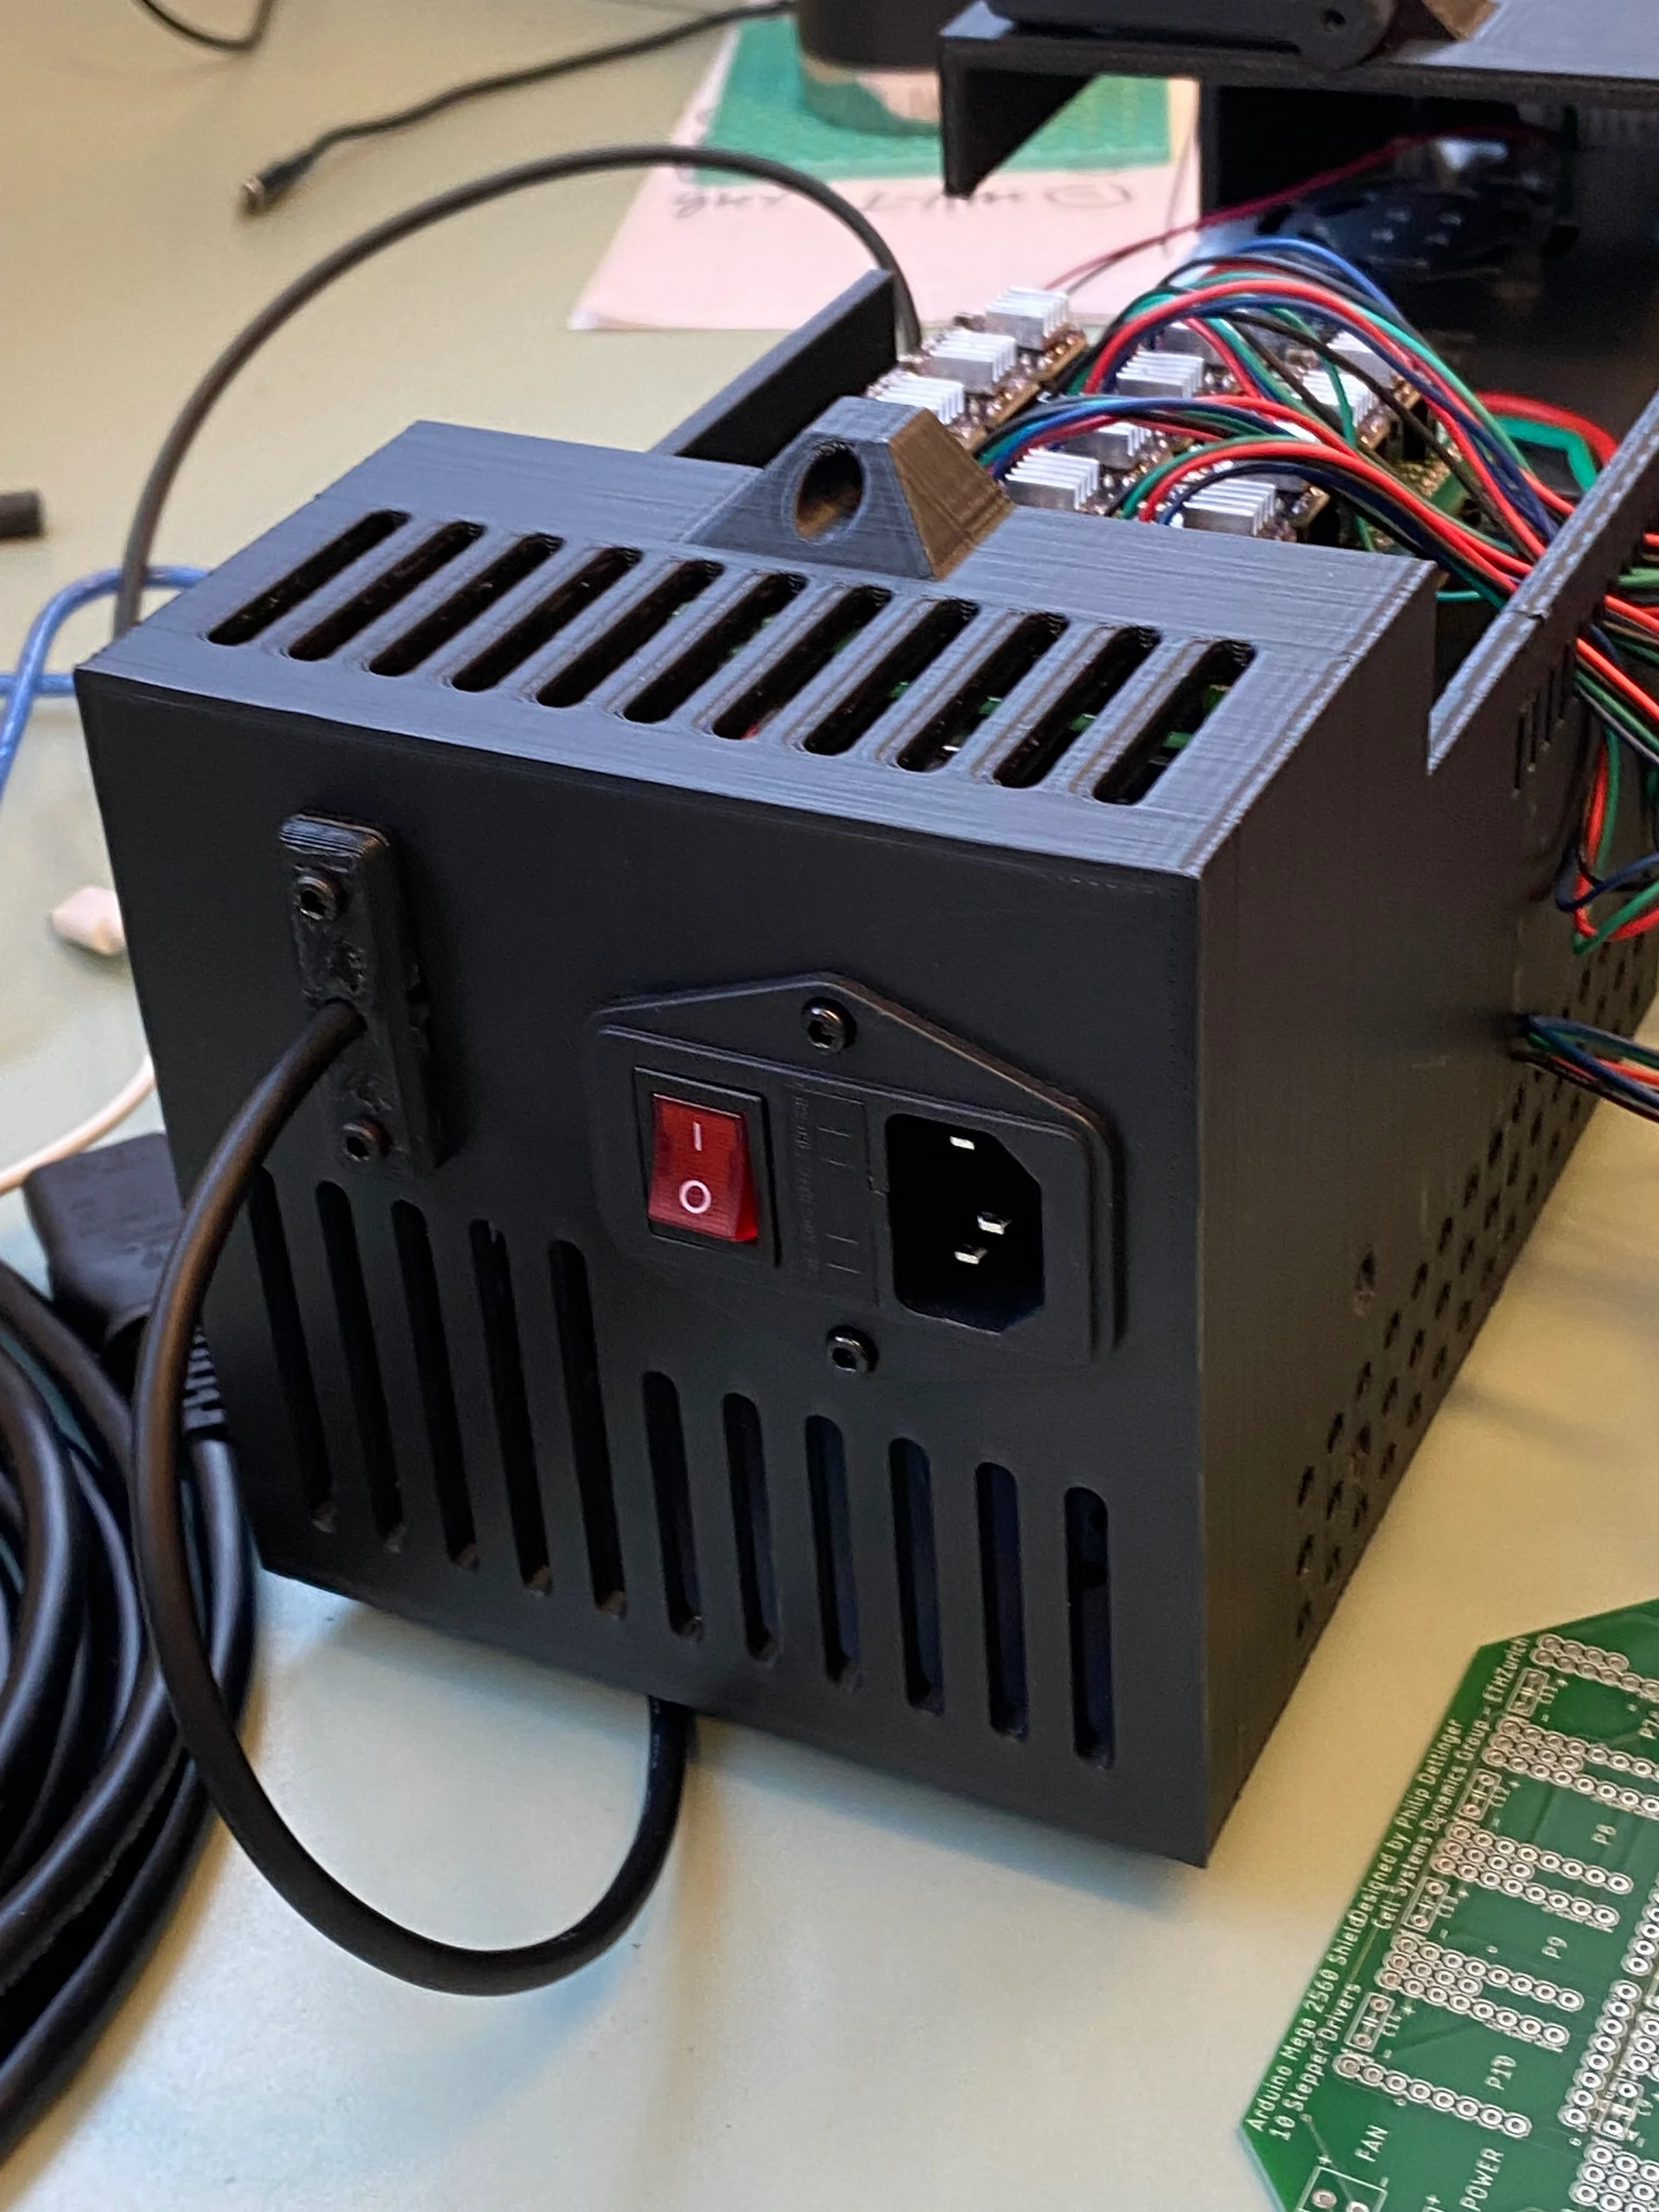
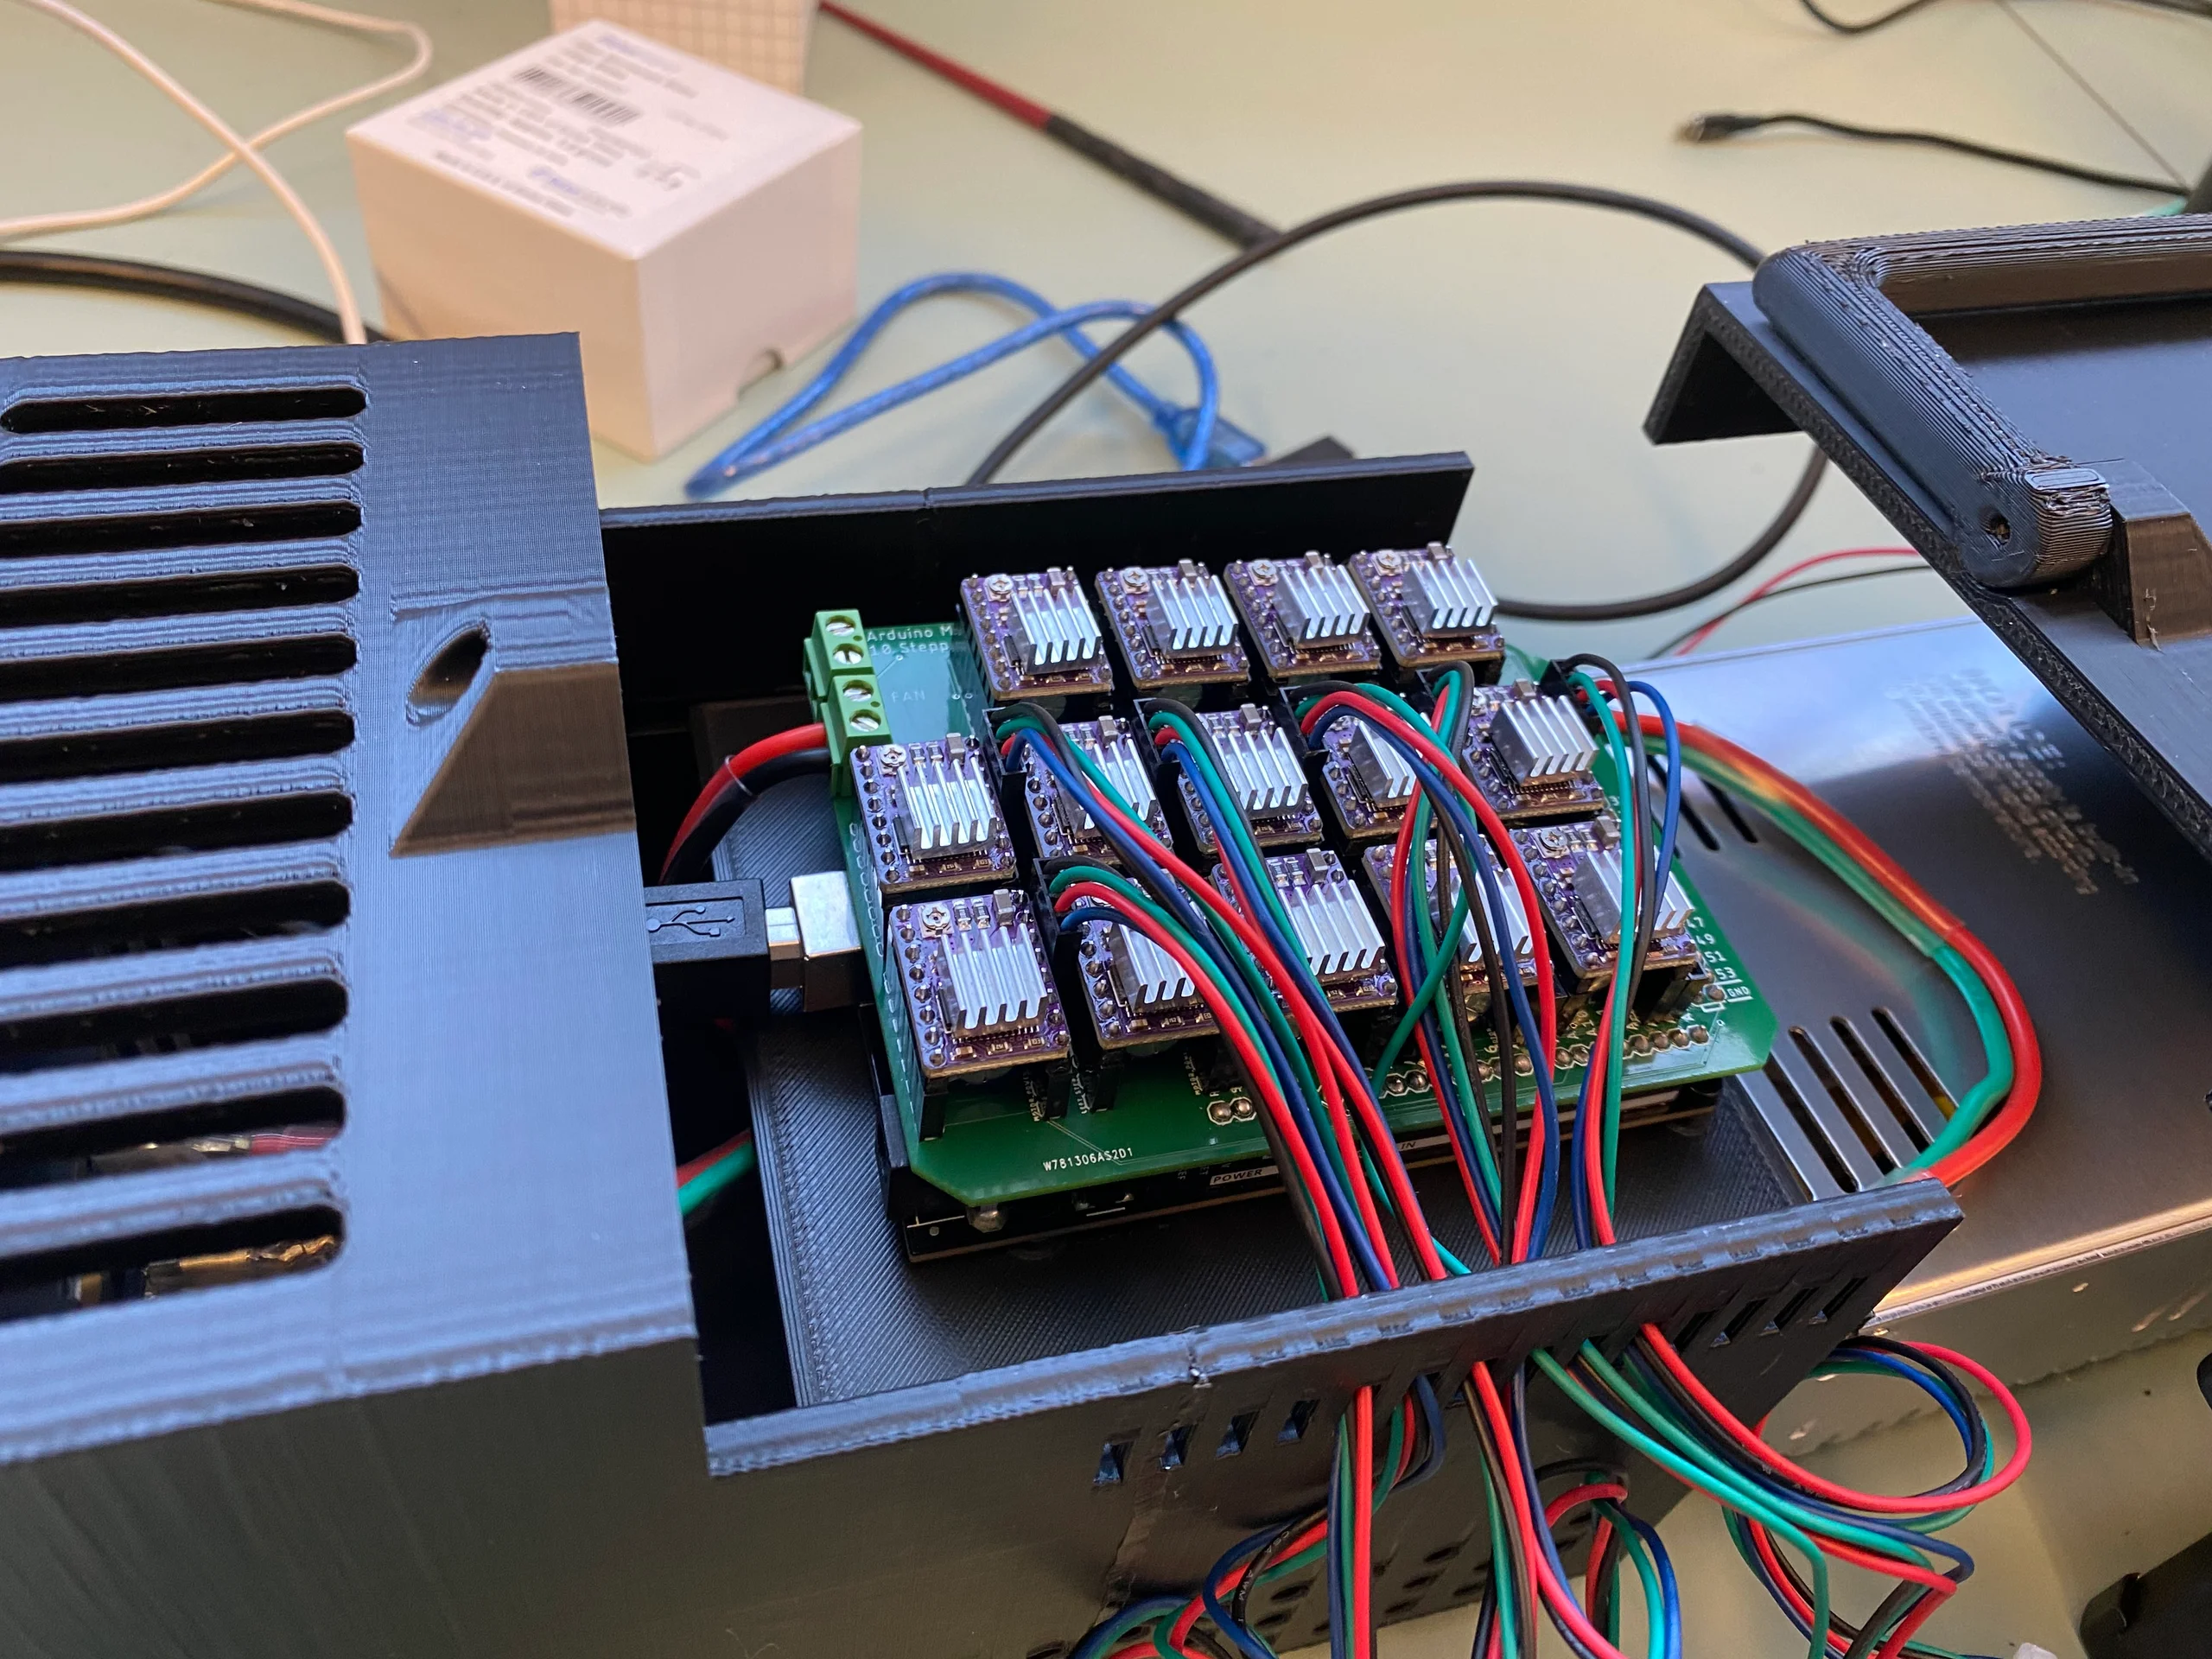
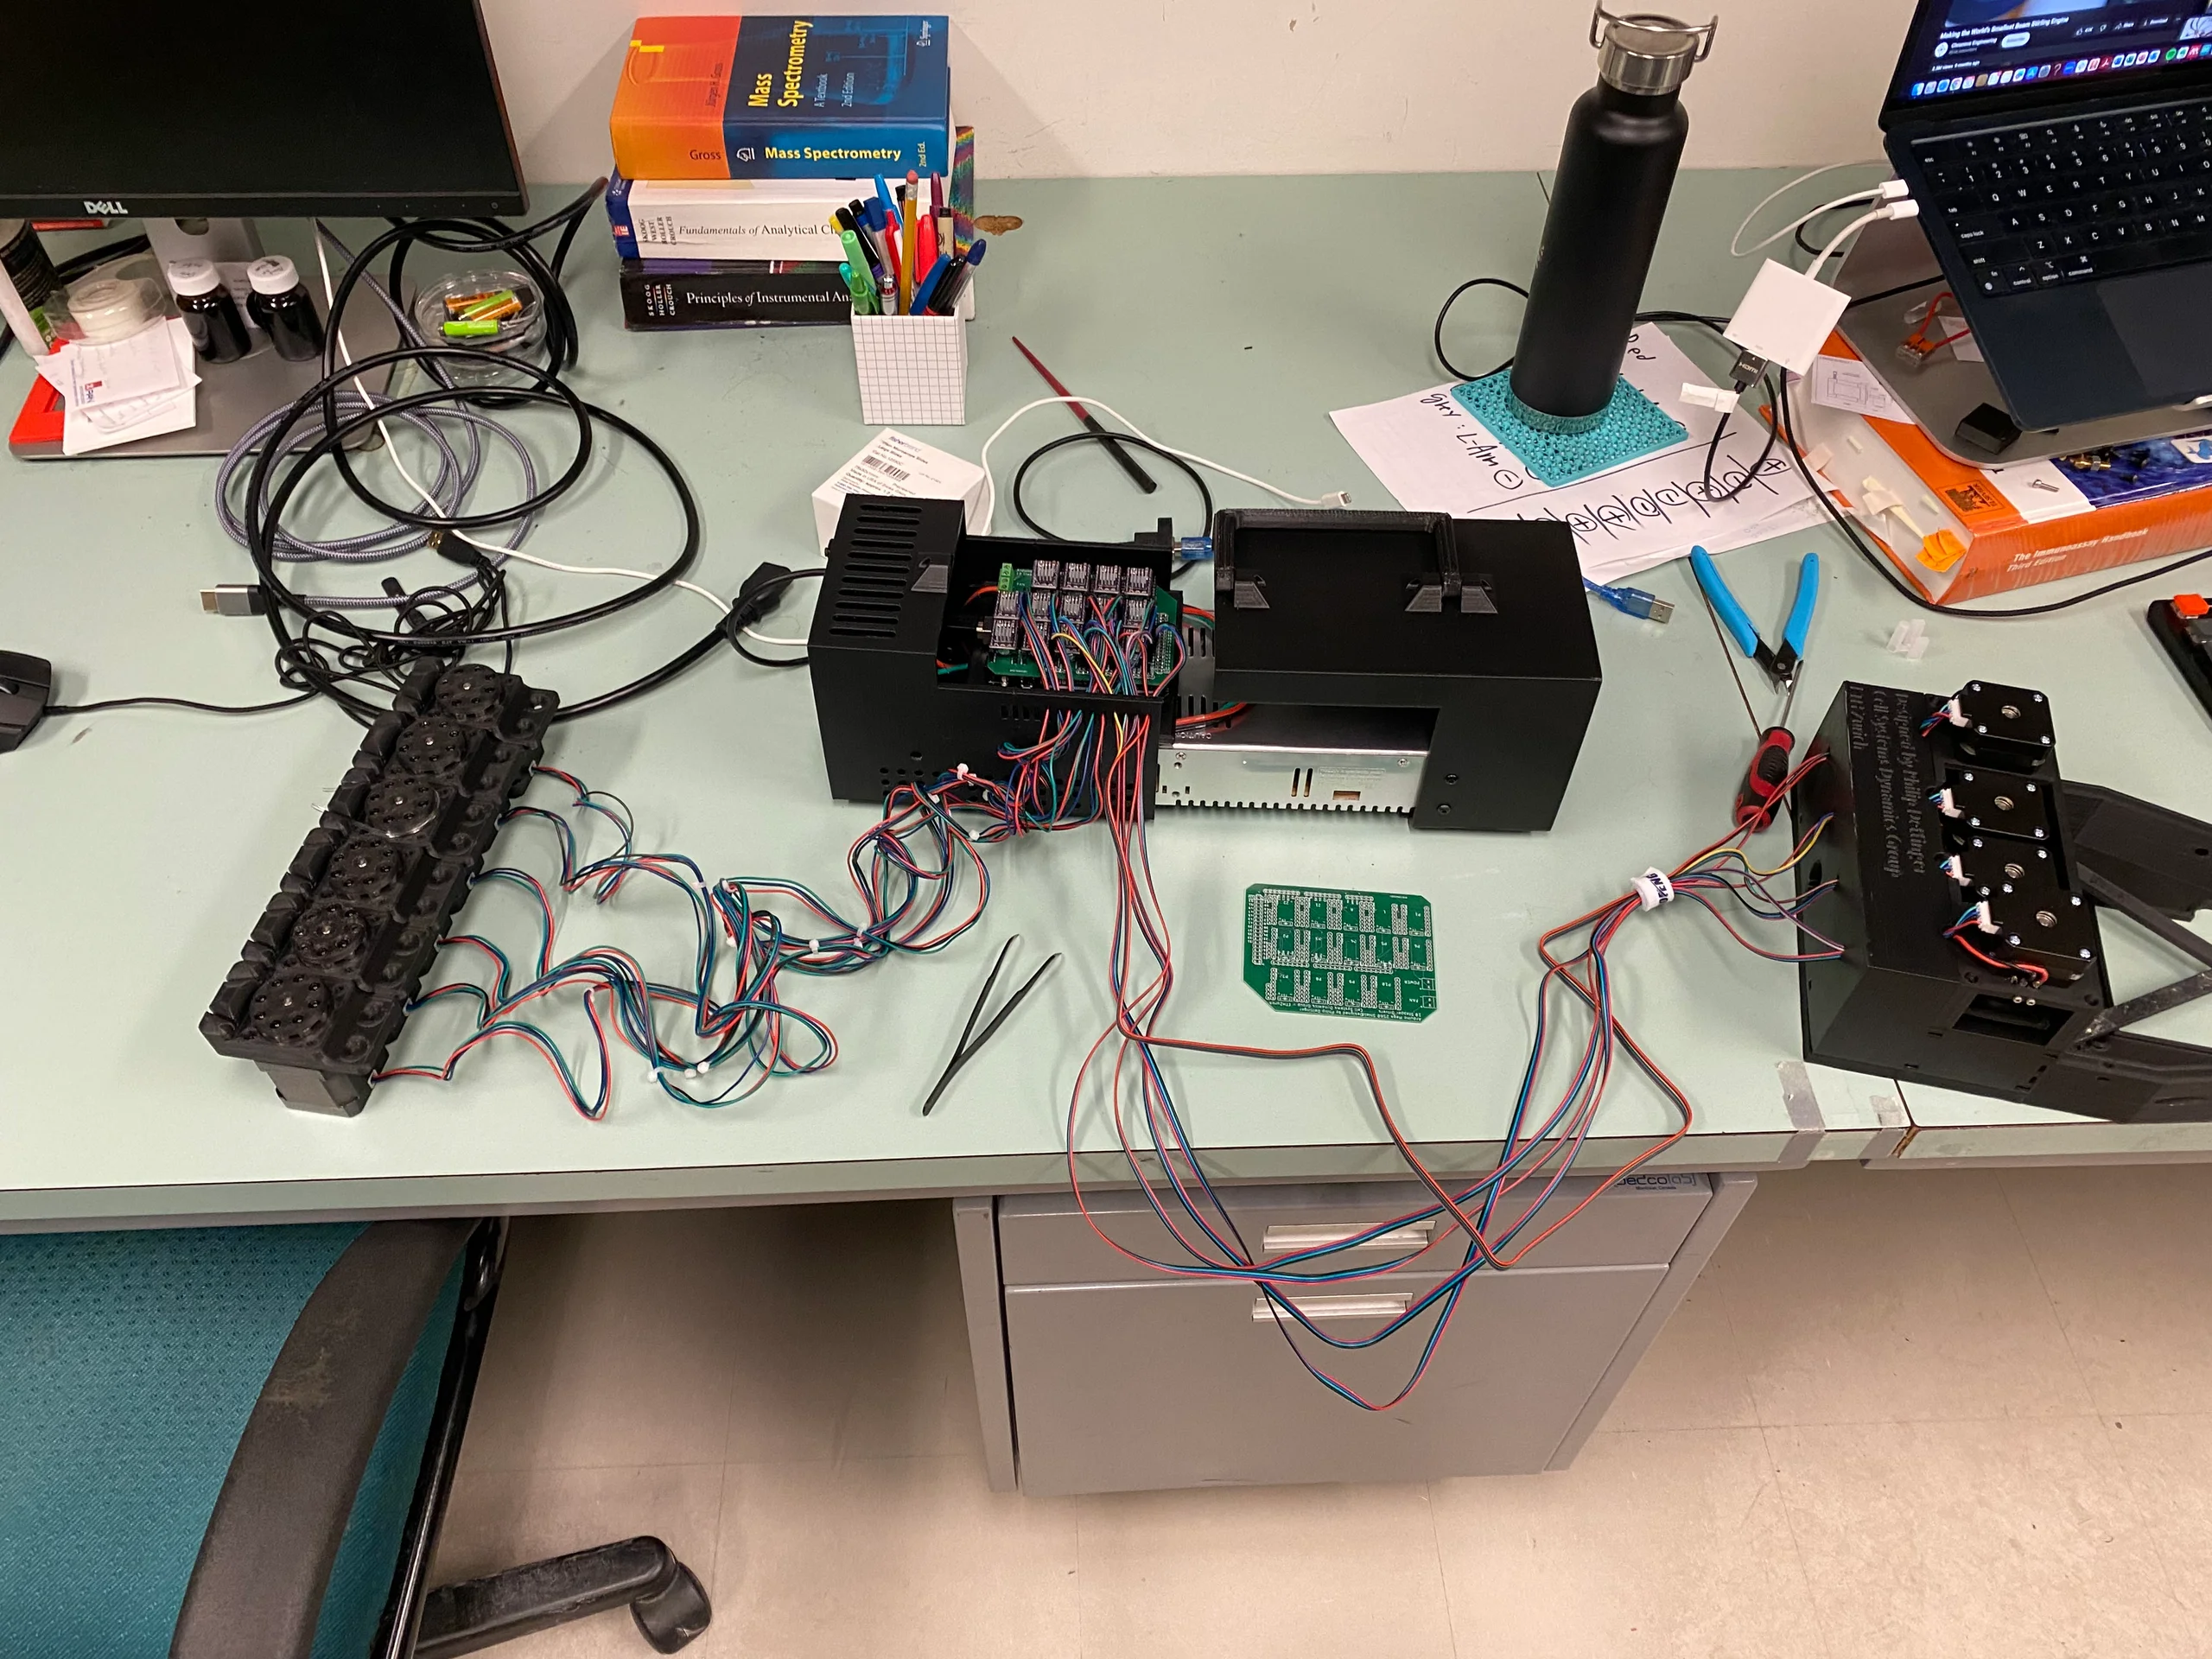
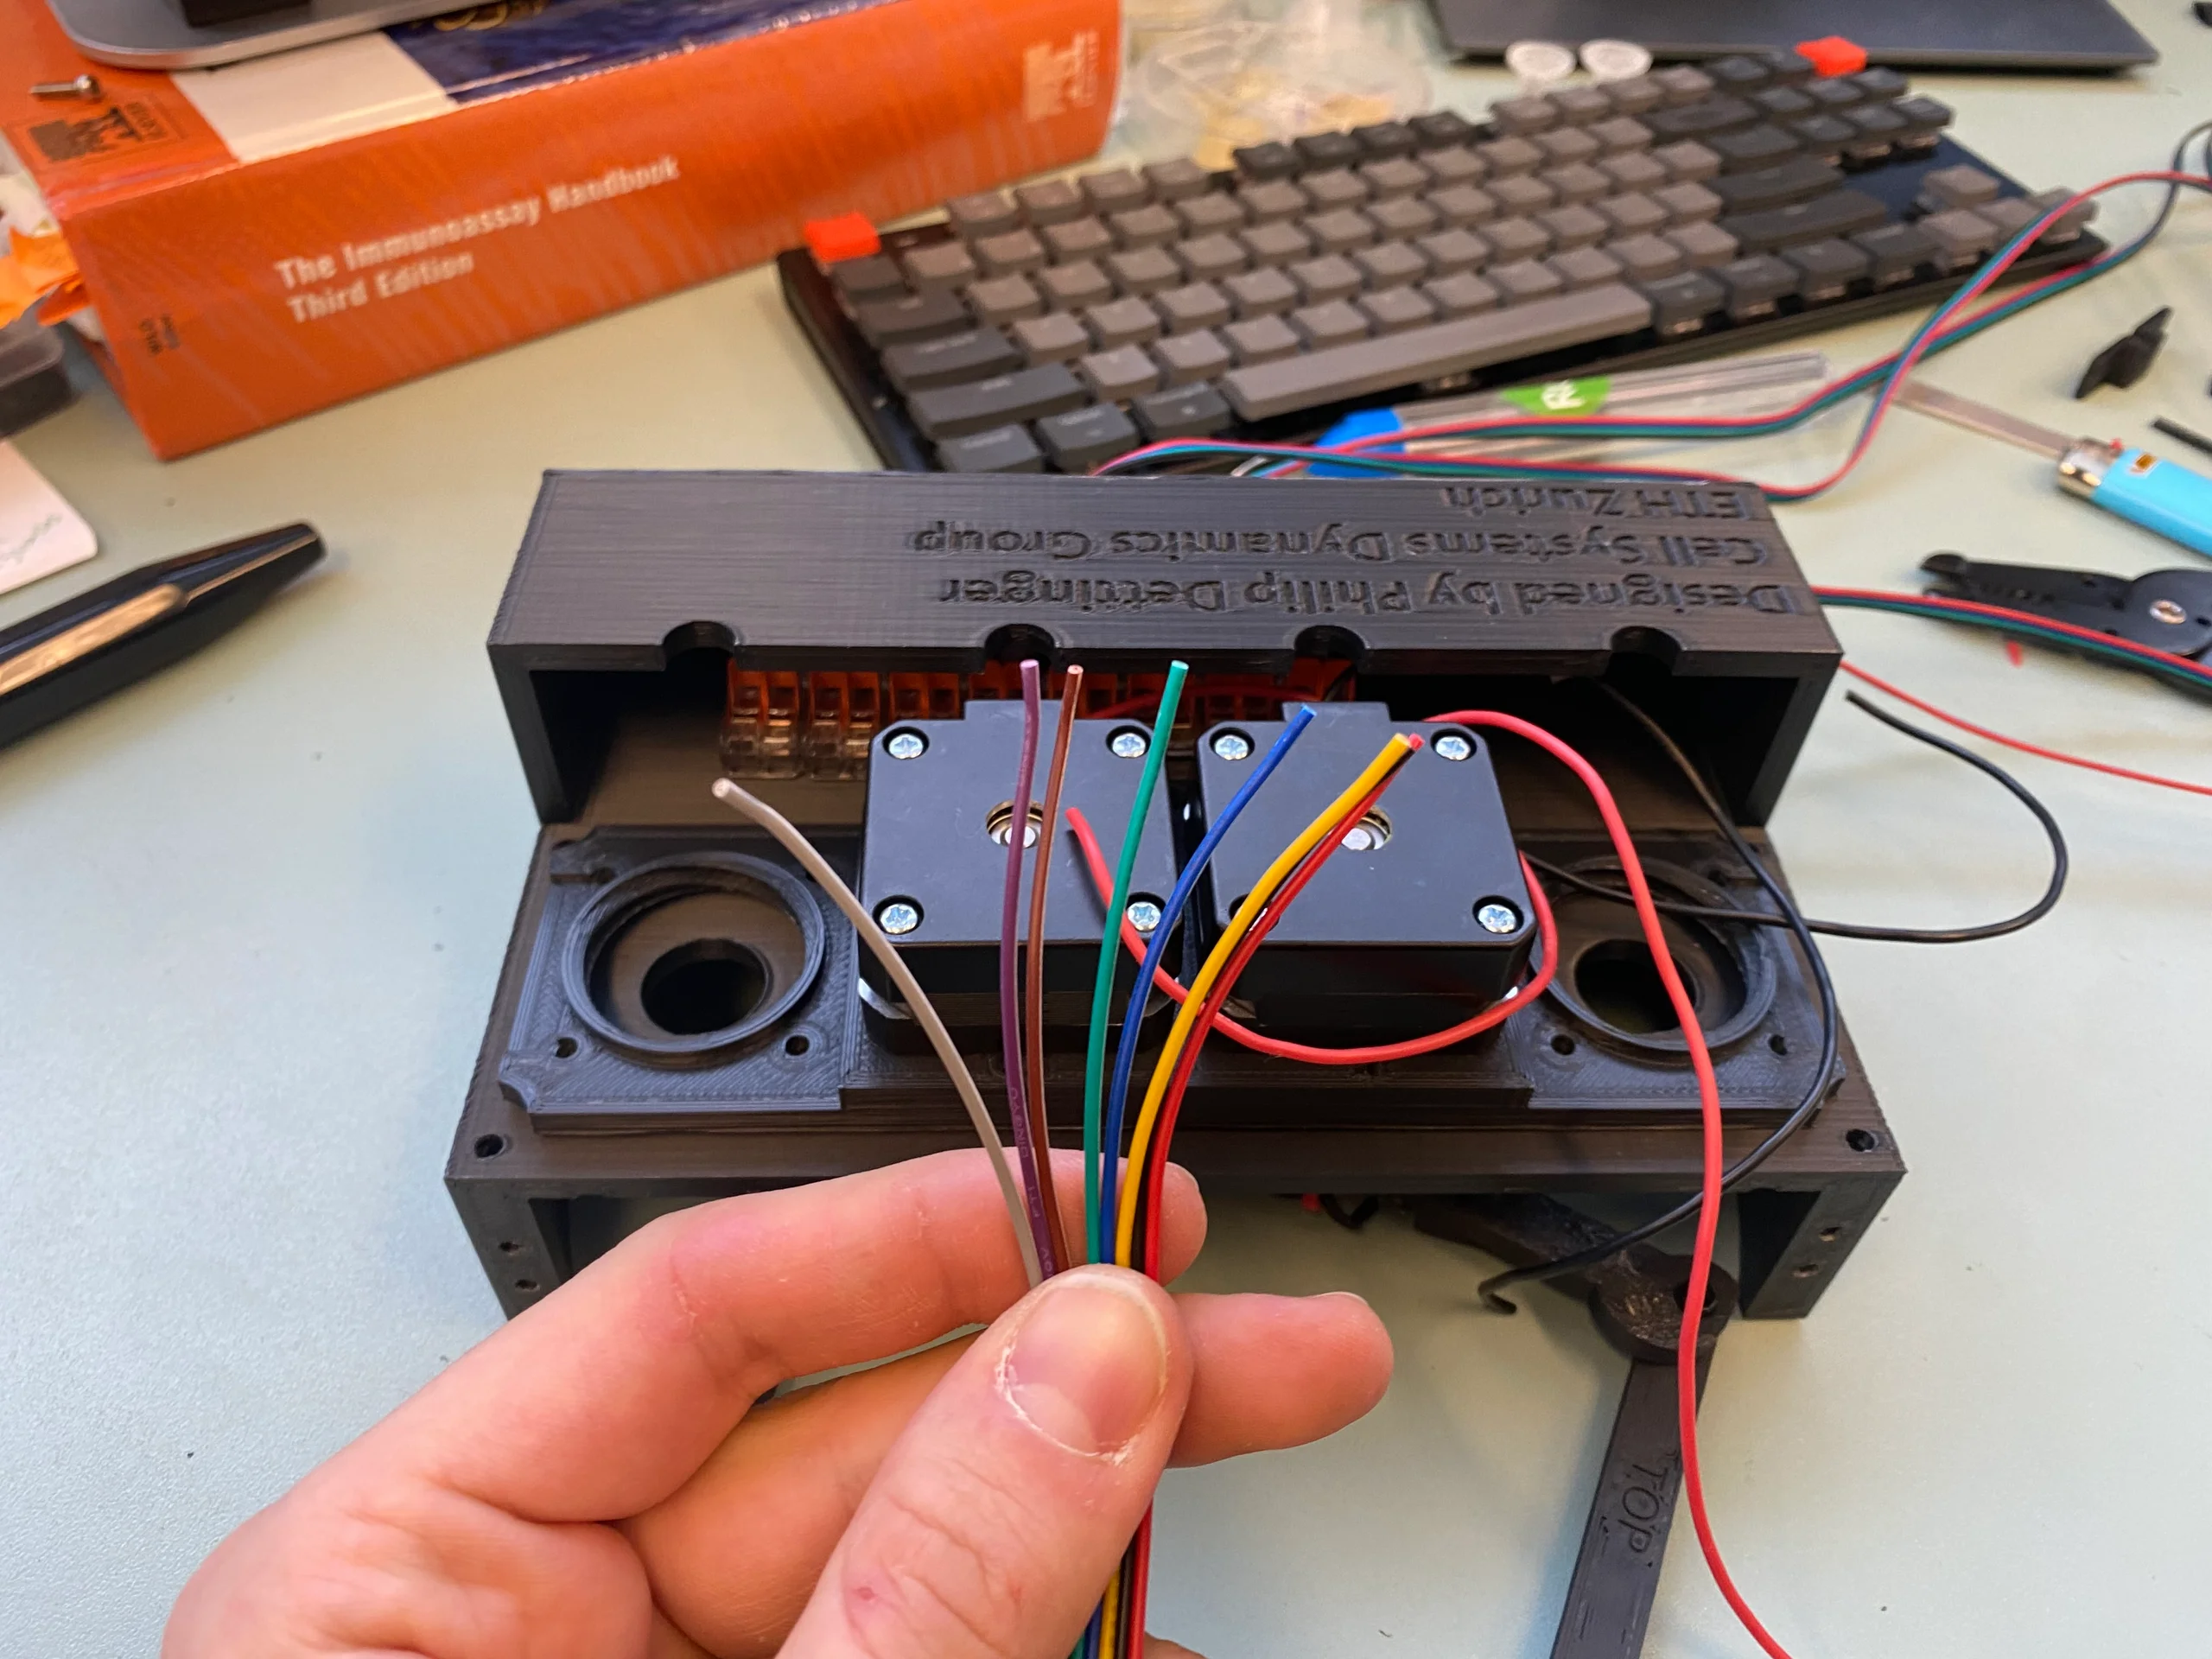
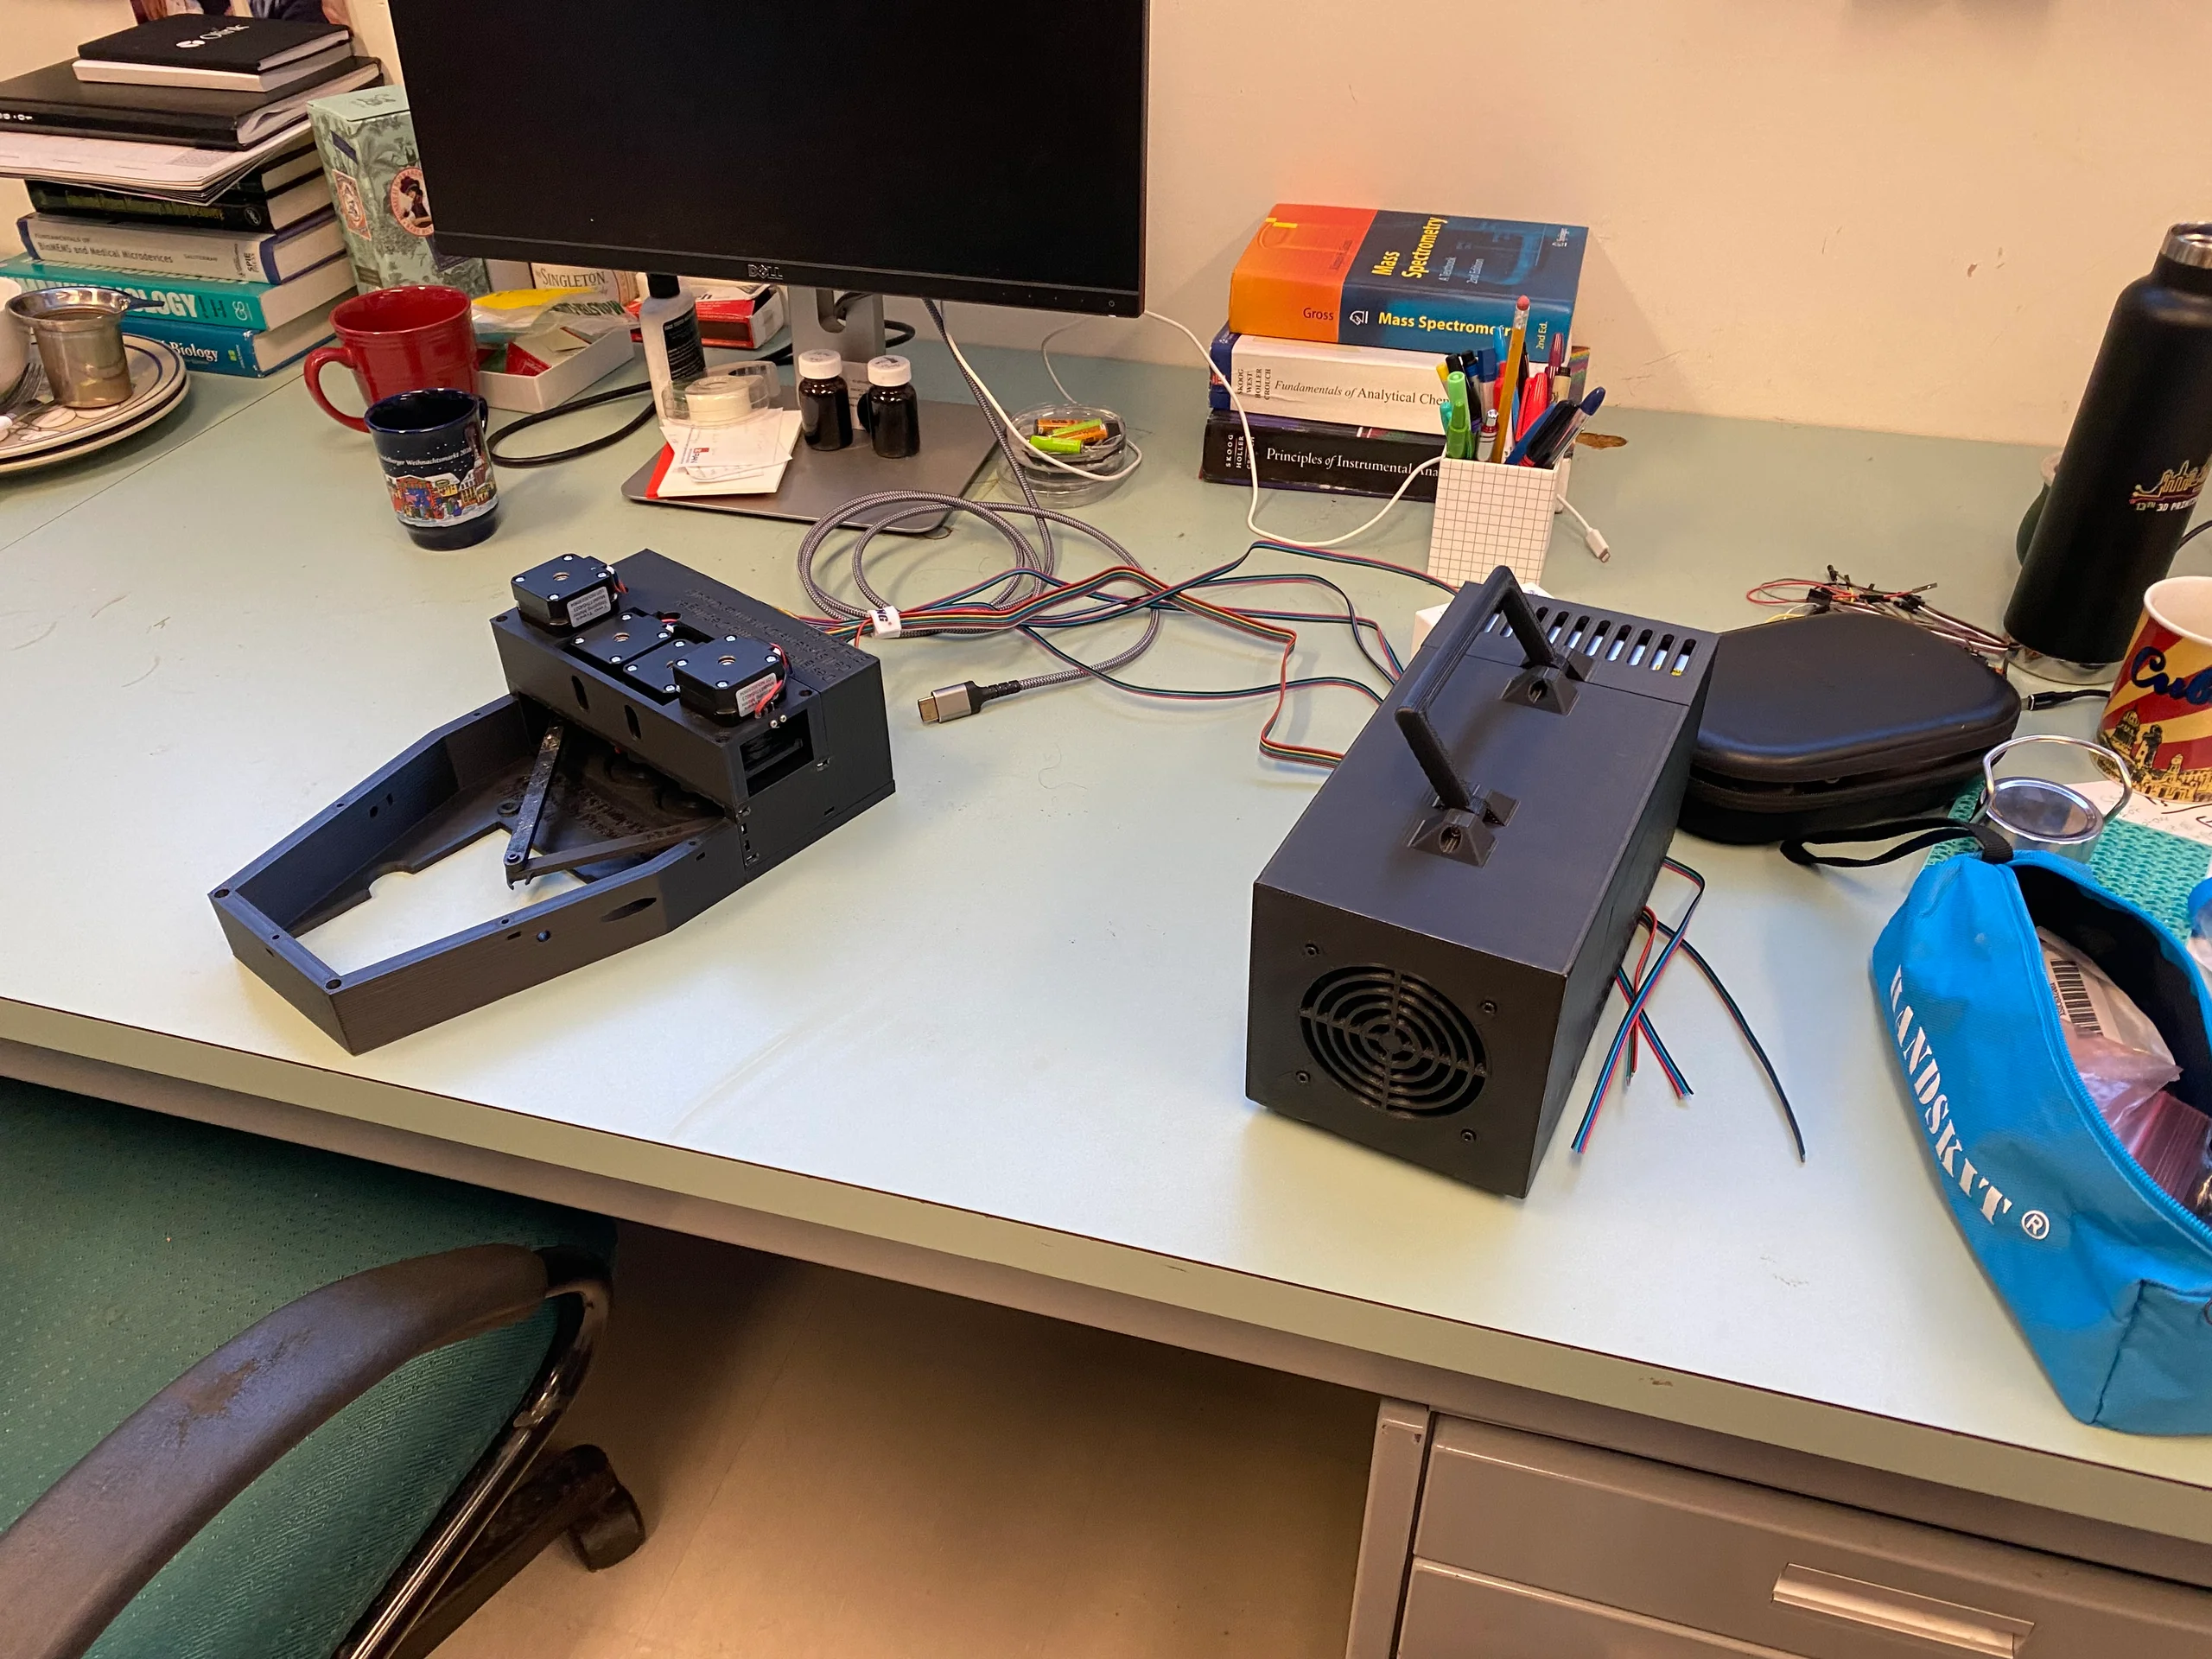
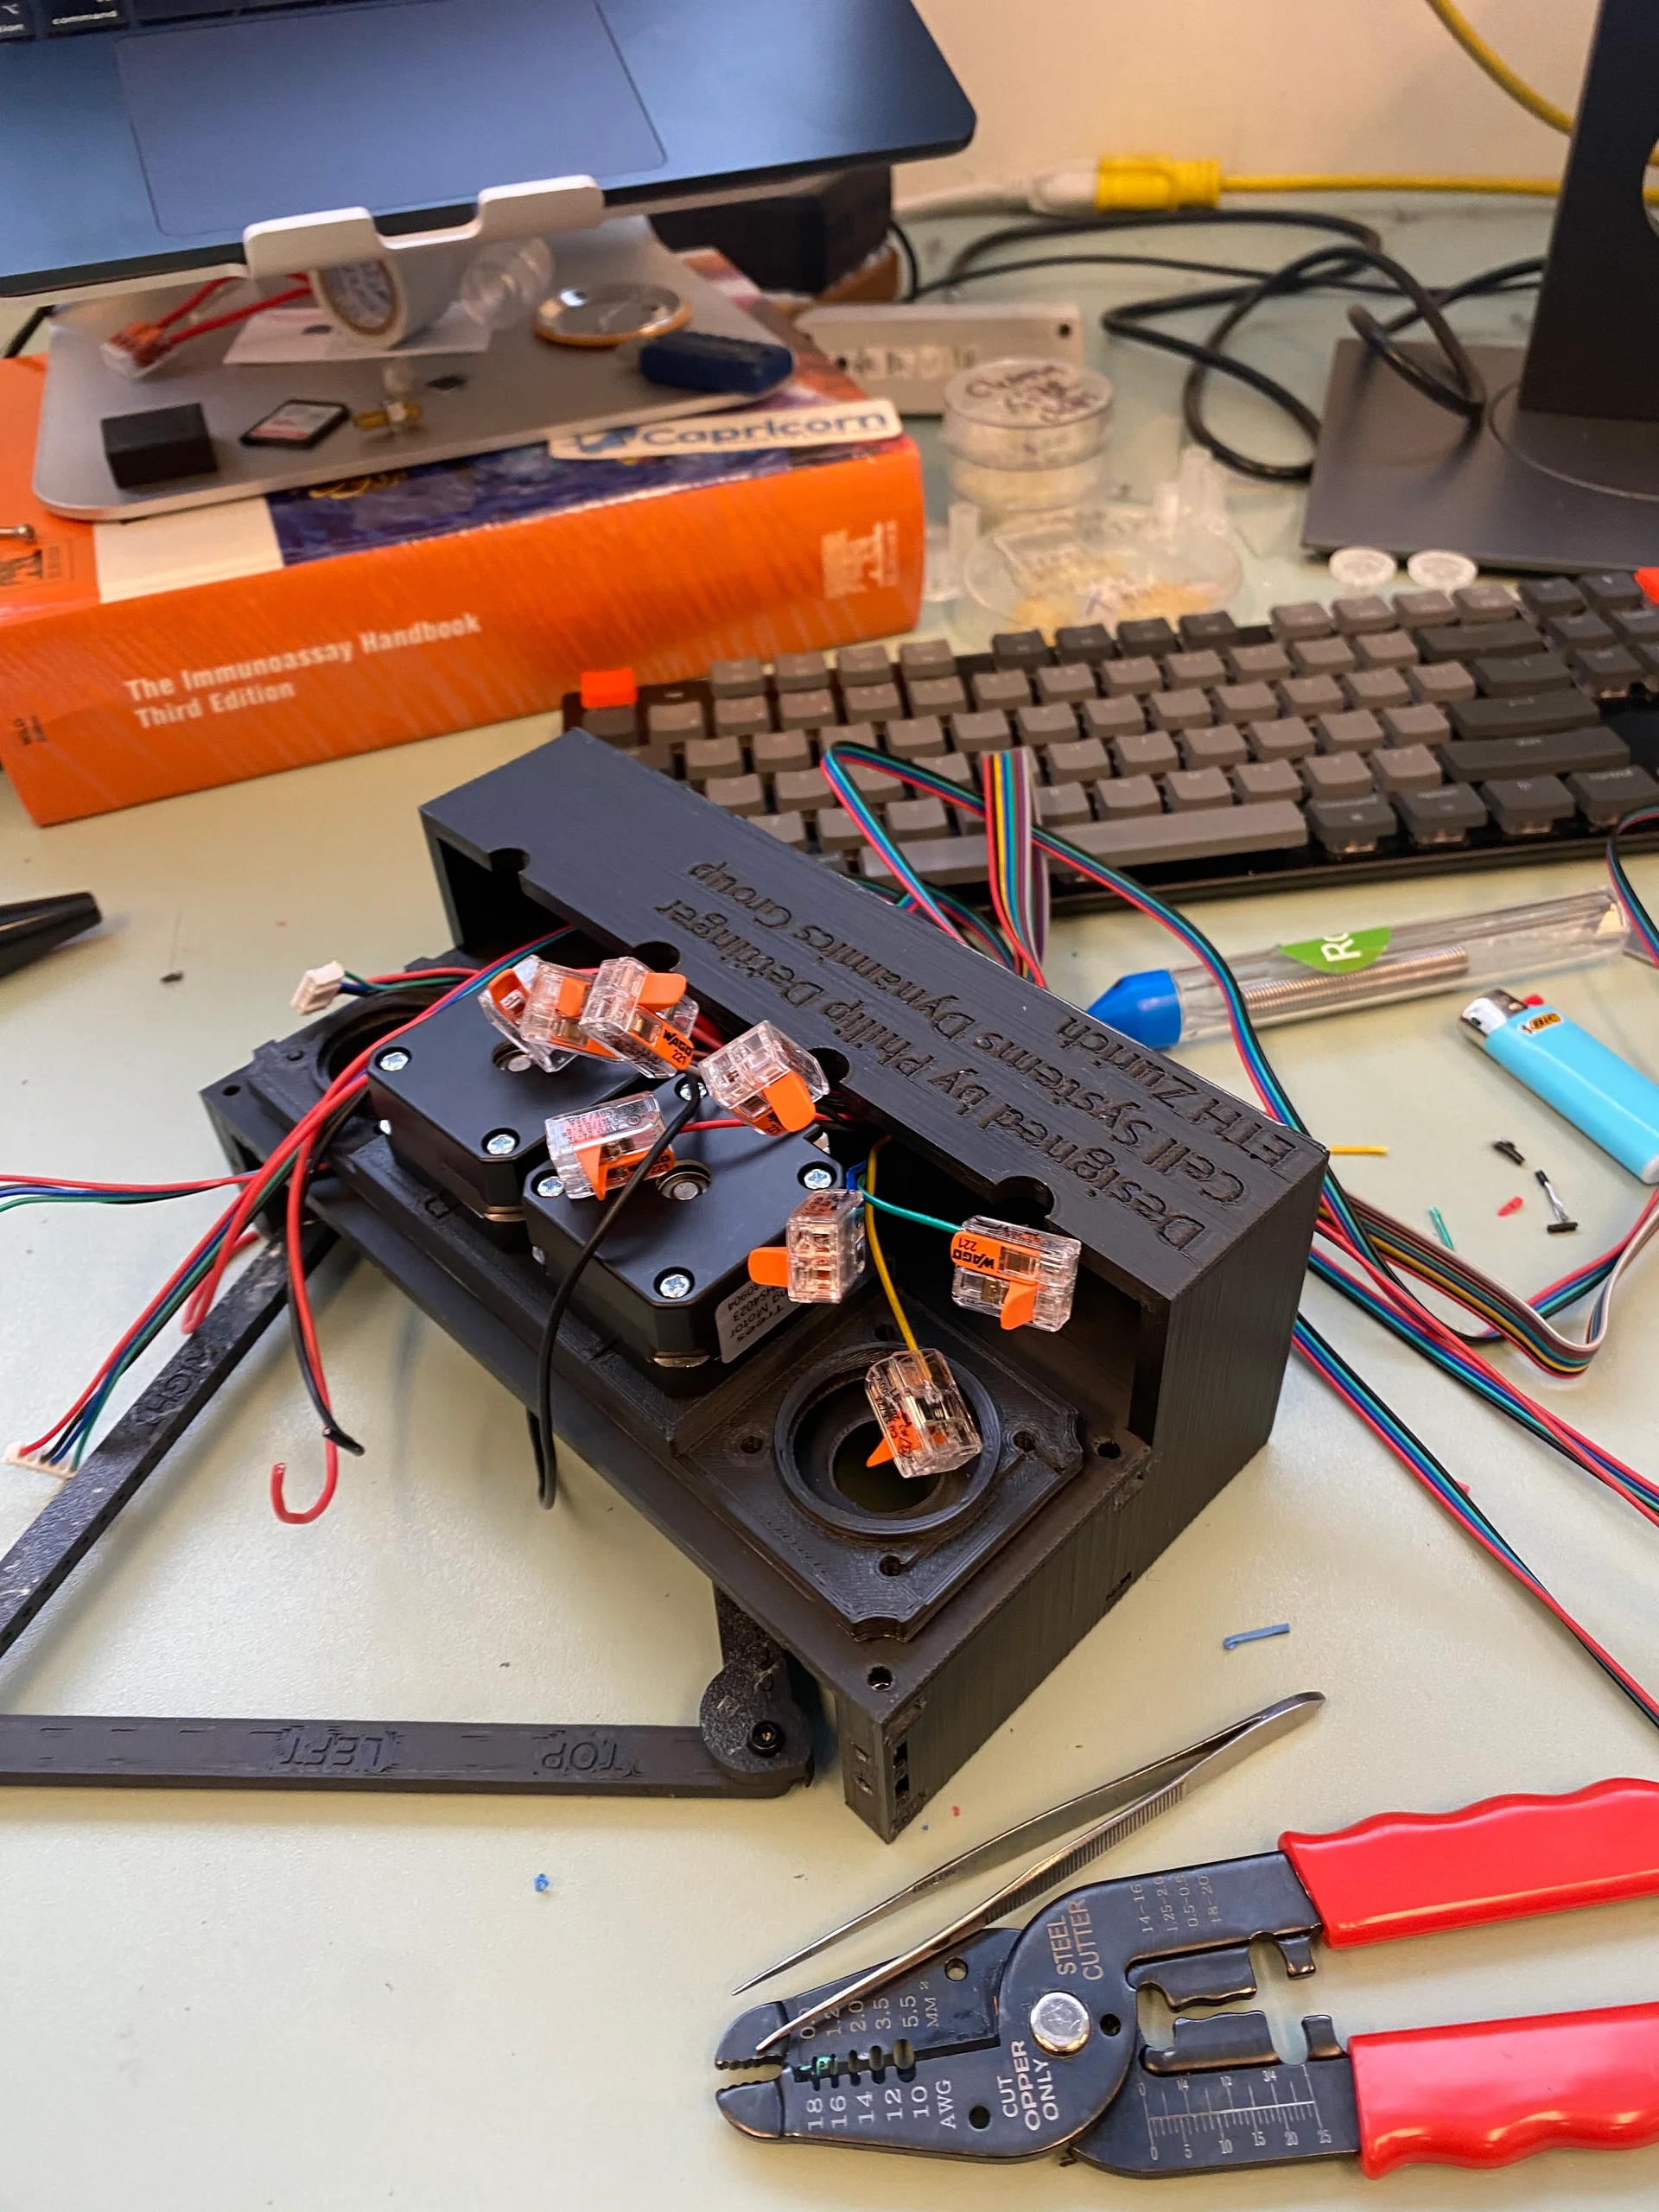
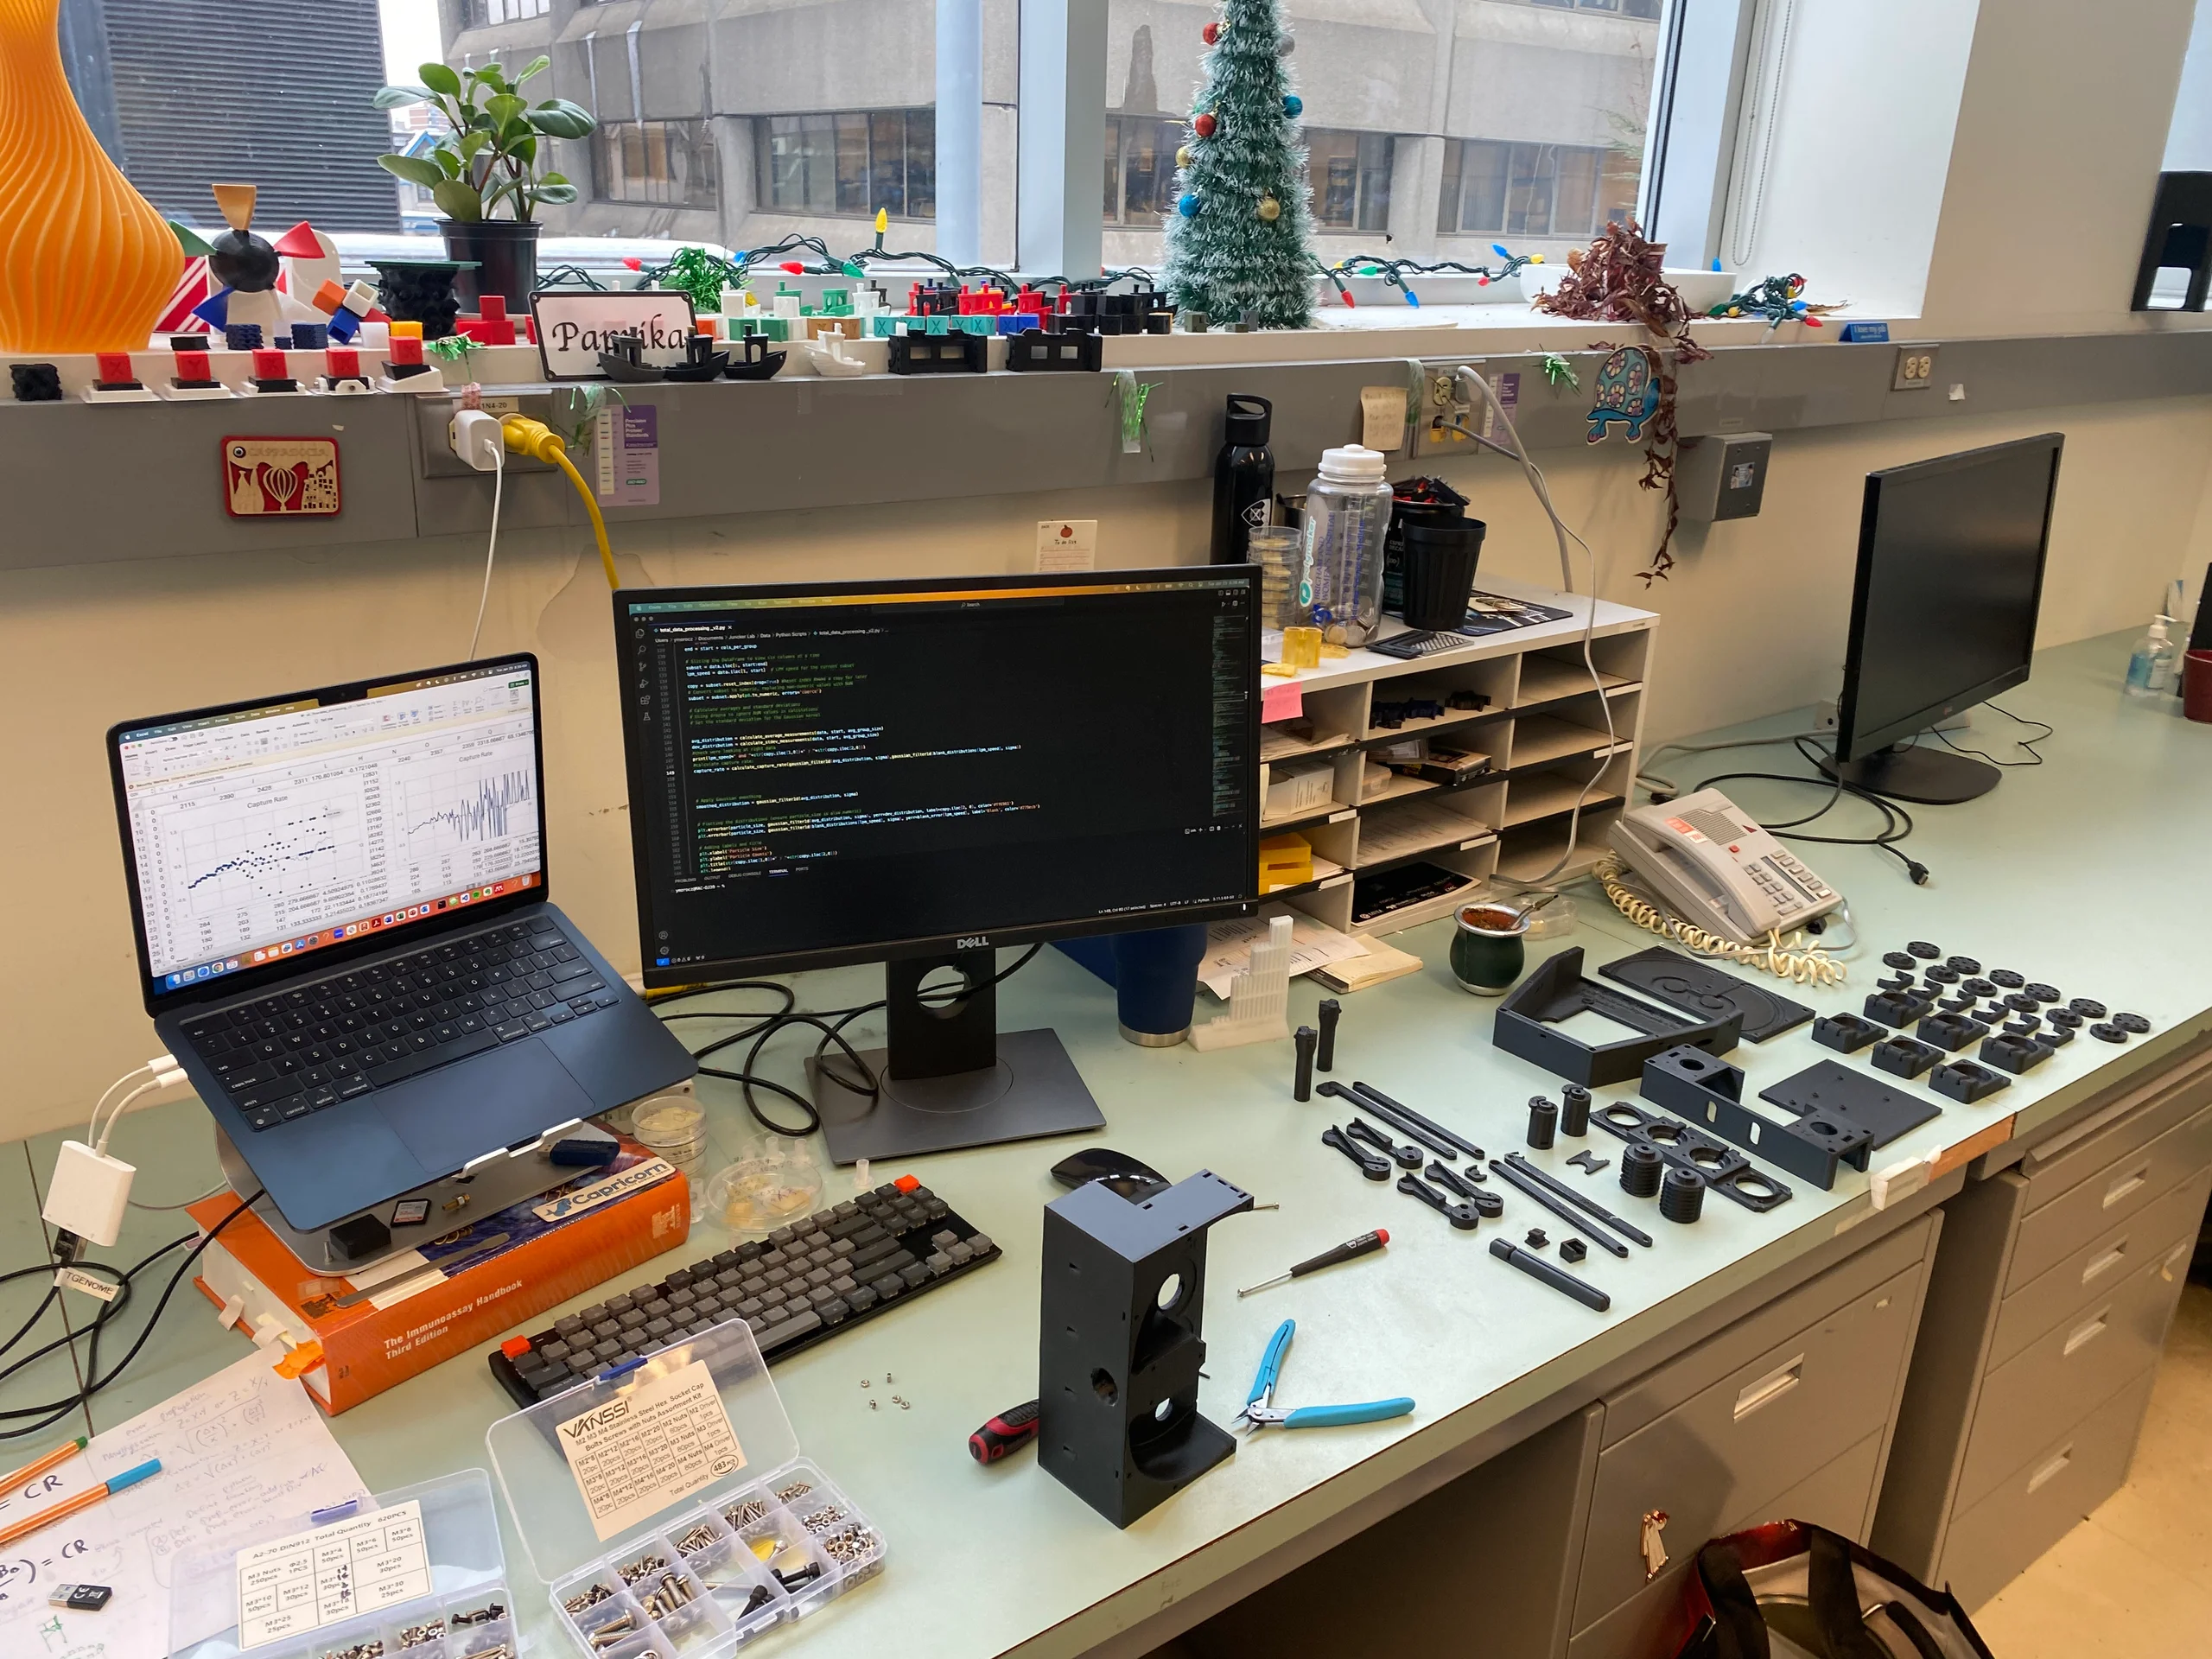
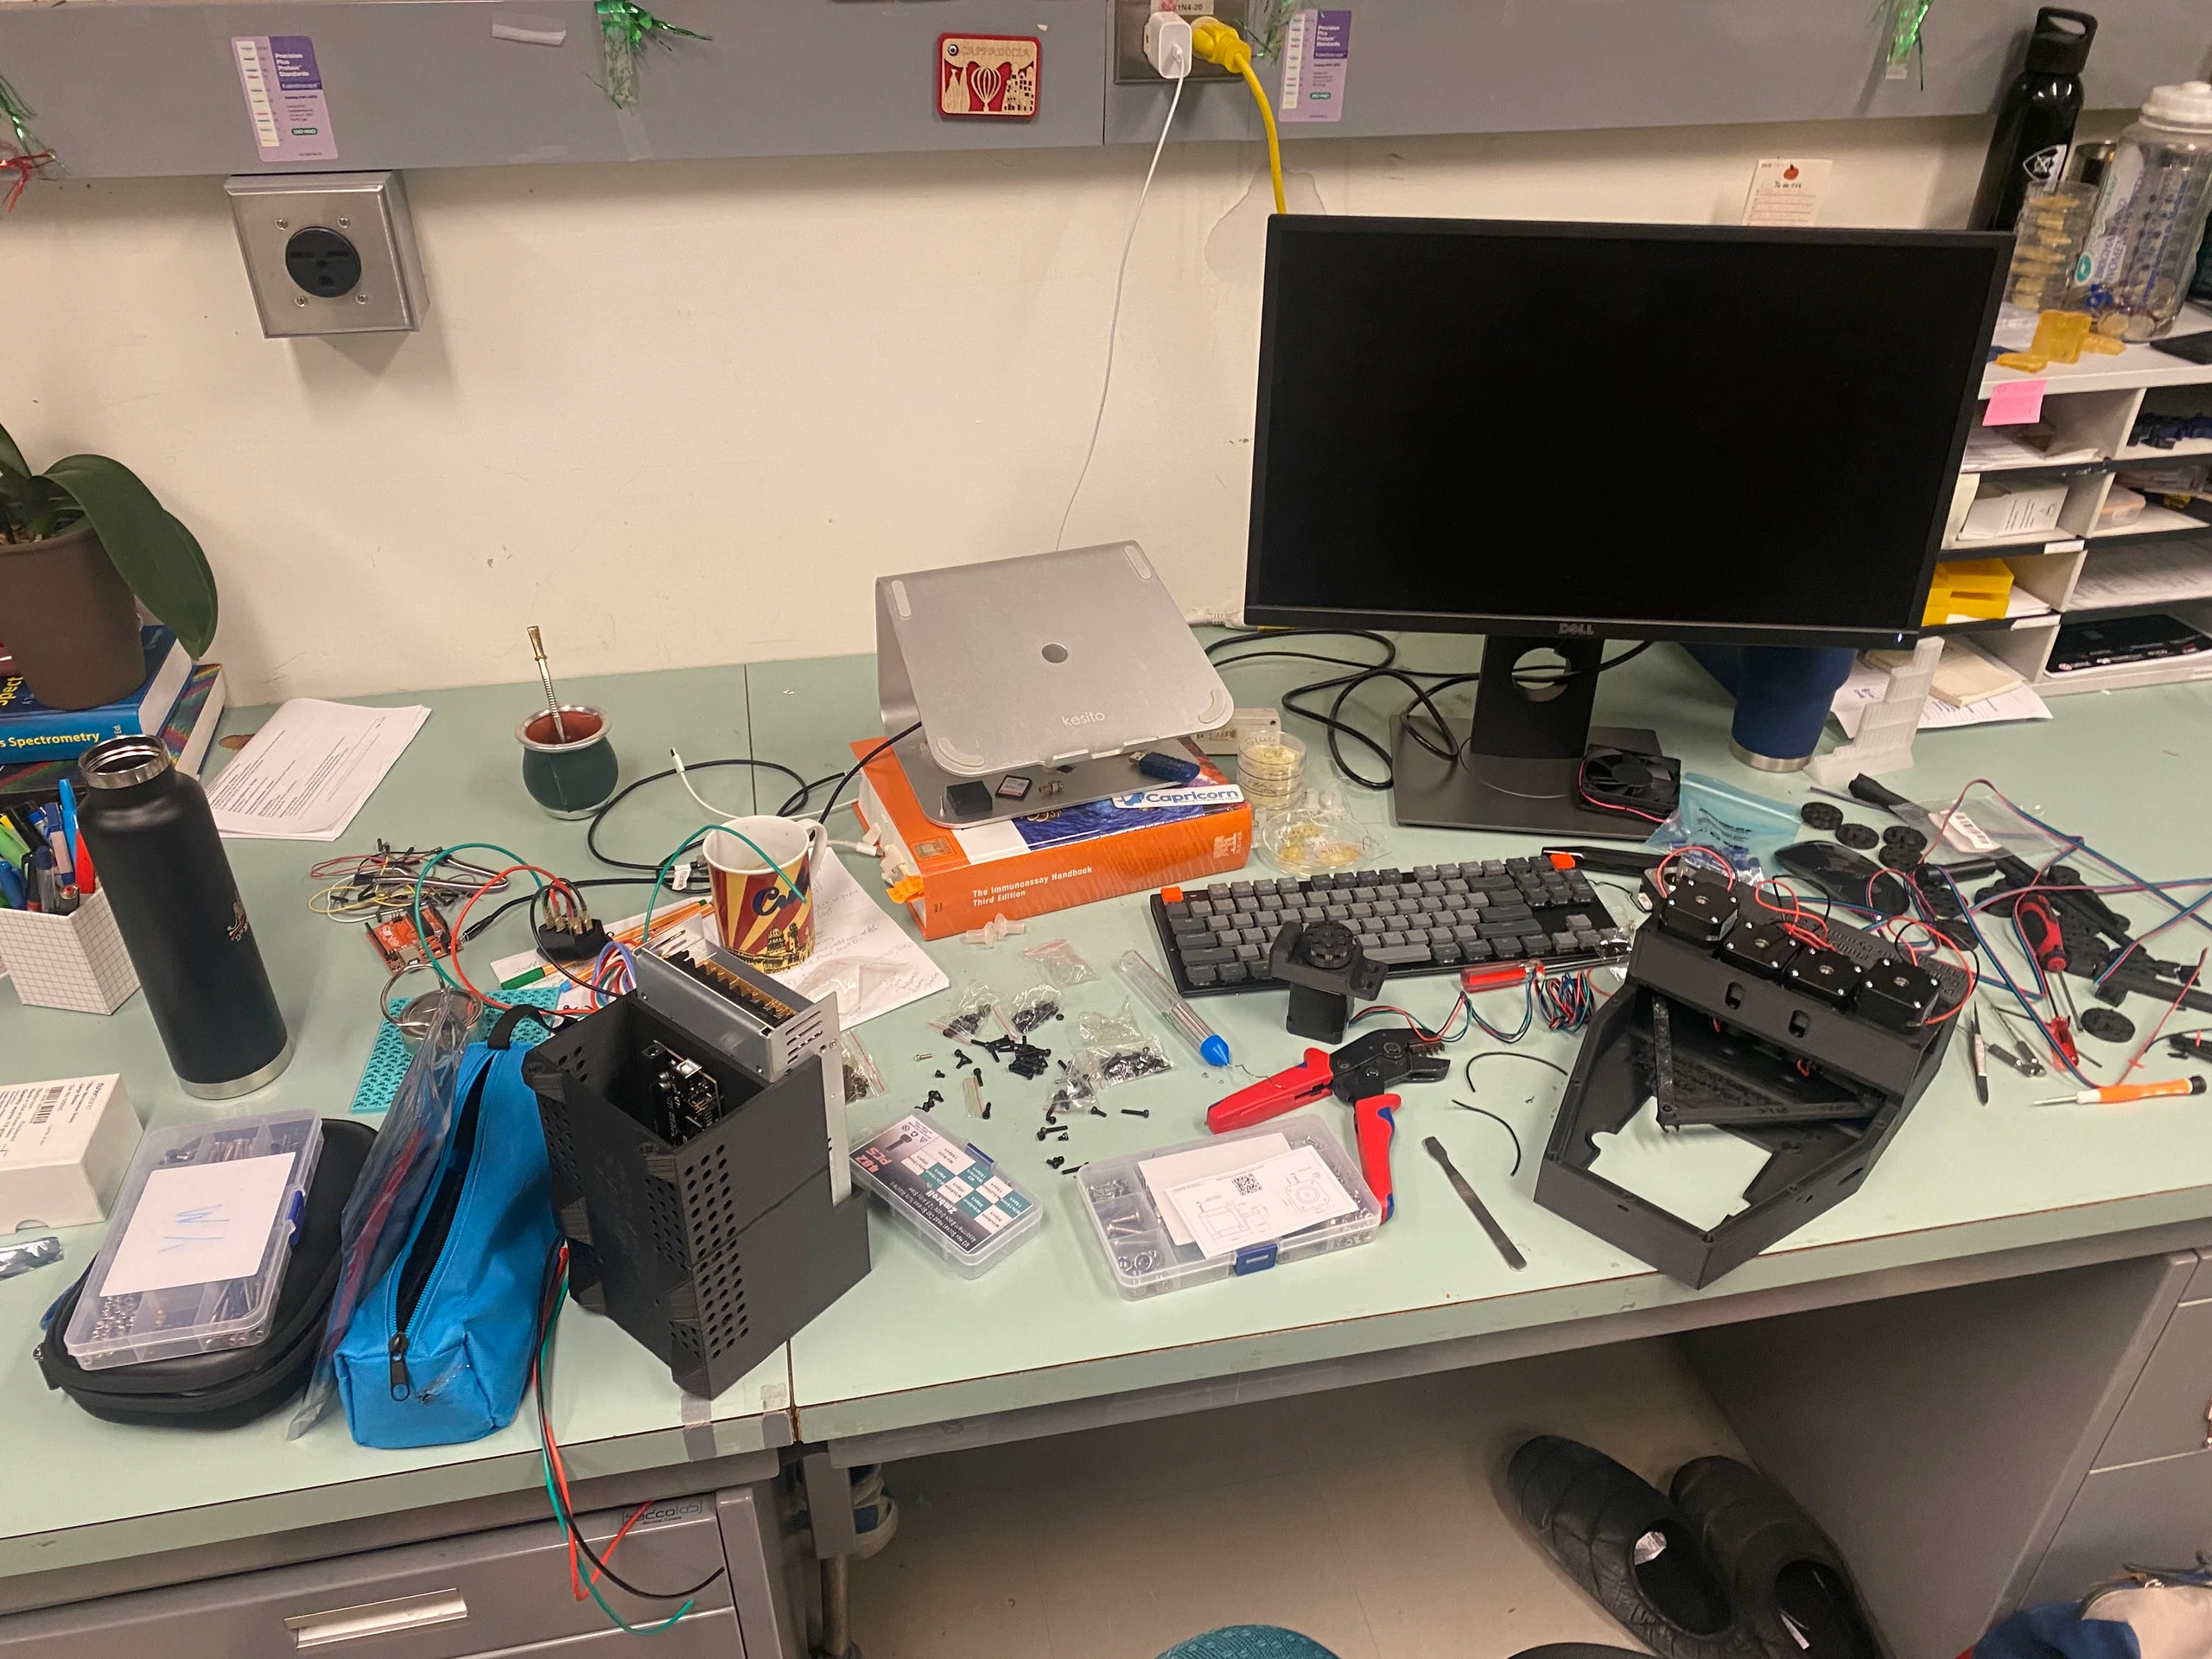
Scroll or swipe to explore. Select a photo to enlarge it, or a play-marked video to watch.
Explore the ANDY robot.
Inspect the assembly as a whole, separate its components, or move a cross section through the design to see how its parts fit together.
View all assembliesLoad the model to explore its parts.
19.4 MBDrag to orbit; scroll or pinch to zoom. In Cross section mode, the slider moves the shaded, hatched cut through the model. In Explode mode, it separates or assembles the parts. Select a part to change its appearance or hide it. With the viewer focused, arrow keys rotate, + / − zoom, and R resets.